When a vendor shipment arrives, you can quickly check in the products and update your inventory directly from the Scheduler app. This article outlines the steps for completing the check-in process and explains how inventory is updated.
Things to Know:
- The ability to check in purchase orders is controlled by the “Manage Purchase Orders” access control setting.
- By default, all products are checked in as retail, regardless of whether the Retail or Back Bar checkboxes are selected on the inventory page.
- If you want the system to use the Retail and Back Bar checkboxes for restocking during check-in, a hidden setting must be enabled. To activate this setting, contact the MyTime Support Team at support@mytime.com. When this setting is enabled:
- Products will default to Retail only if:
- Both Retail and Back Bar are checked
- Neither option is checked
- Only Retail is checked
- Products will default to Back Bar only if Back Bar is checked and Retail is not
- Continuous Scan in Purchase Orders
- Continuous Scan speeds up inventory receiving by keeping the barcode scanner active between scans—allowing you to receive large shipments continuously without manually tapping the "+" button for each item.
- When Continuous Scan is enabled, the scanner remains active after each successful scan, making it easier to process large shipments.
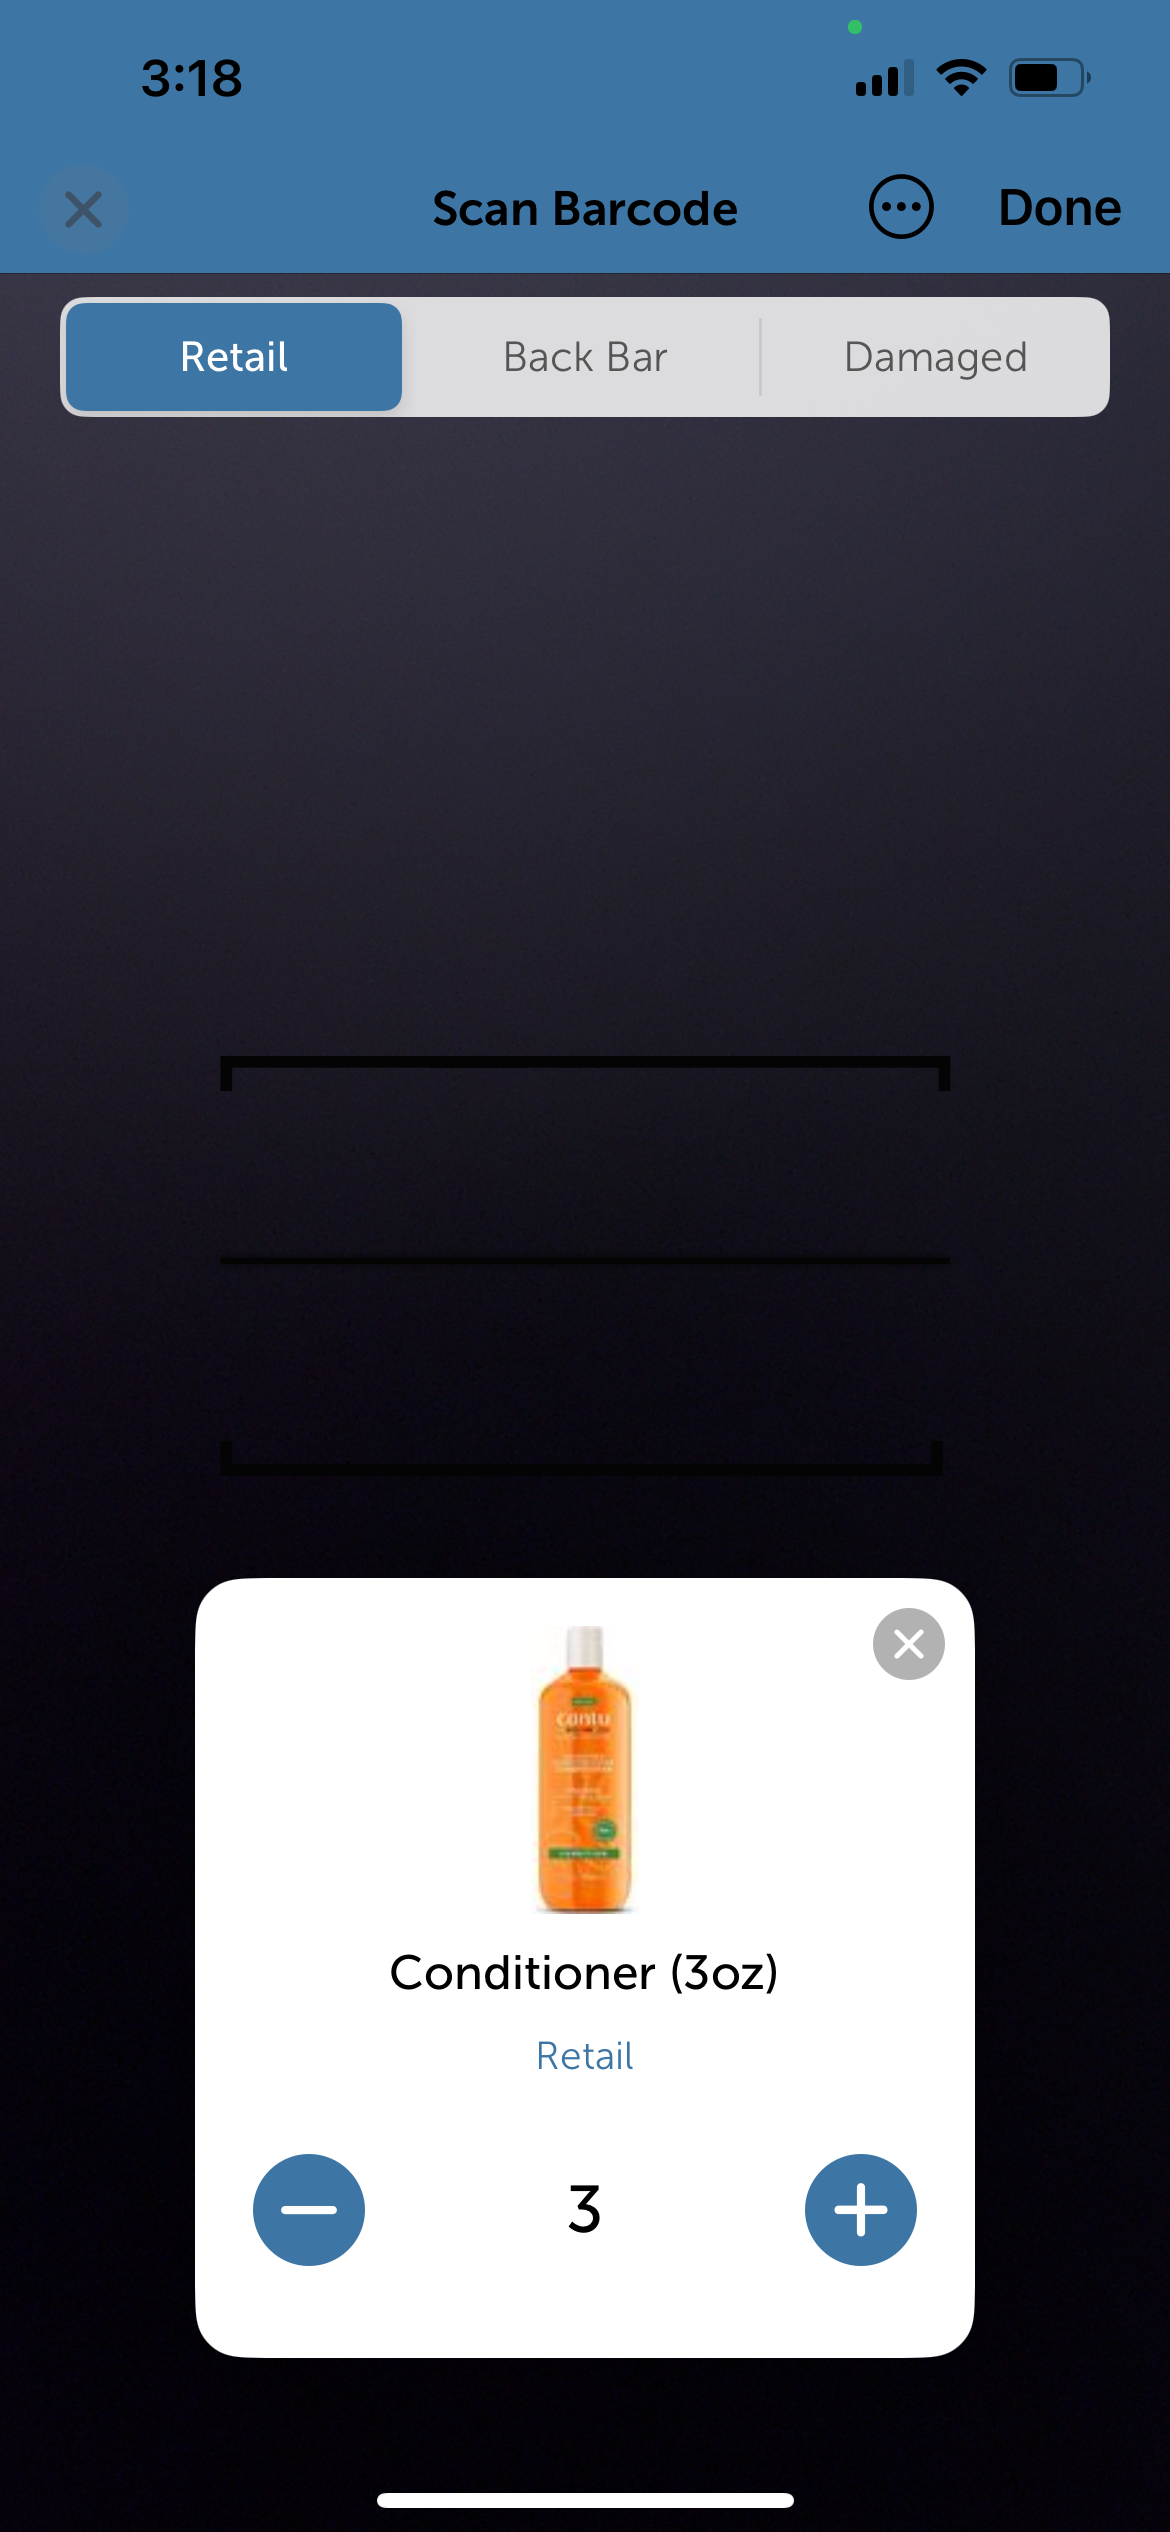
- Each successful scan automatically increases the item's quantity by 1. Scanning the same SKU multiple times continues to increment that item's count.
- An audible beep confirms every successful scan.
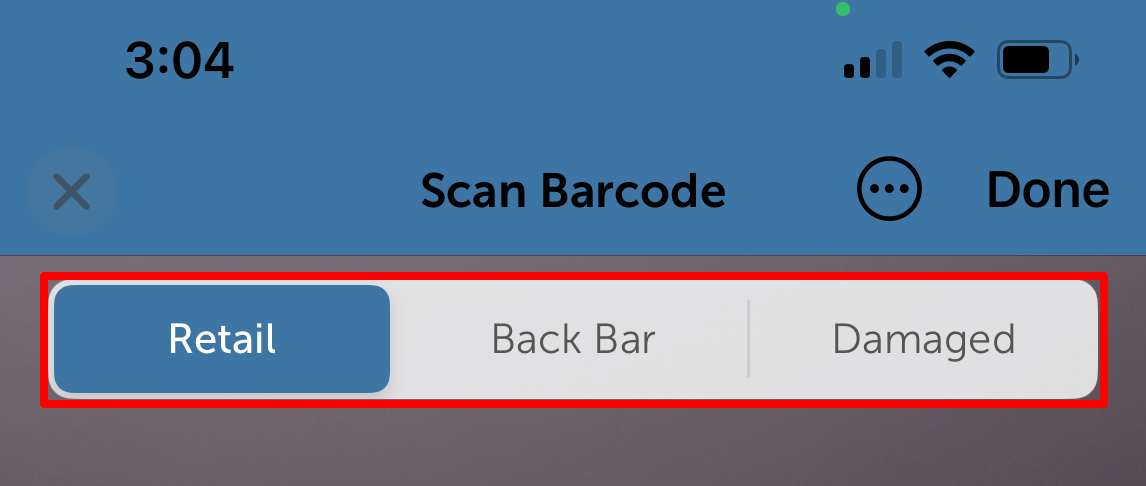
- You can select the destination for scanned items using the Retail, Back Bar, or Damaged options.
- Scanning an item that is not included on the Purchase Order displays an error notification and prevents the quantity from increasing.
- You can still use the + and – controls on an item card to adjust quantities manually at any time.
- Selecting a different destination (Retail, Back Bar, or Damaged) clears the current screen's item cards so you can scan items directly into the new destination.
- When finished scanning, the quantities should be saved to their respective destinations.
- Continuous Scan can be turned off at any time. When disabled, the system reverts to the standard receiving flow, opening an item's detail screen for manual entry upon scanning.
CONTENTS
To complete check-in via the Scheduler app:
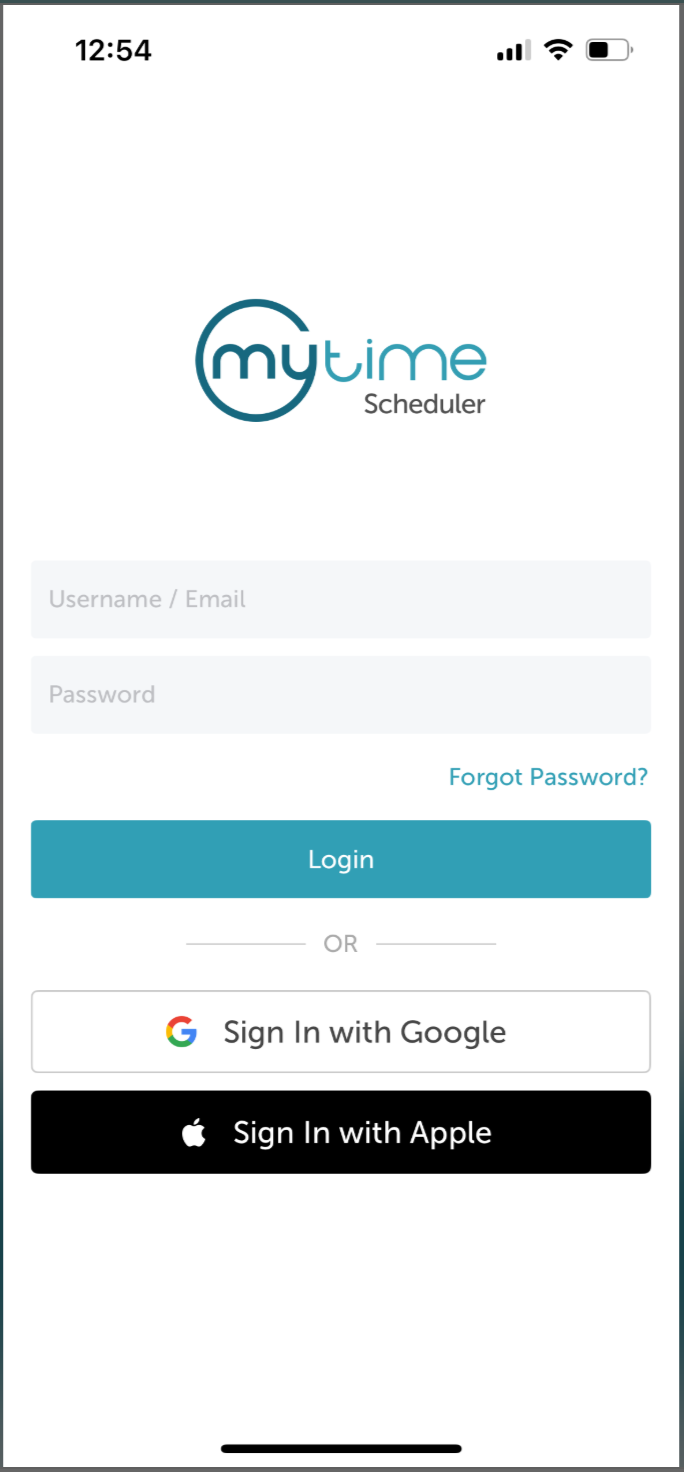
- Launch the MyTime Scheduler app on your device
- Choose your login method:
- Standard: Enter your registered email address and password, then tap 'Sign In'
- Social Login: Select 'Continue with Google' or 'Continue with Apple' to use your existing credentials for a faster login experience. For detailed instructions, learn more here
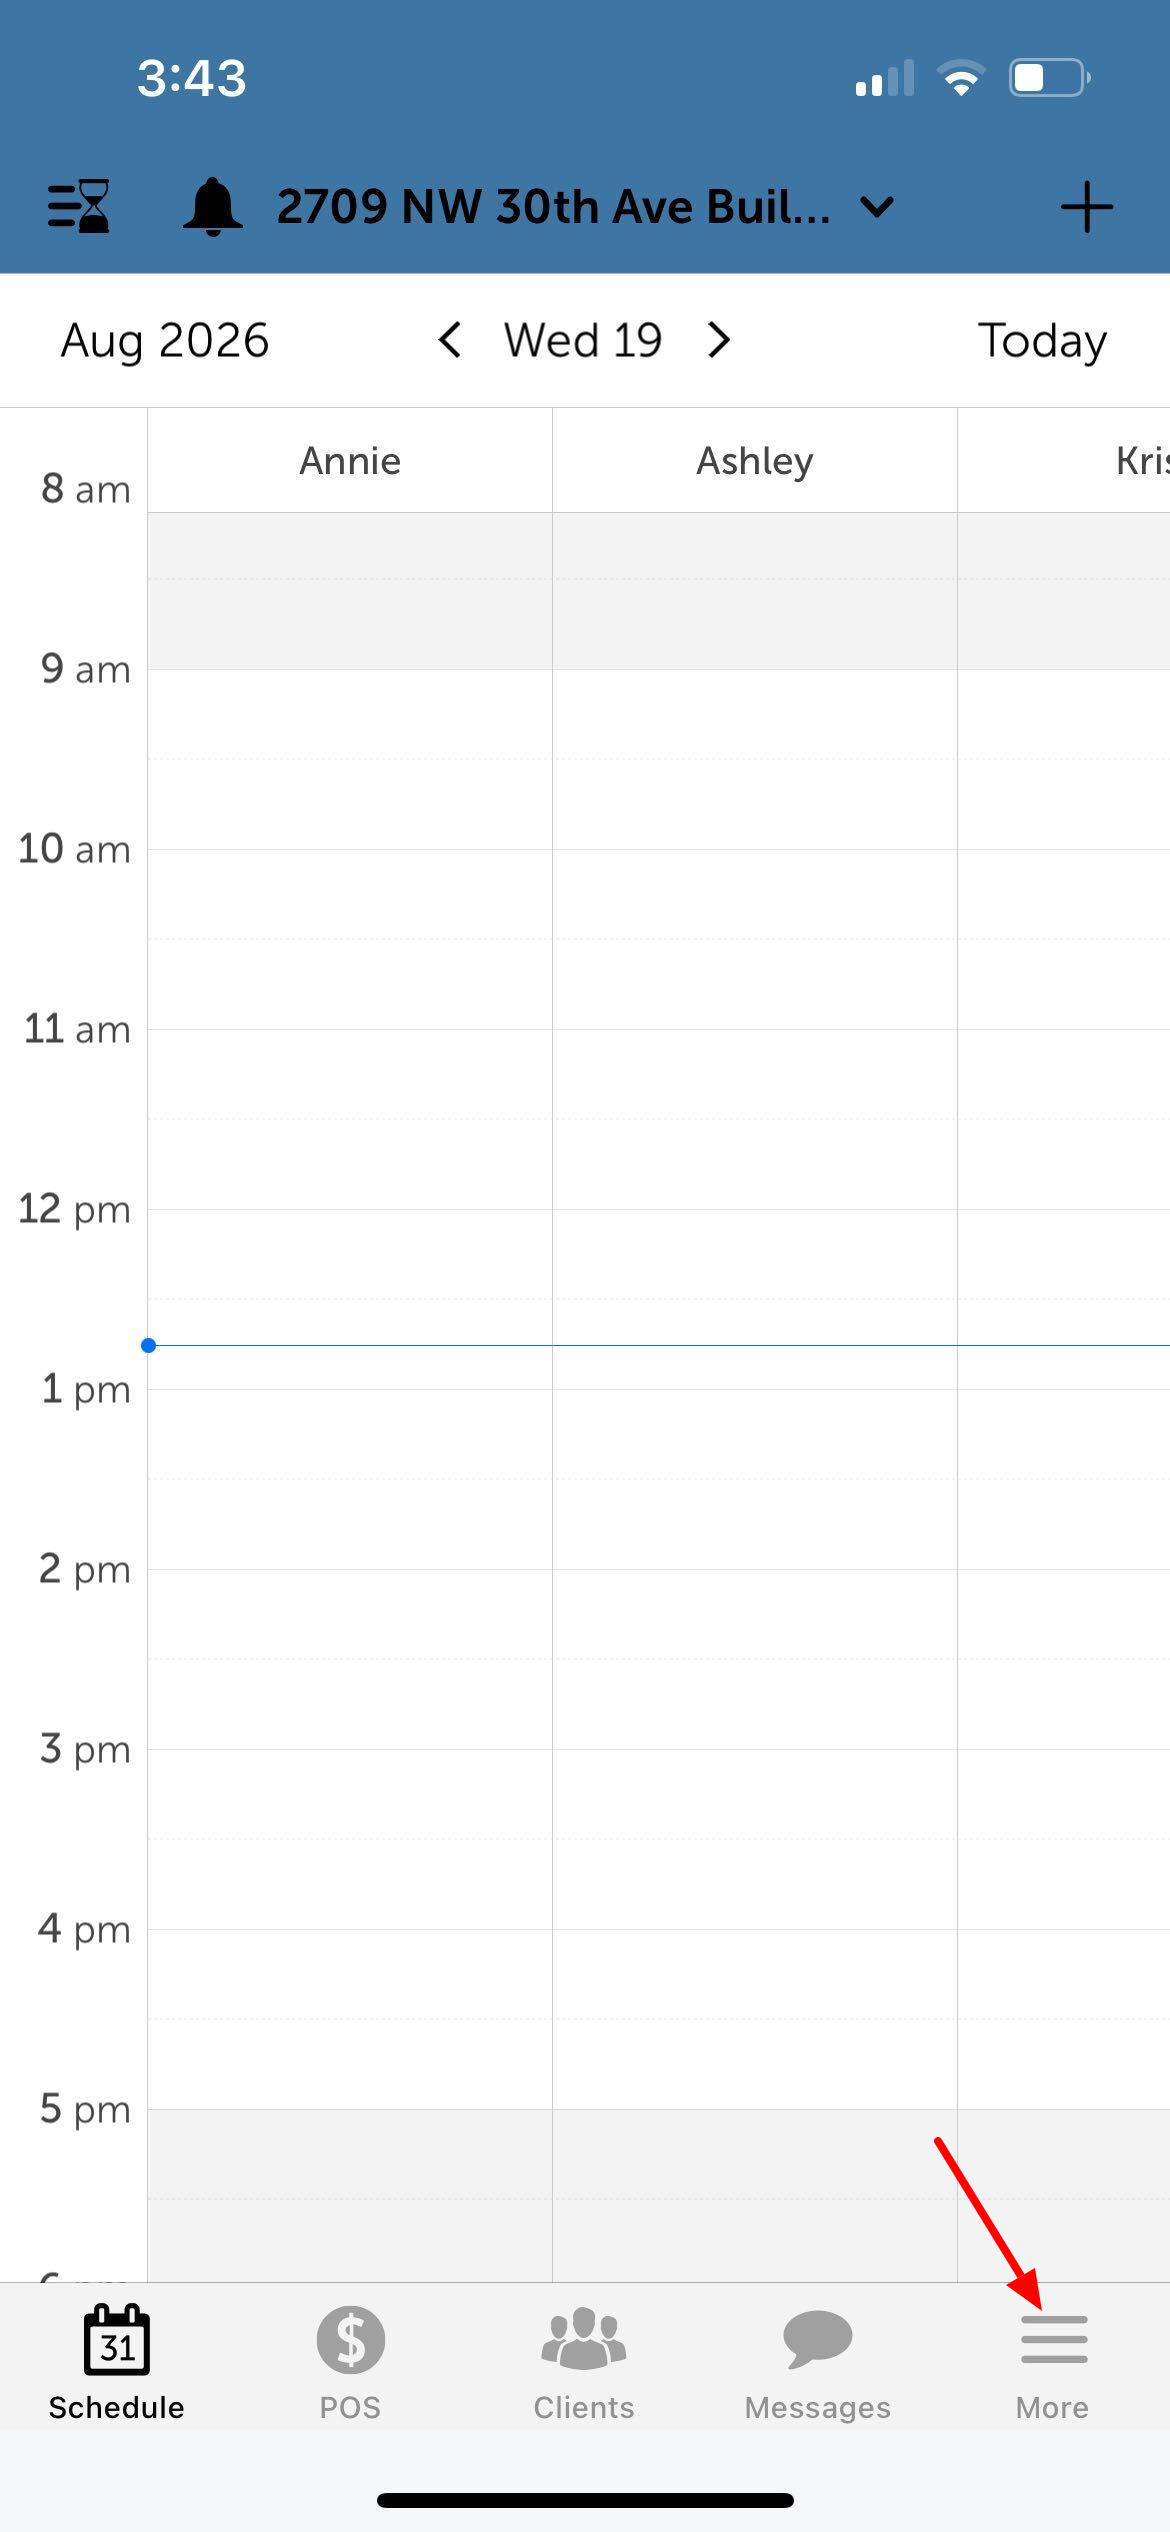
- After logging in, you'll land on the schedule screen
- Tap the 'More' option in the navigation bar
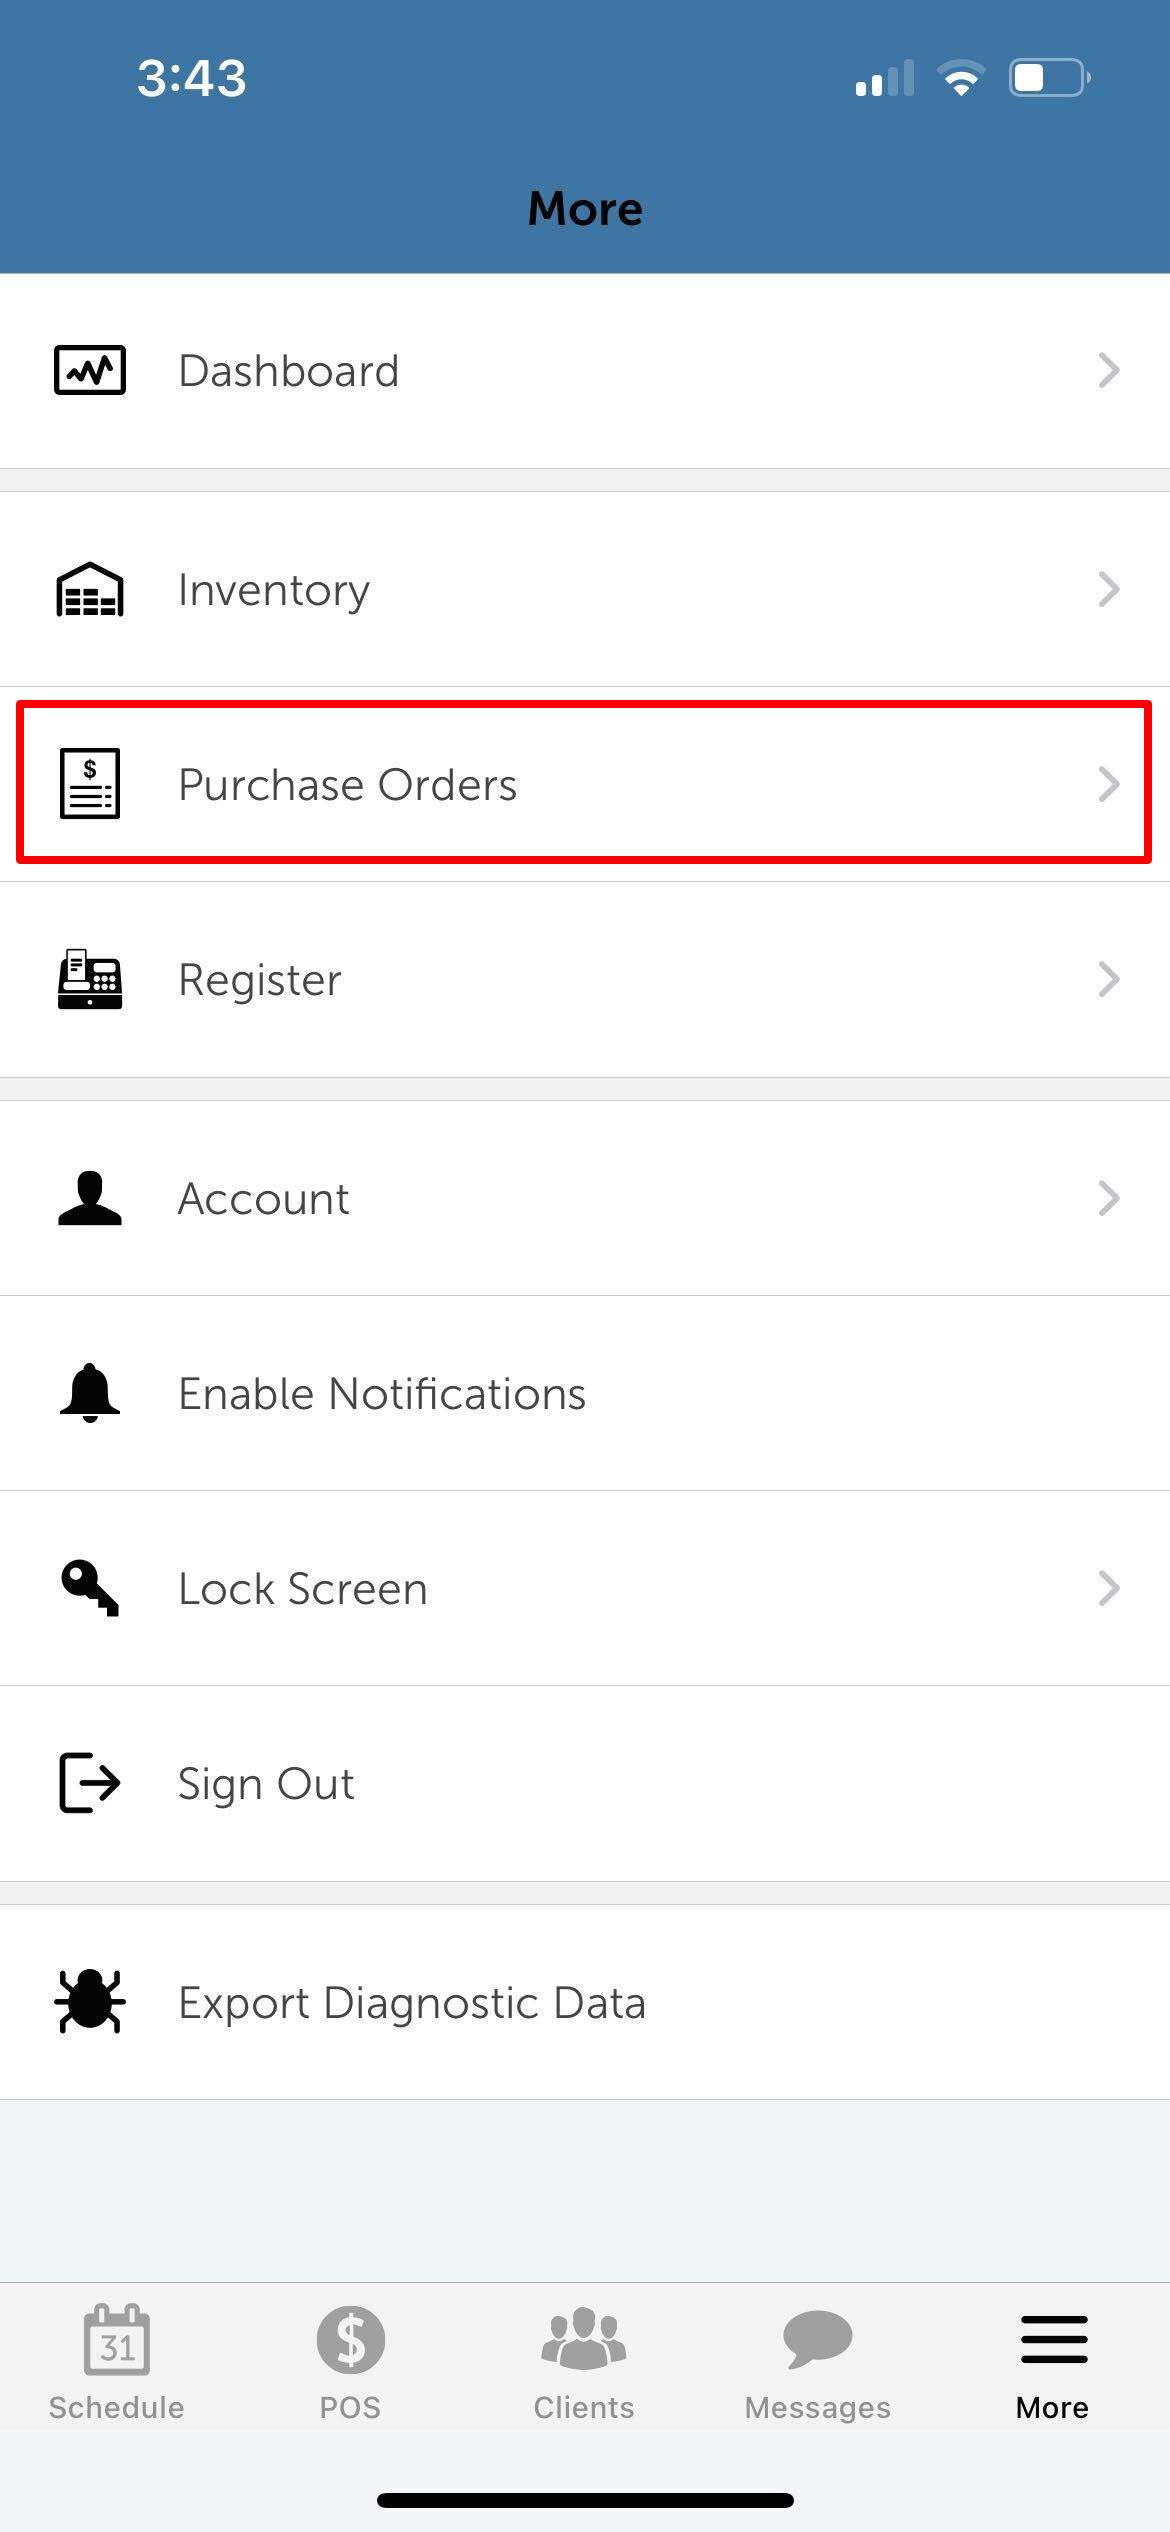
- Select 'Purchase Orders' from the menu
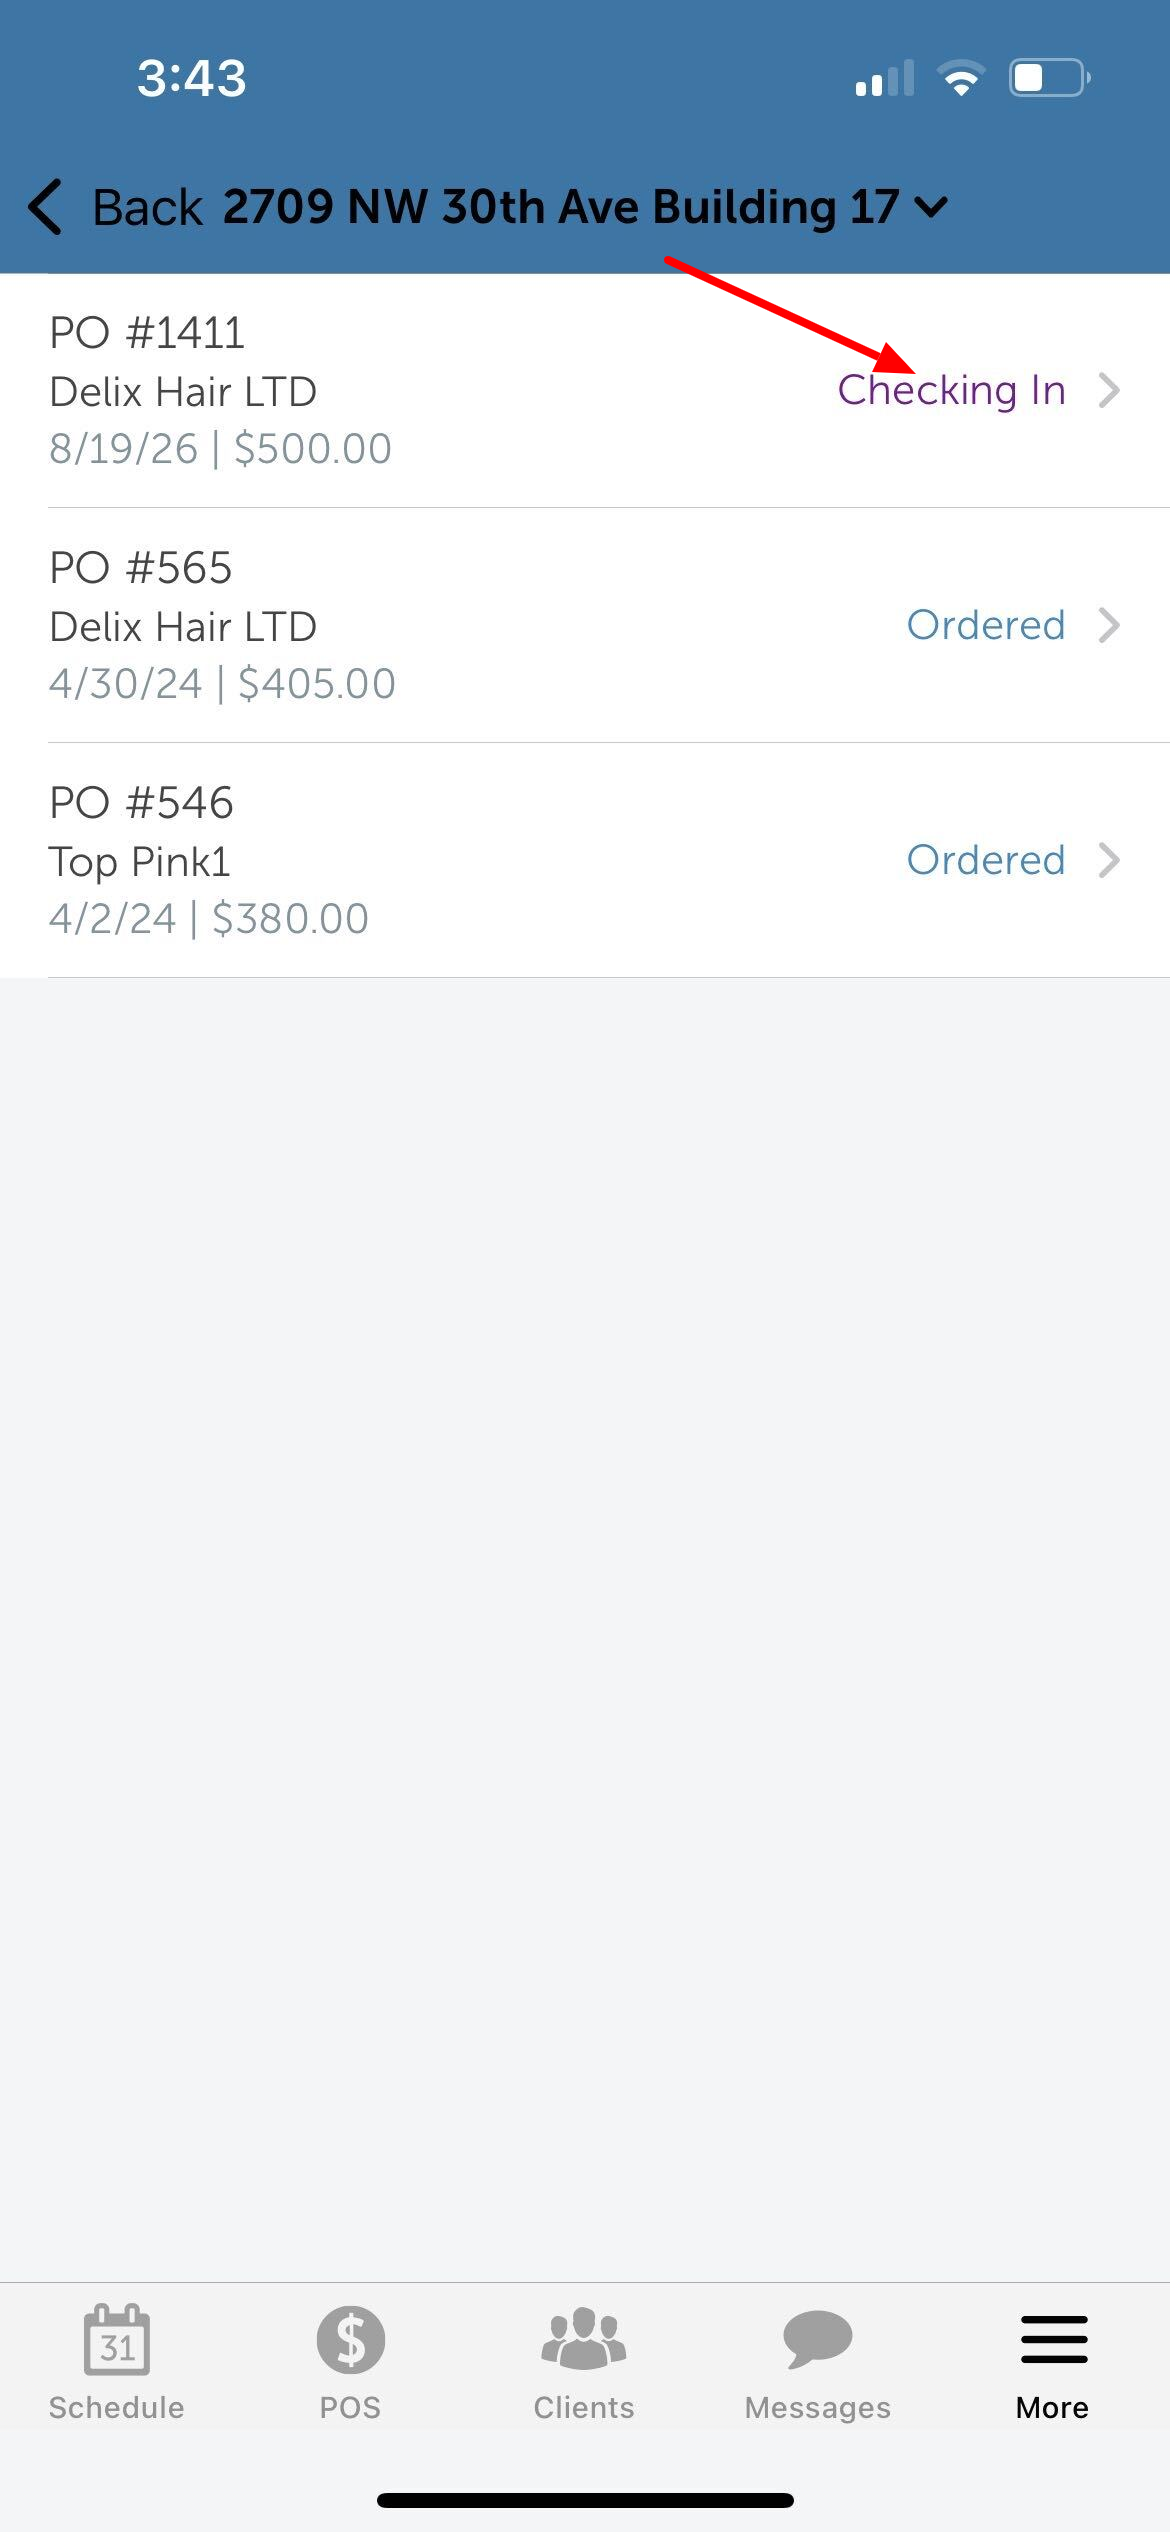
- Choose the purchase order you want to check in
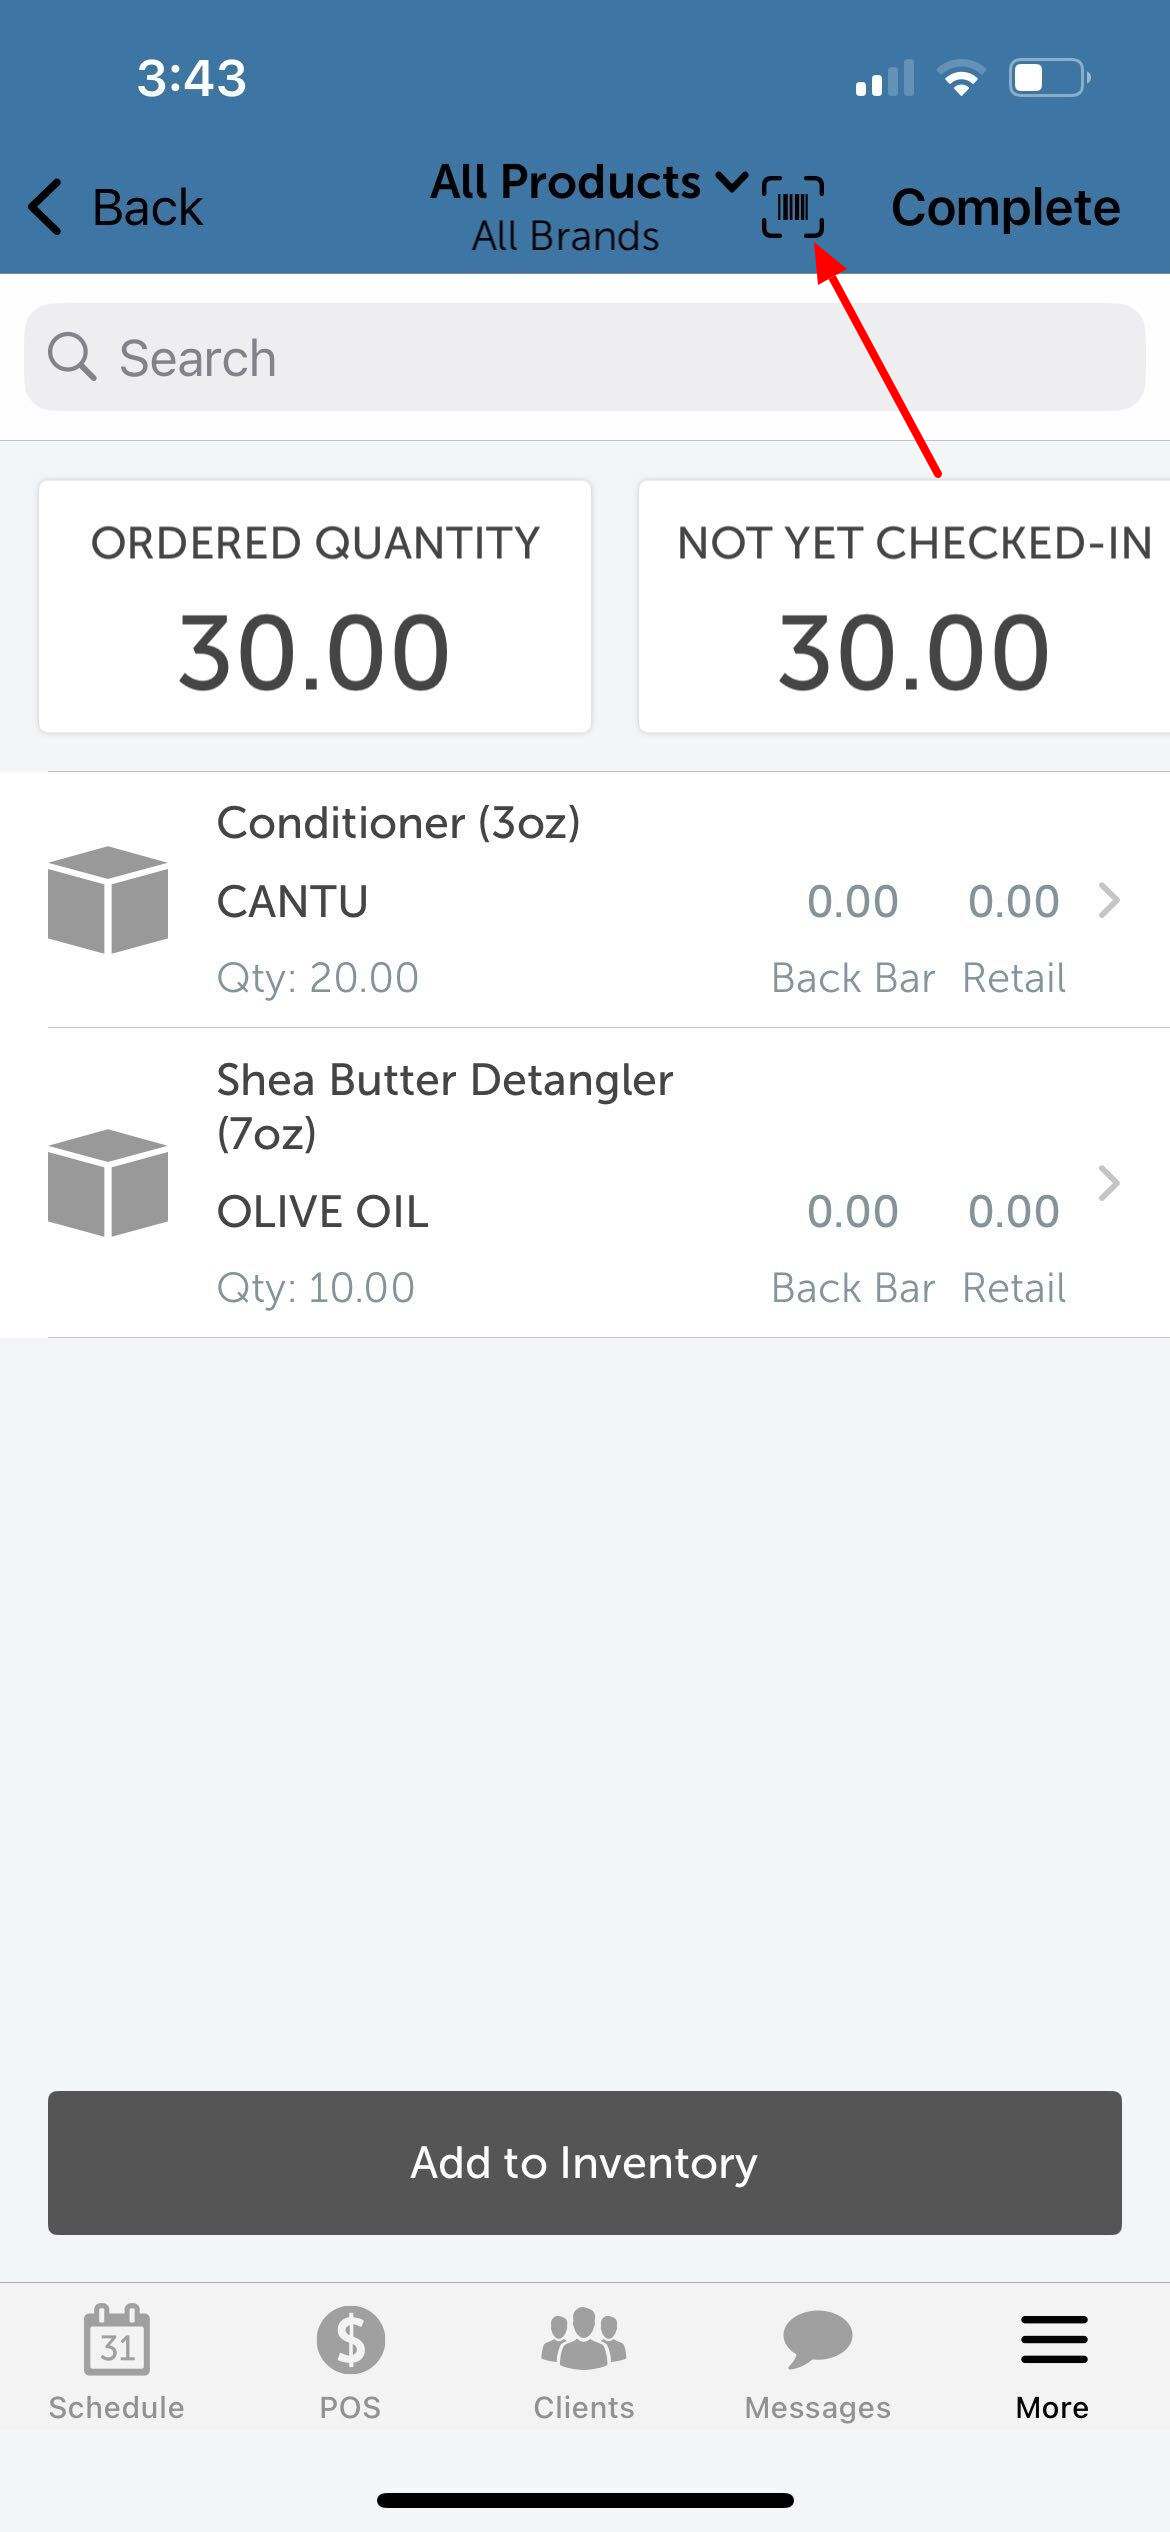
- Tap the barcode scanner icon in the top right corner to open the scanner, then scan the product's barcode to locate it within the order
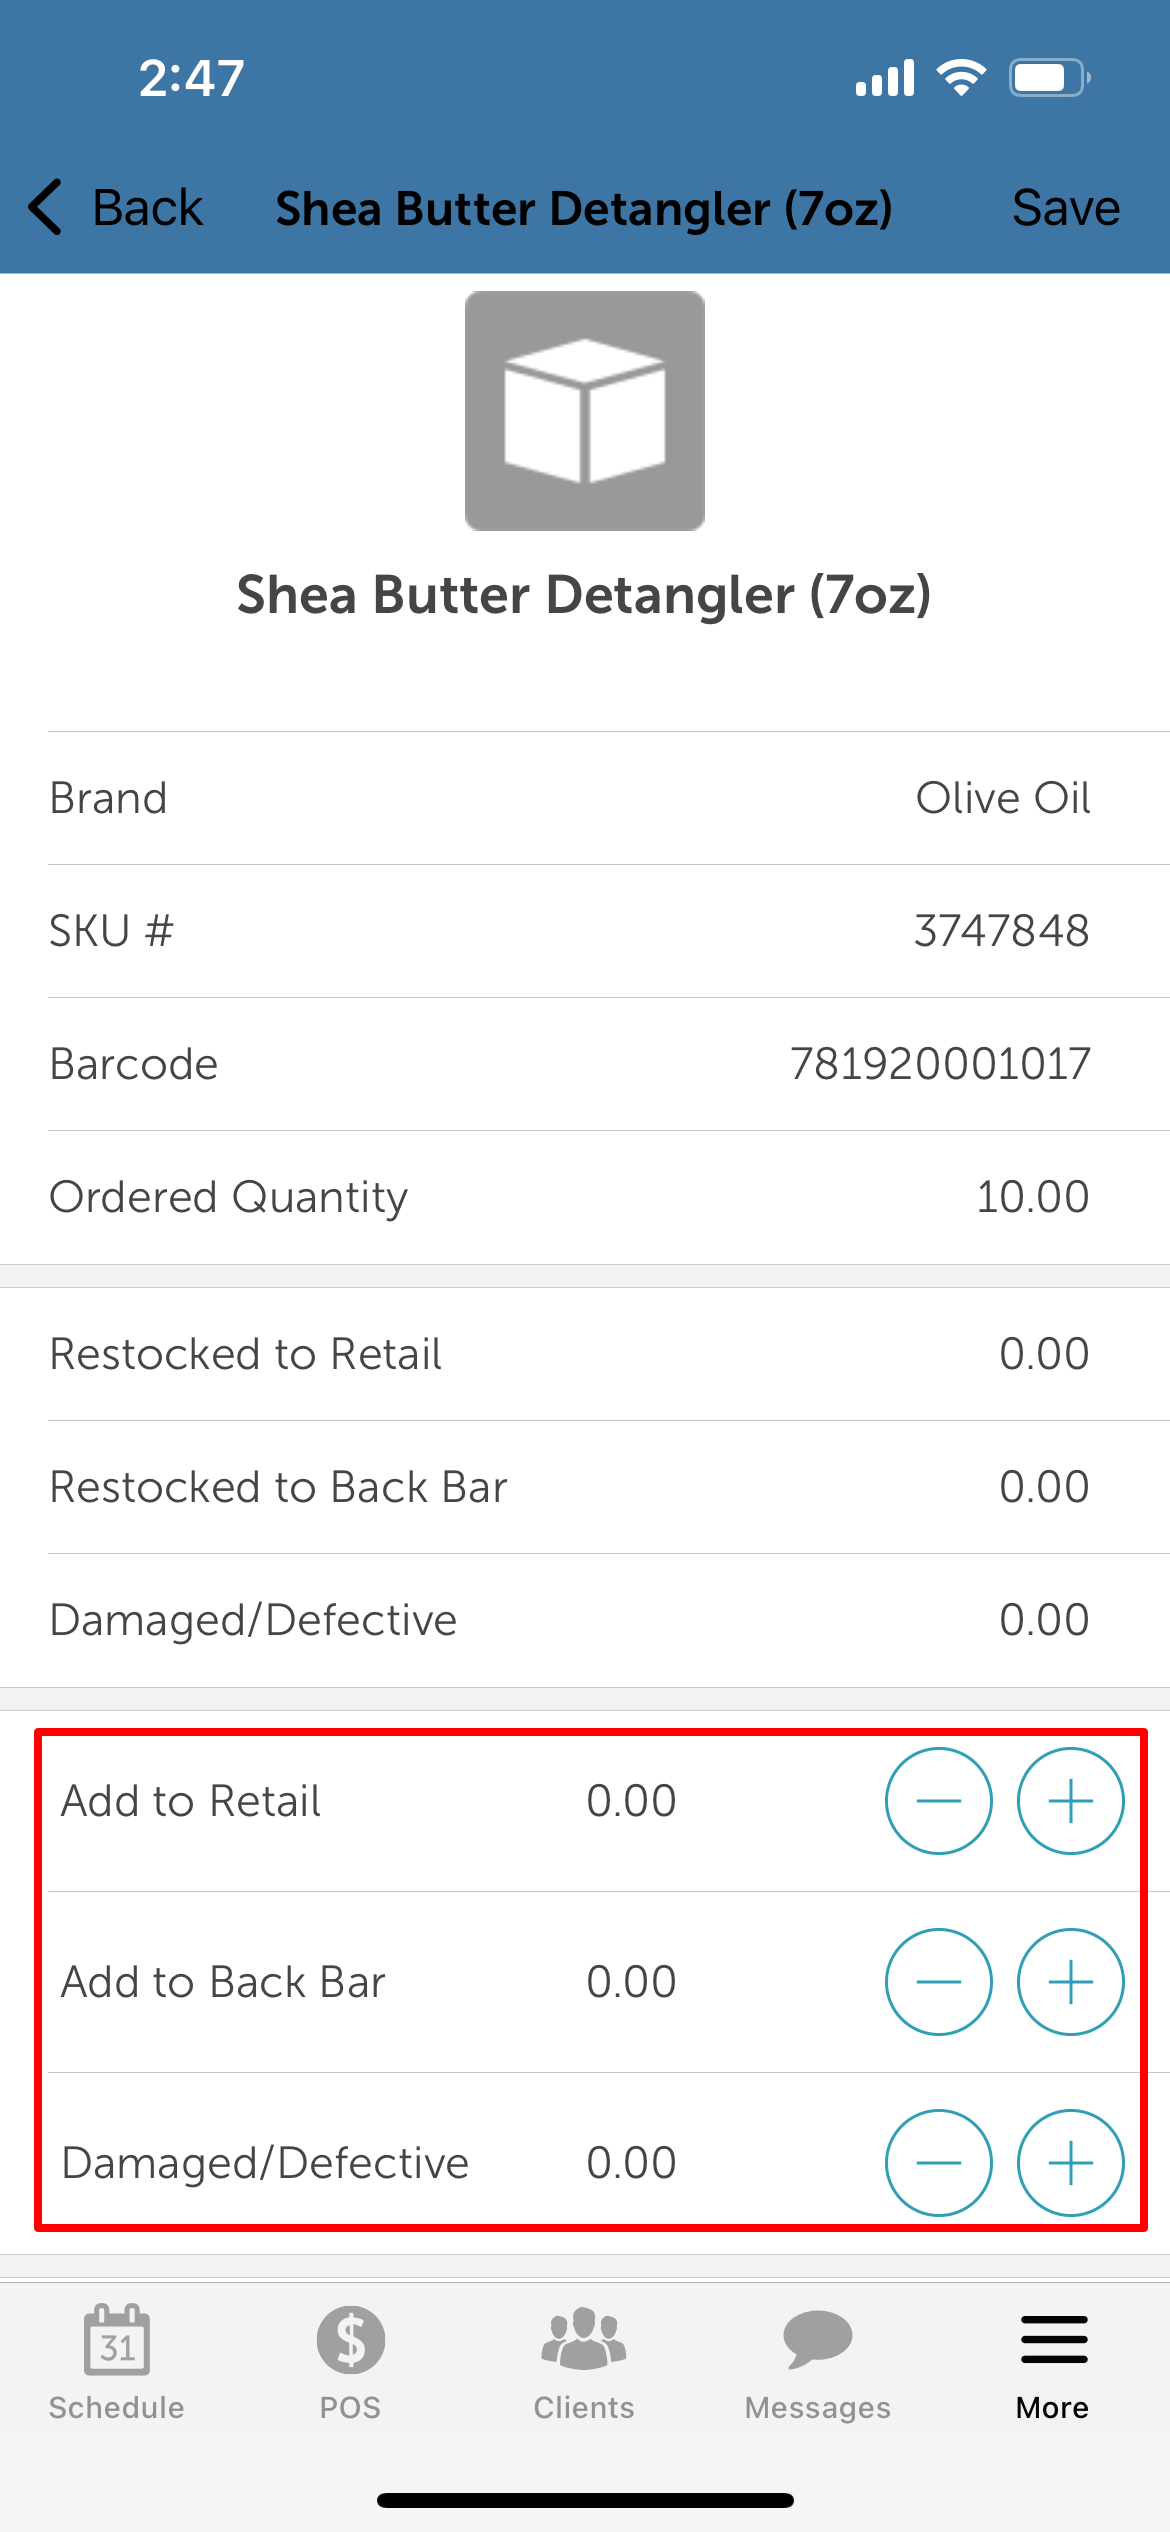
- Enter the quantity received for the product
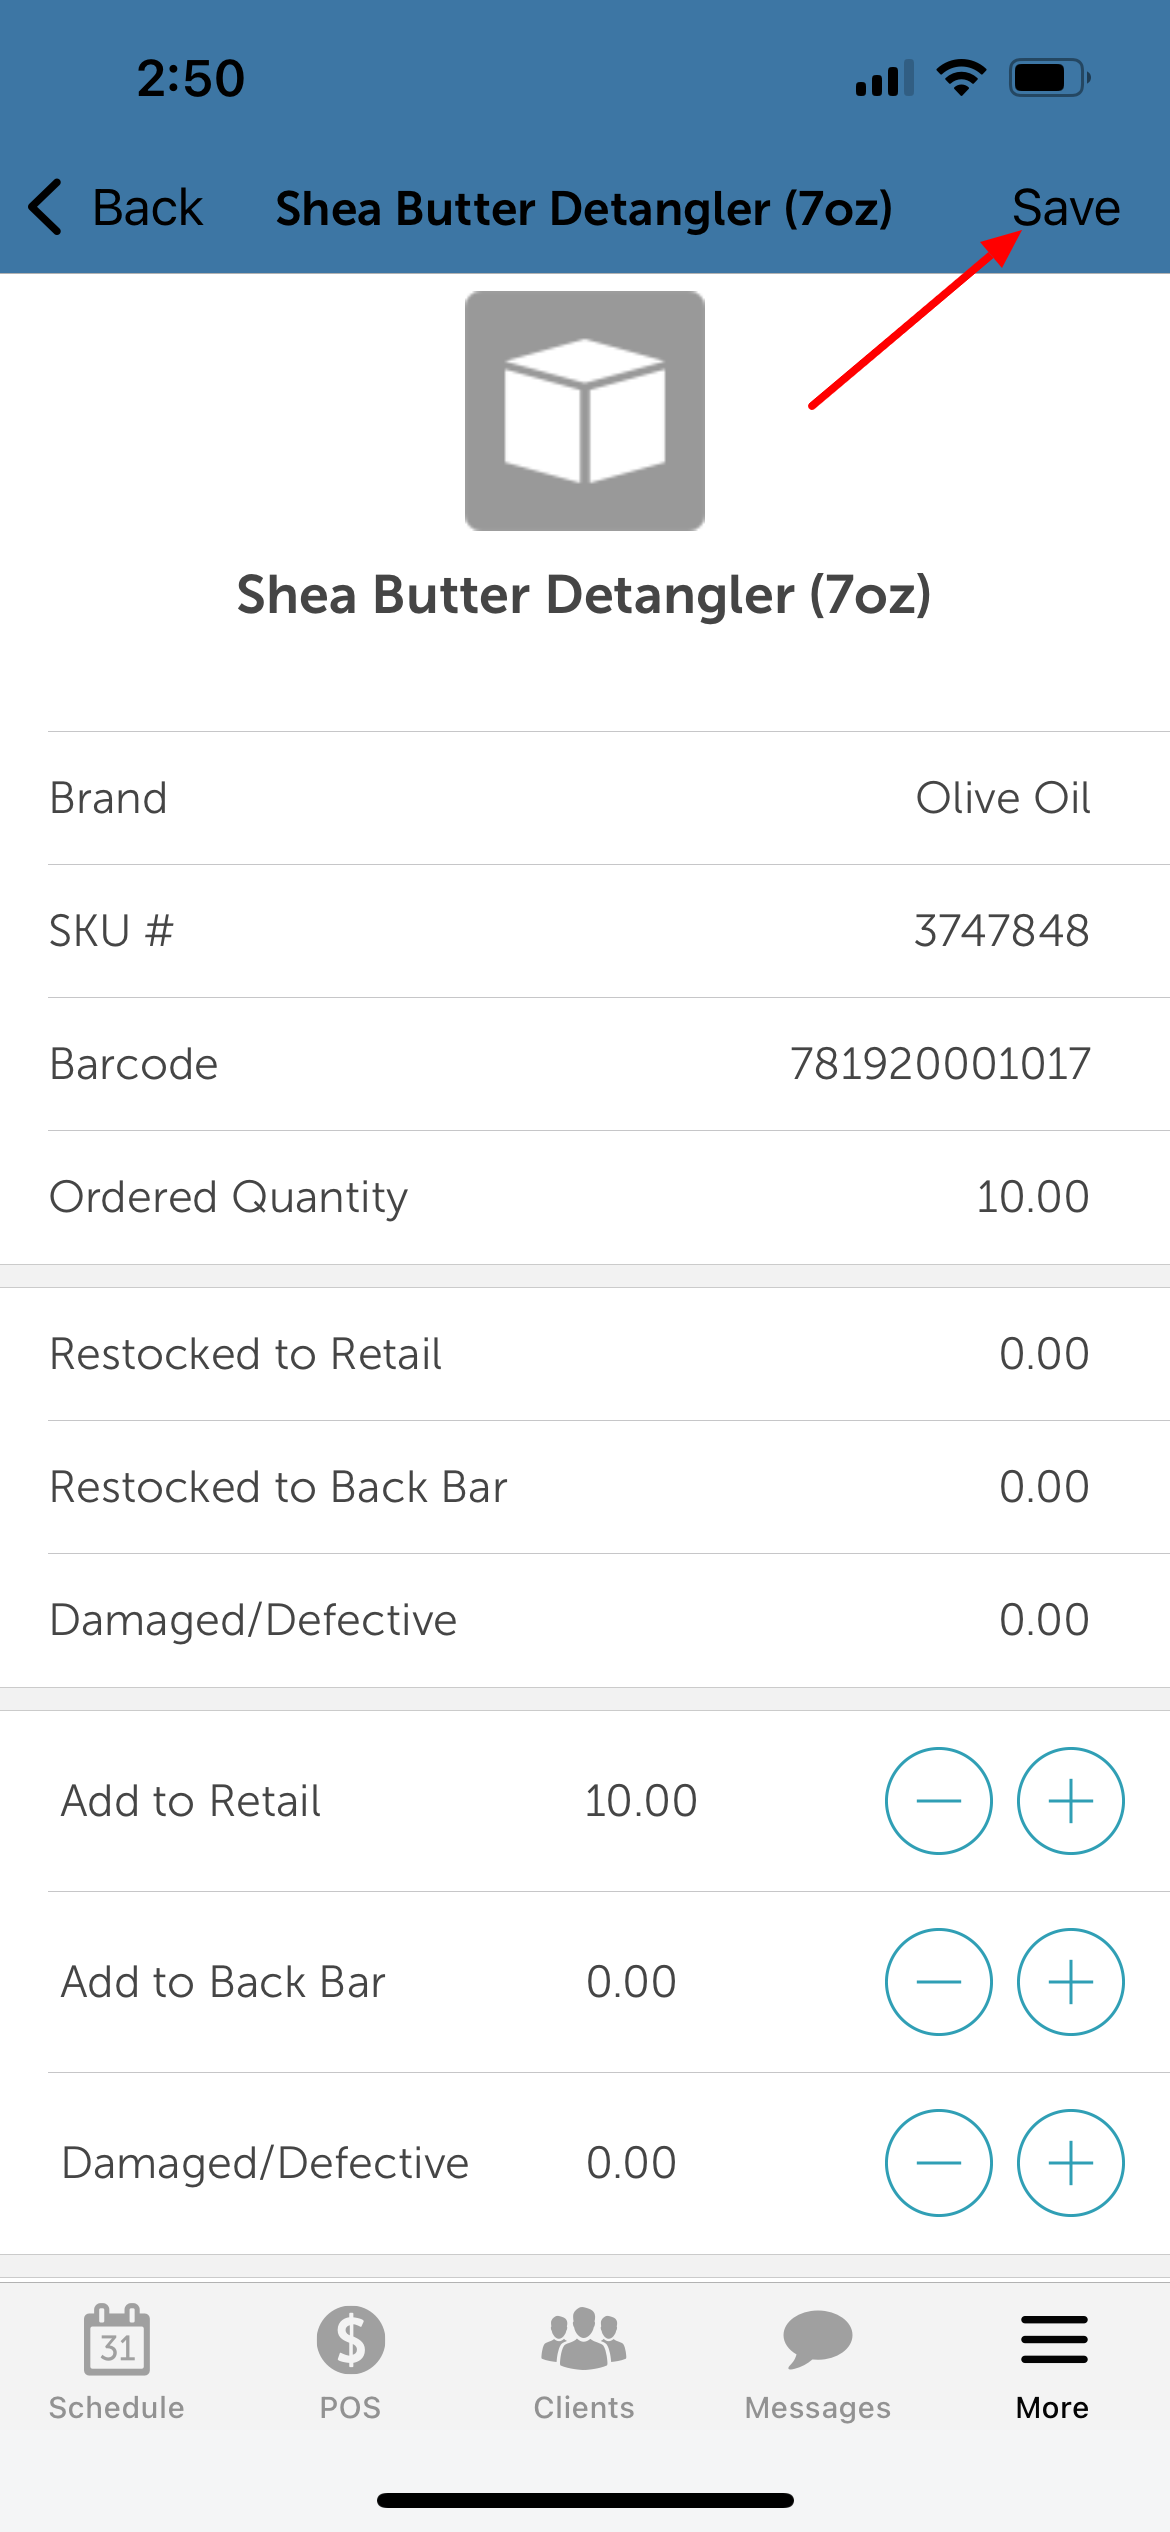
- Tap 'Save' to record the count
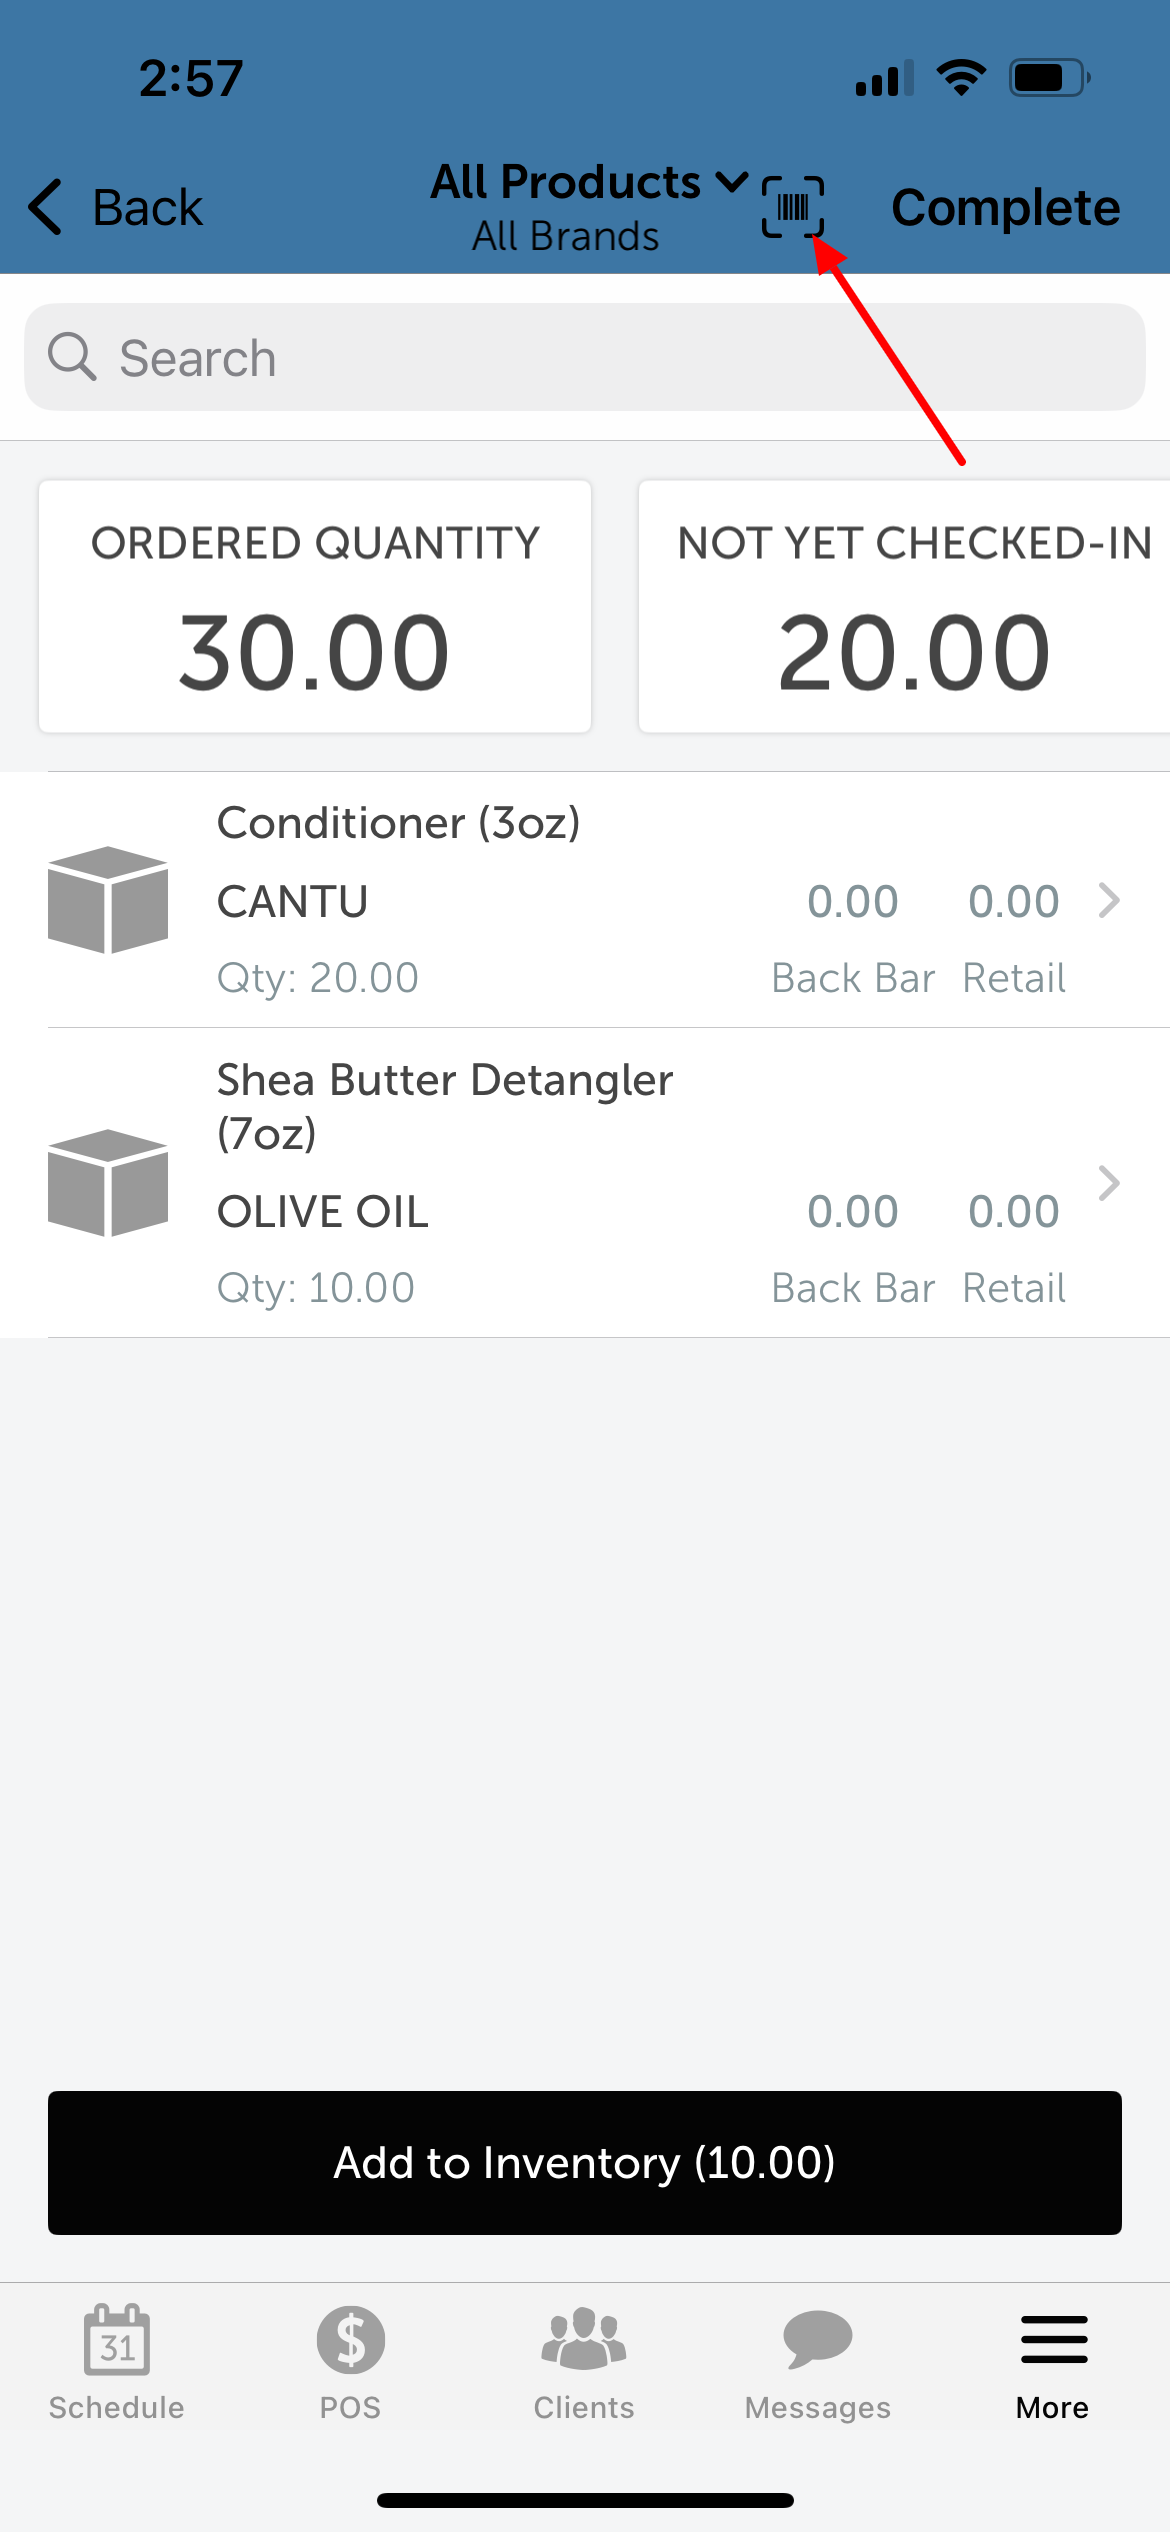
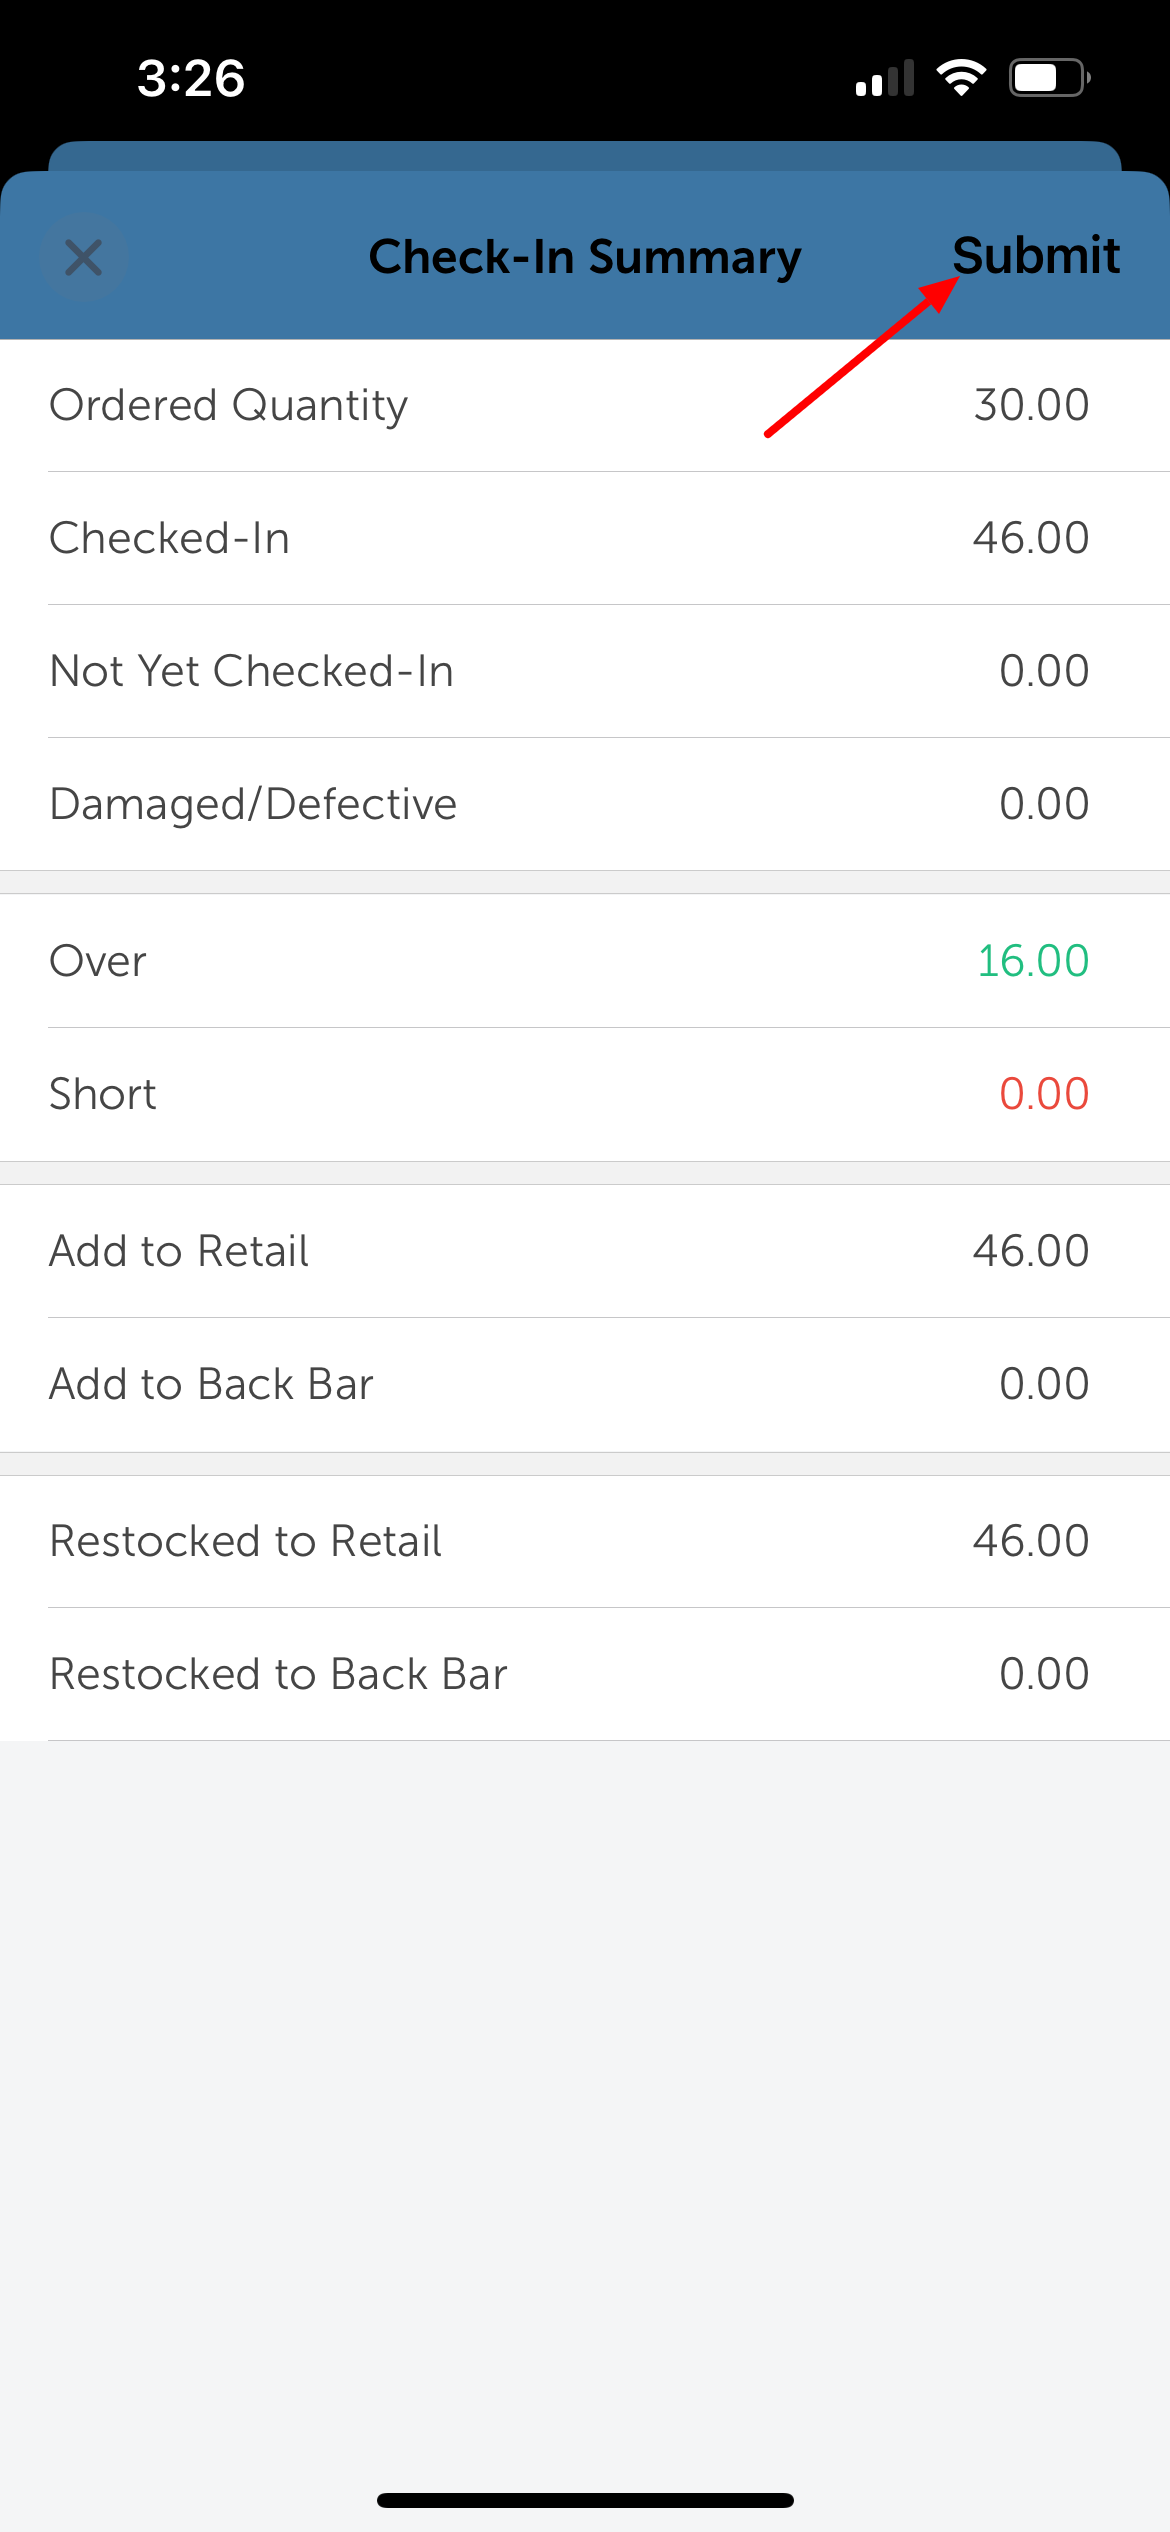
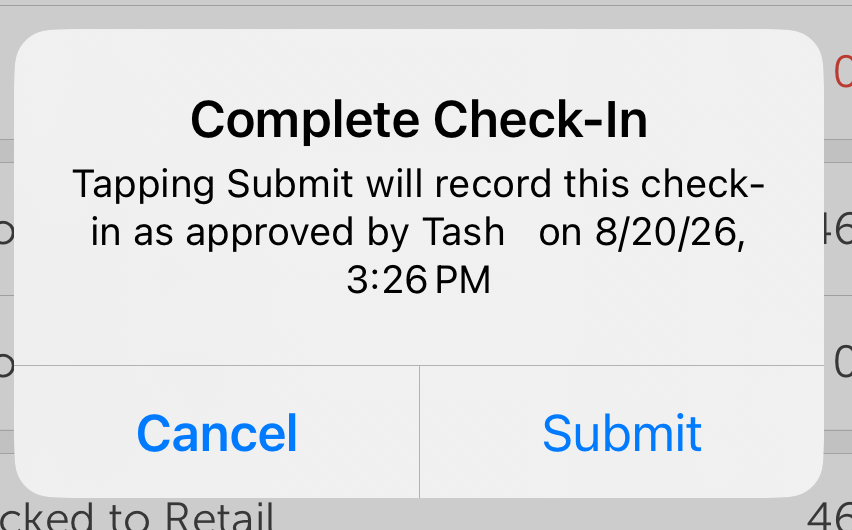
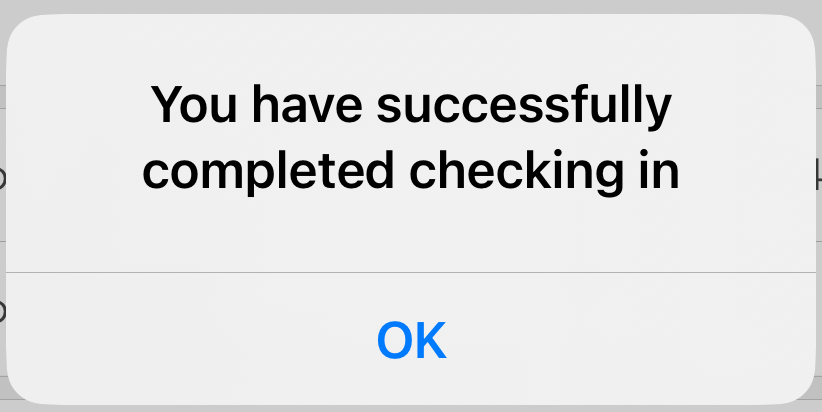
- After entering all quantities, tap Complete in the top-right corner. On the Check-In Summary screen, tap Submit, confirm by tapping Submit again on the pop-up, then tap OK on the success message to finish.
Continuous Scan Receiving Flow
- Tap the barcode scanner icon in the top right corner
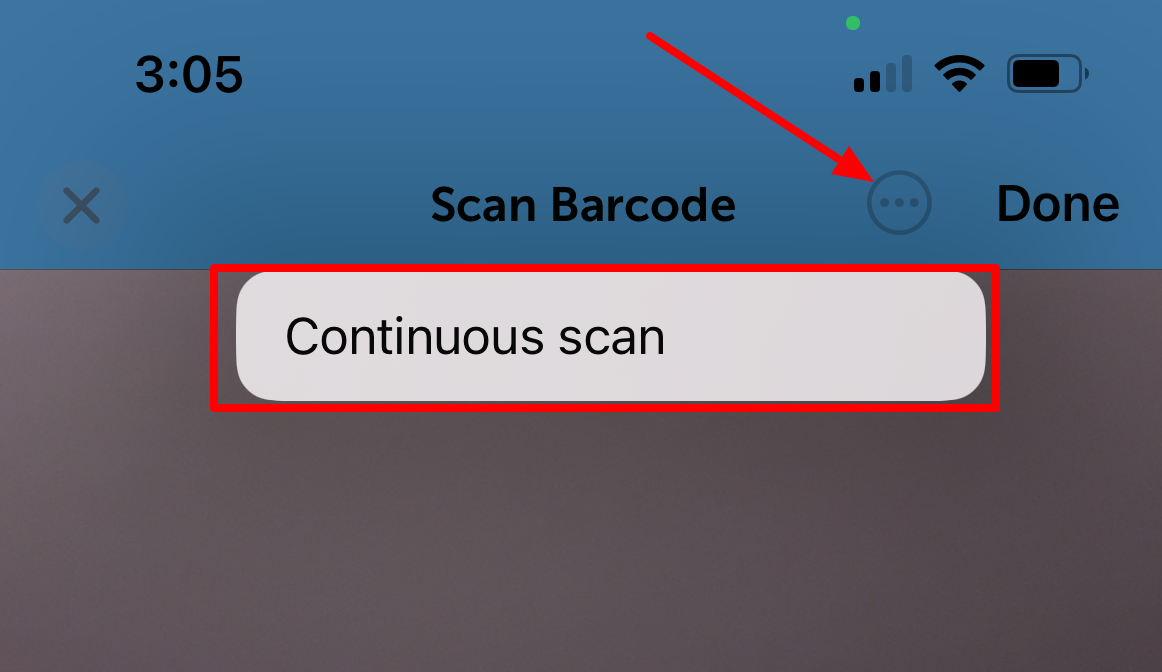
- Open the "..." options menu and toggle on Continuous Scan
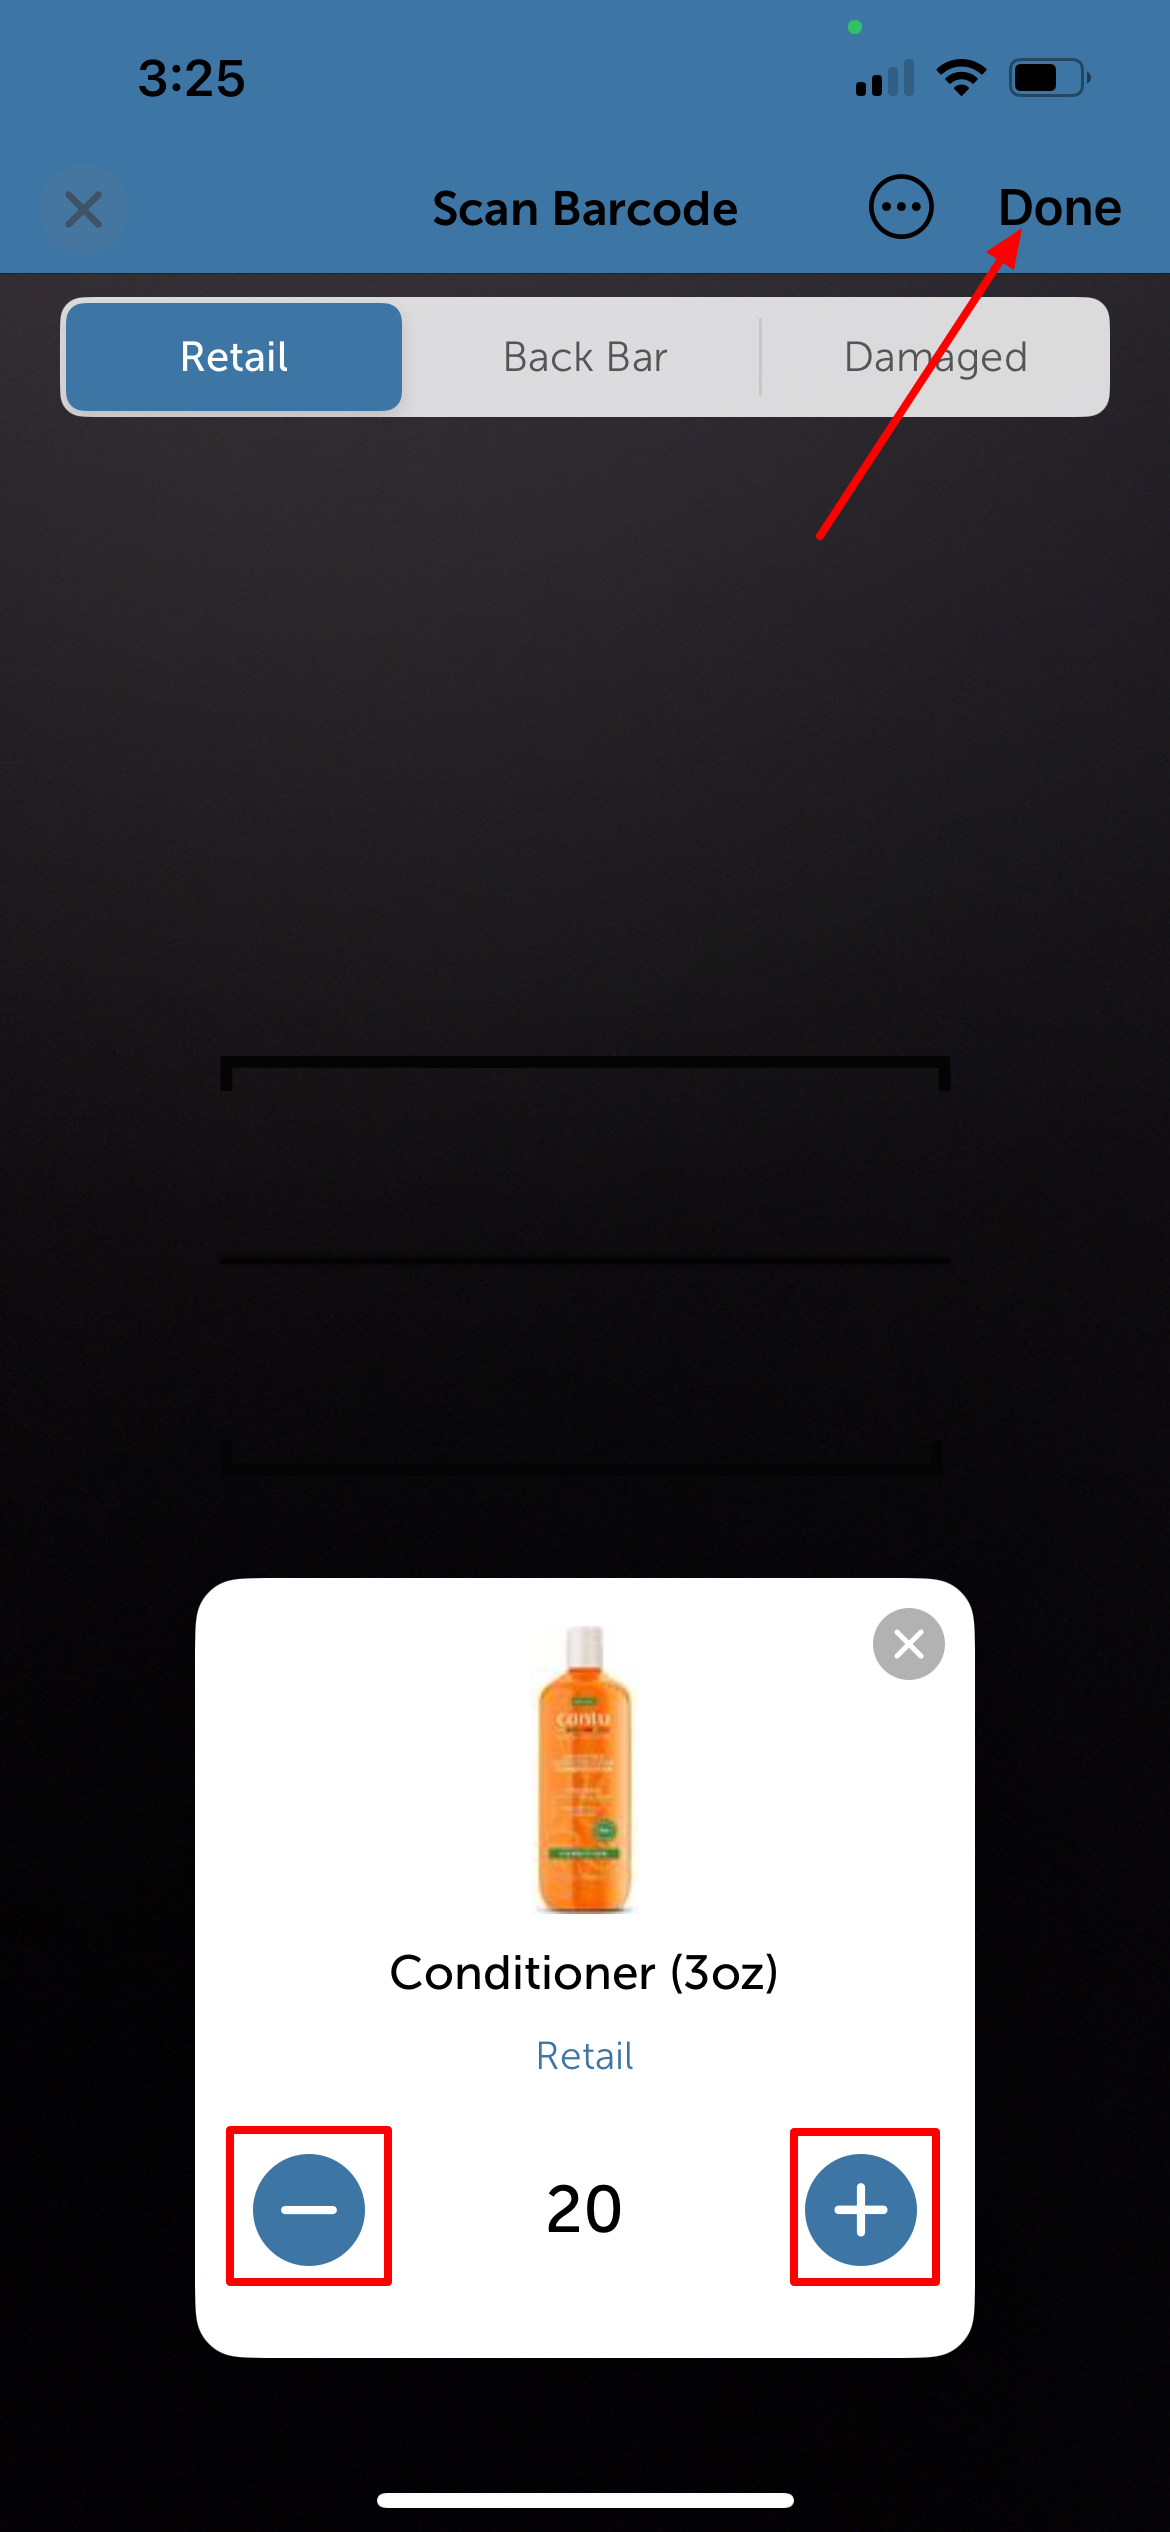
- Choose your inventory destination using the segmented control: Retail, Back Bar, or Damaged
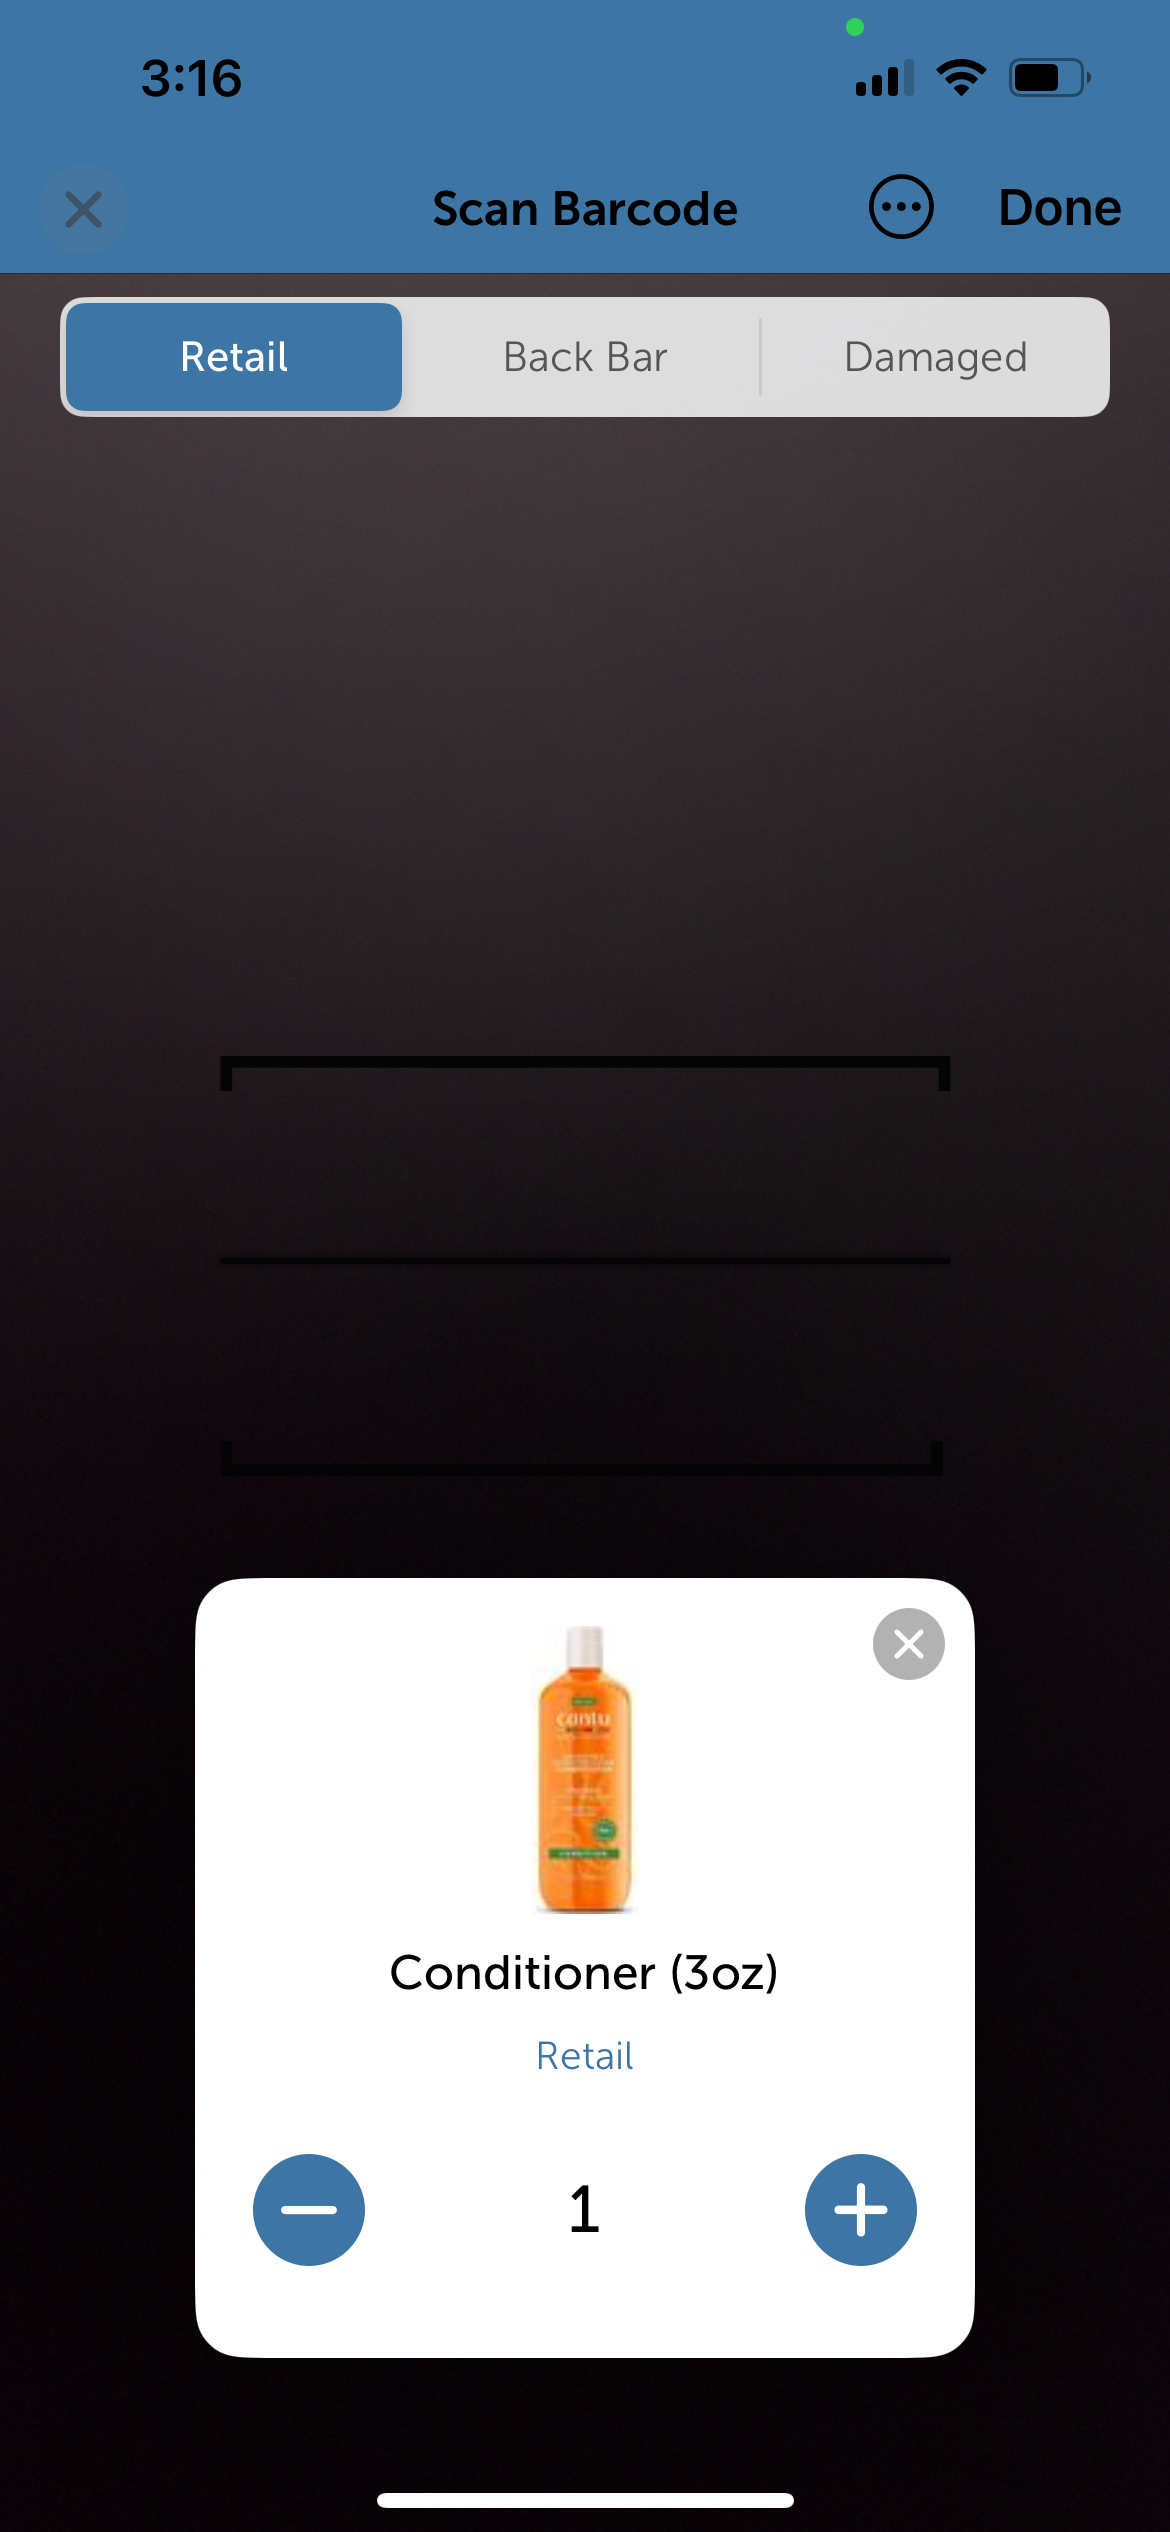
- Scan a SKU belonging to the PO. The product card (displaying the image, name, target, and quantity) will appear
- Scan the same SKU again to automatically increment the quantity count.
- Use the (-) and (+) icons on any product card if you need to manually adjust quantities
- When finished scanning items into your current destination, tap Done in the top-right corner
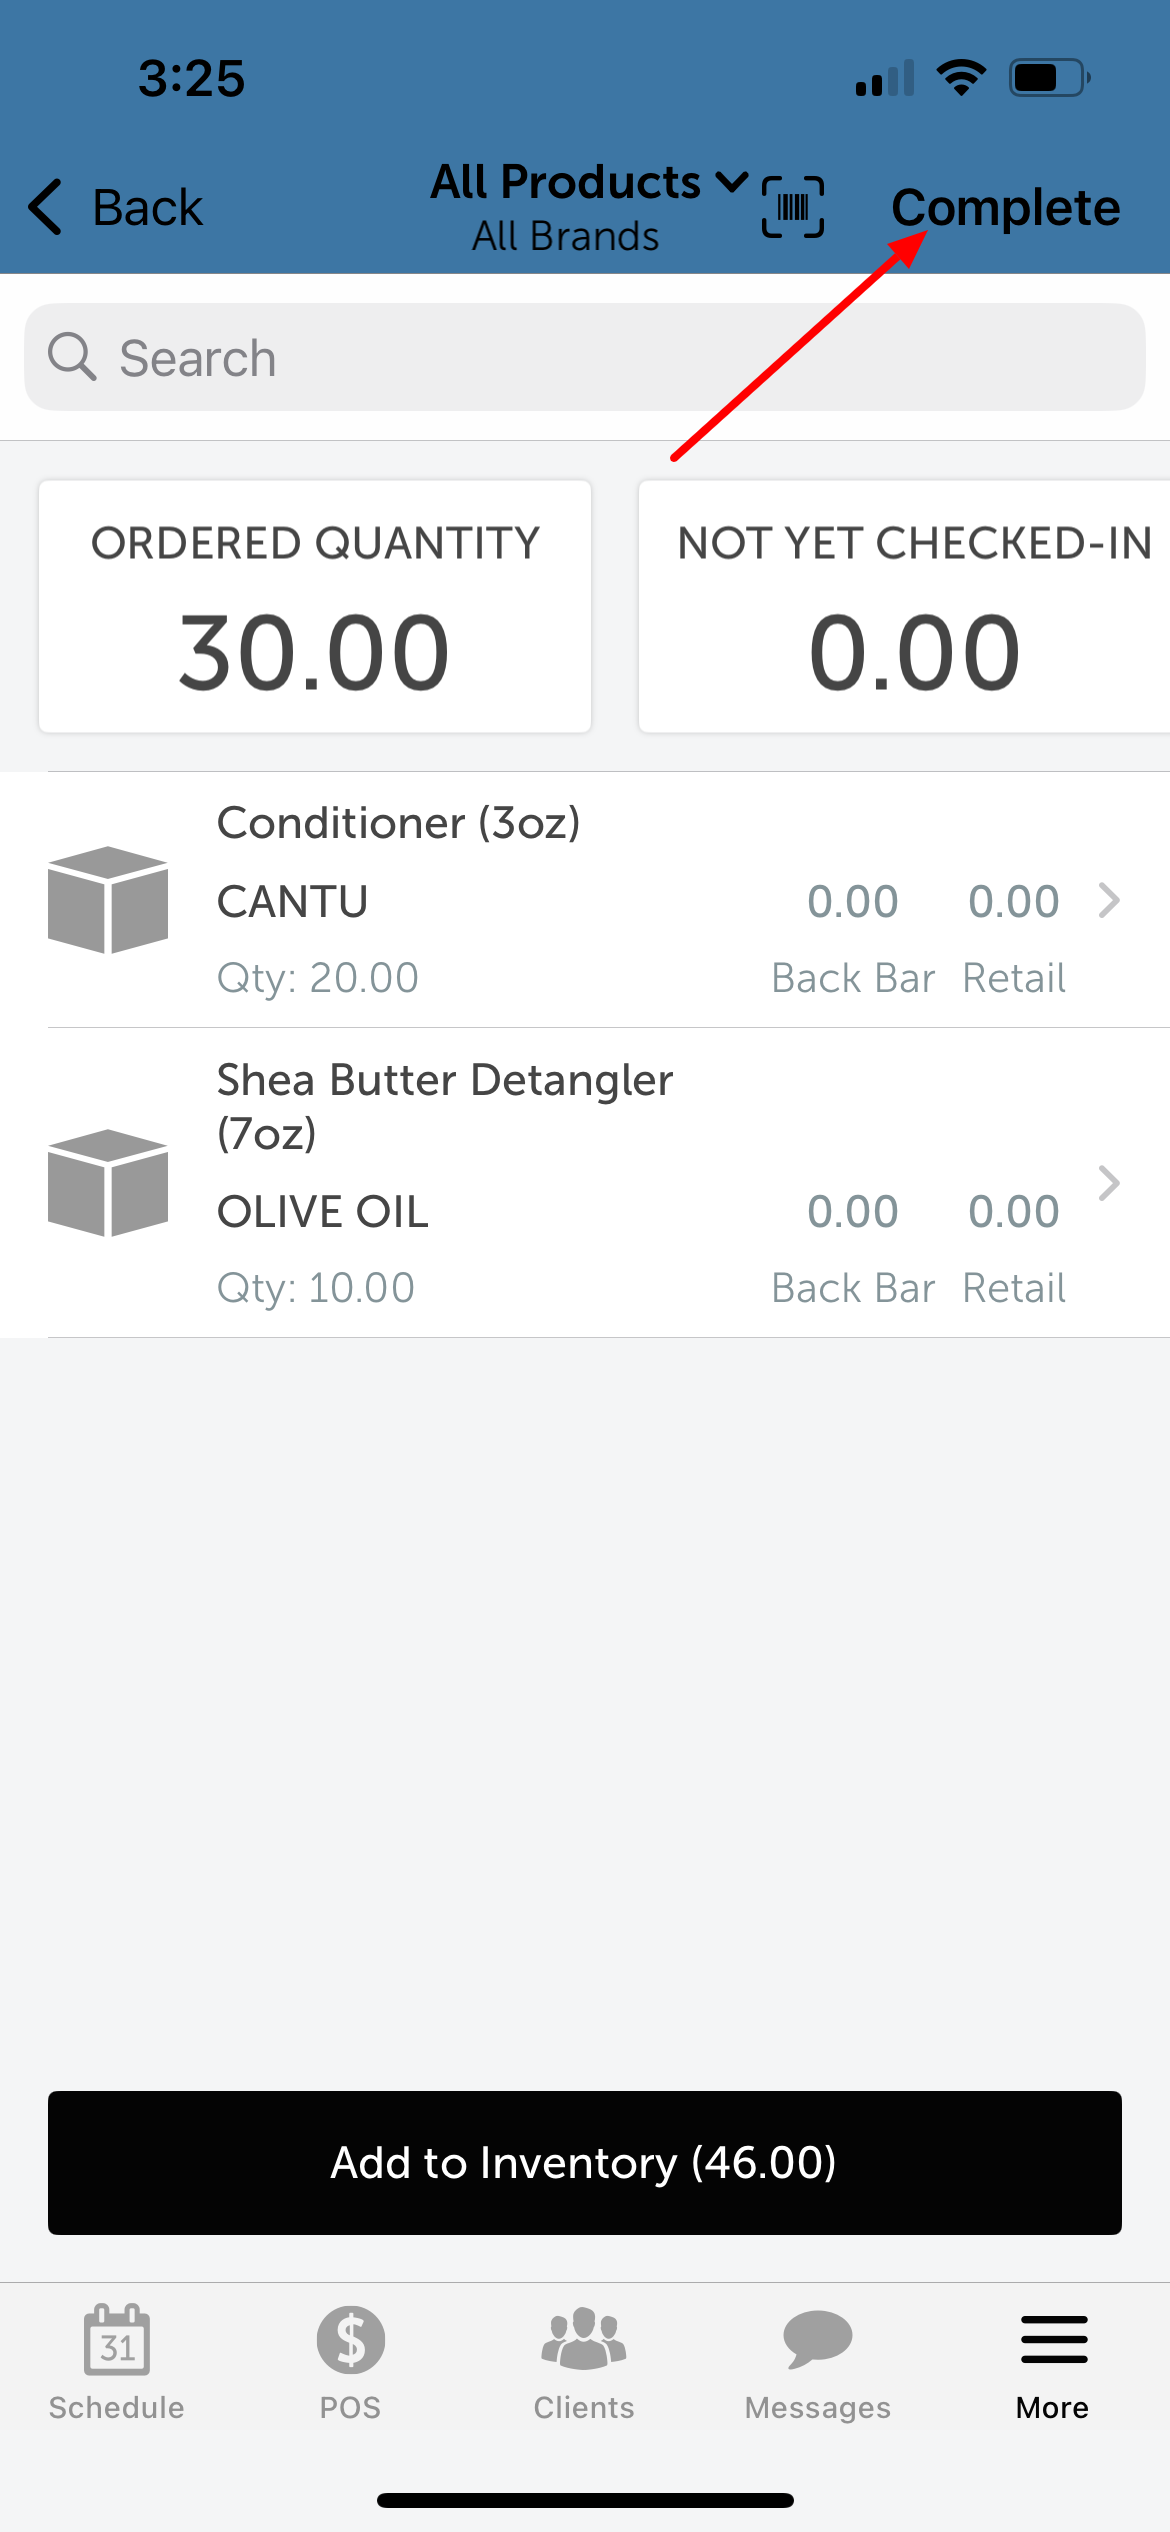
- Once all quantities across all destinations are entered, tap Complete in the top-right corner.
- On the 'Check-In Summary' screen, tap 'Submit'
- Tap Submit on the Check-In Summary screen.
- Tap OK on the final success pop-up
What Happens Next:
- The purchase order is marked as complete and removed from your purchase orders list
- Product quantity, price, and cost are updated in your inventory
- Updates are reflected in both the Inventory and Inventory Adjustment reports
Please contact our Support Team at support@mytime.com if you have any questions.
Related Article:
Installing MyTime on Scheduler App (Android and iOS)
Signing into MyTime on Scheduler App (Android and iOS)
Selling Products, Gift Cards, Memberships and Packages on Scheduler App
Was this article helpful?
That’s Great!
Thank you for your feedback
Sorry! We couldn't be helpful
Thank you for your feedback
Feedback sent
We appreciate your effort and will try to fix the article