When a vendor shipment arrives, you can process the delivery, update item costs or prices, apply discounts, and instantly adjust your inventory.
- Prerequisites & Settings
- Basic Check-In Process
- Adding Unordered Products / SKUs
- Applying Vendor Discounts
- Updating Sale Price & Cost
- Canceling a Check-In
- Pro-Tip: Fast Scanning with Case Barcodes
Prerequisites & Settings
Before processing purchase orders, review these key system configurations:
- Location Restrictions: Staff with location-specific permissions can only manage purchase orders for their assigned locations. Accessing an order for another location will be view-only.
- Editing Costs & Prices: To edit costs or prices during check-in, ensure the Allow Updating Cost of PO After Submission setting is toggled ON, and set Access Inventory Costs/Prices permissions to EDIT.
- Forced "Receive All" Mode: If you want to require staff to check in entire shipments at once without manually changing individual item quantities, contact support@mytime.com to enable the "Only allow receiving all for Purchase Orders" hidden setting.
Basic Check-In Process
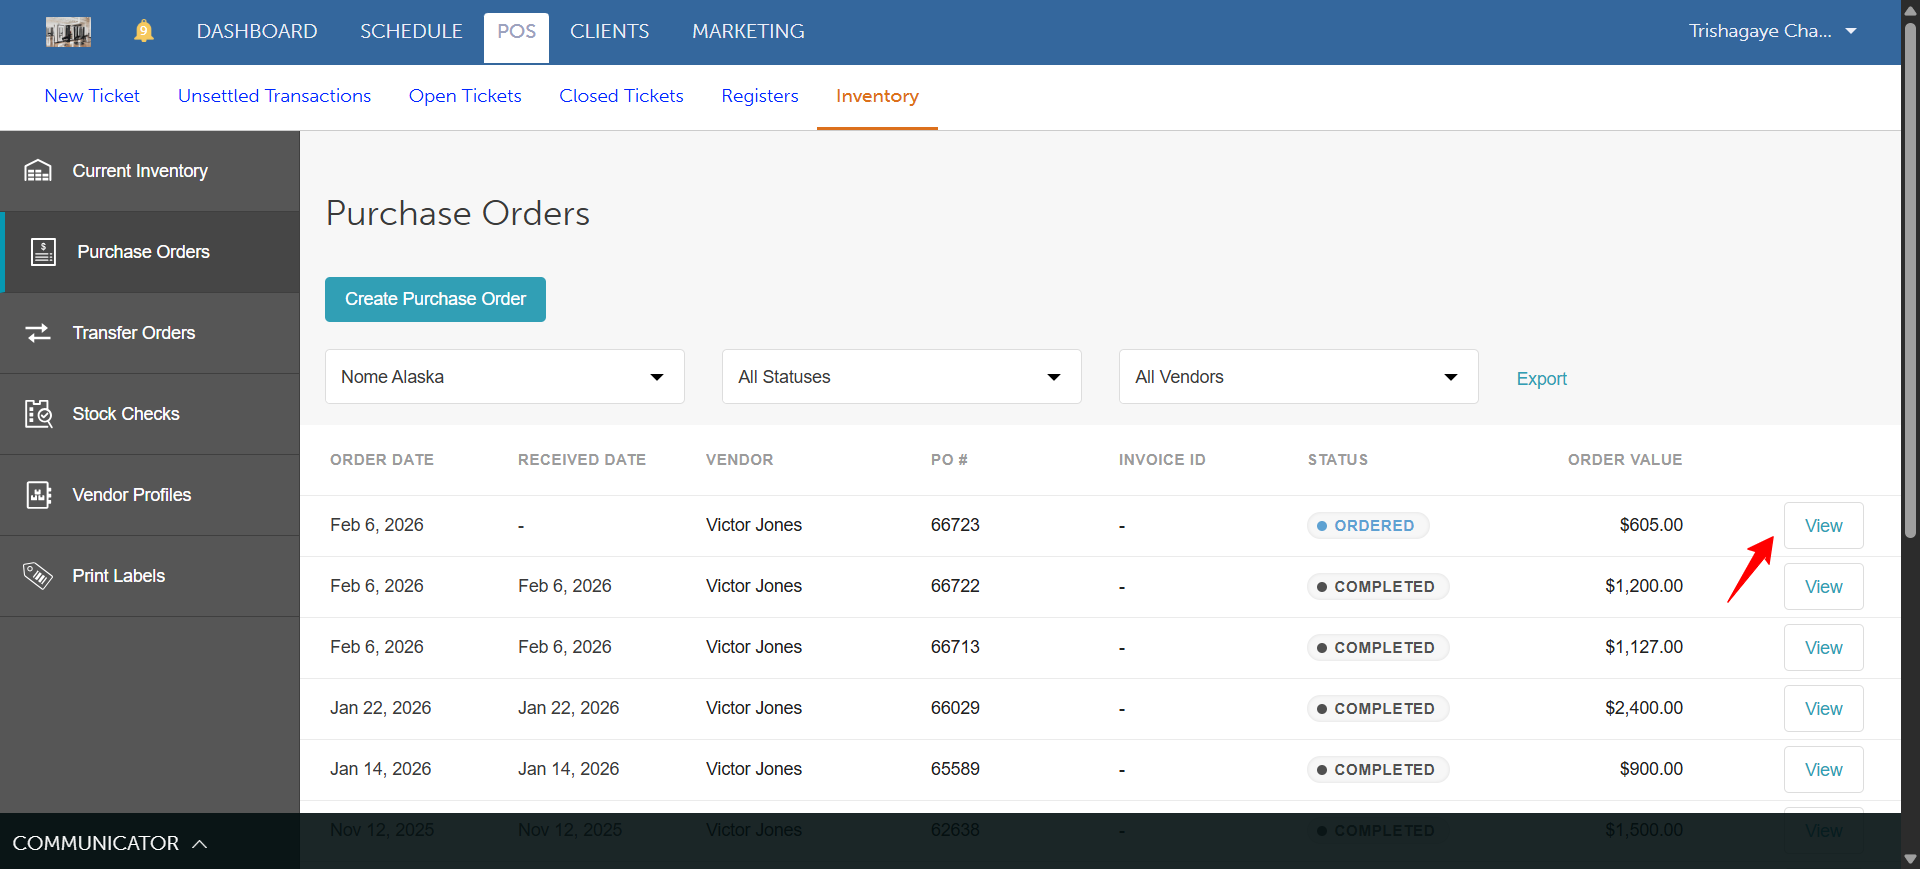
- Navigate to POS > Inventory
- Select Purchase Orders from the left panel
- Locate the order, and click View
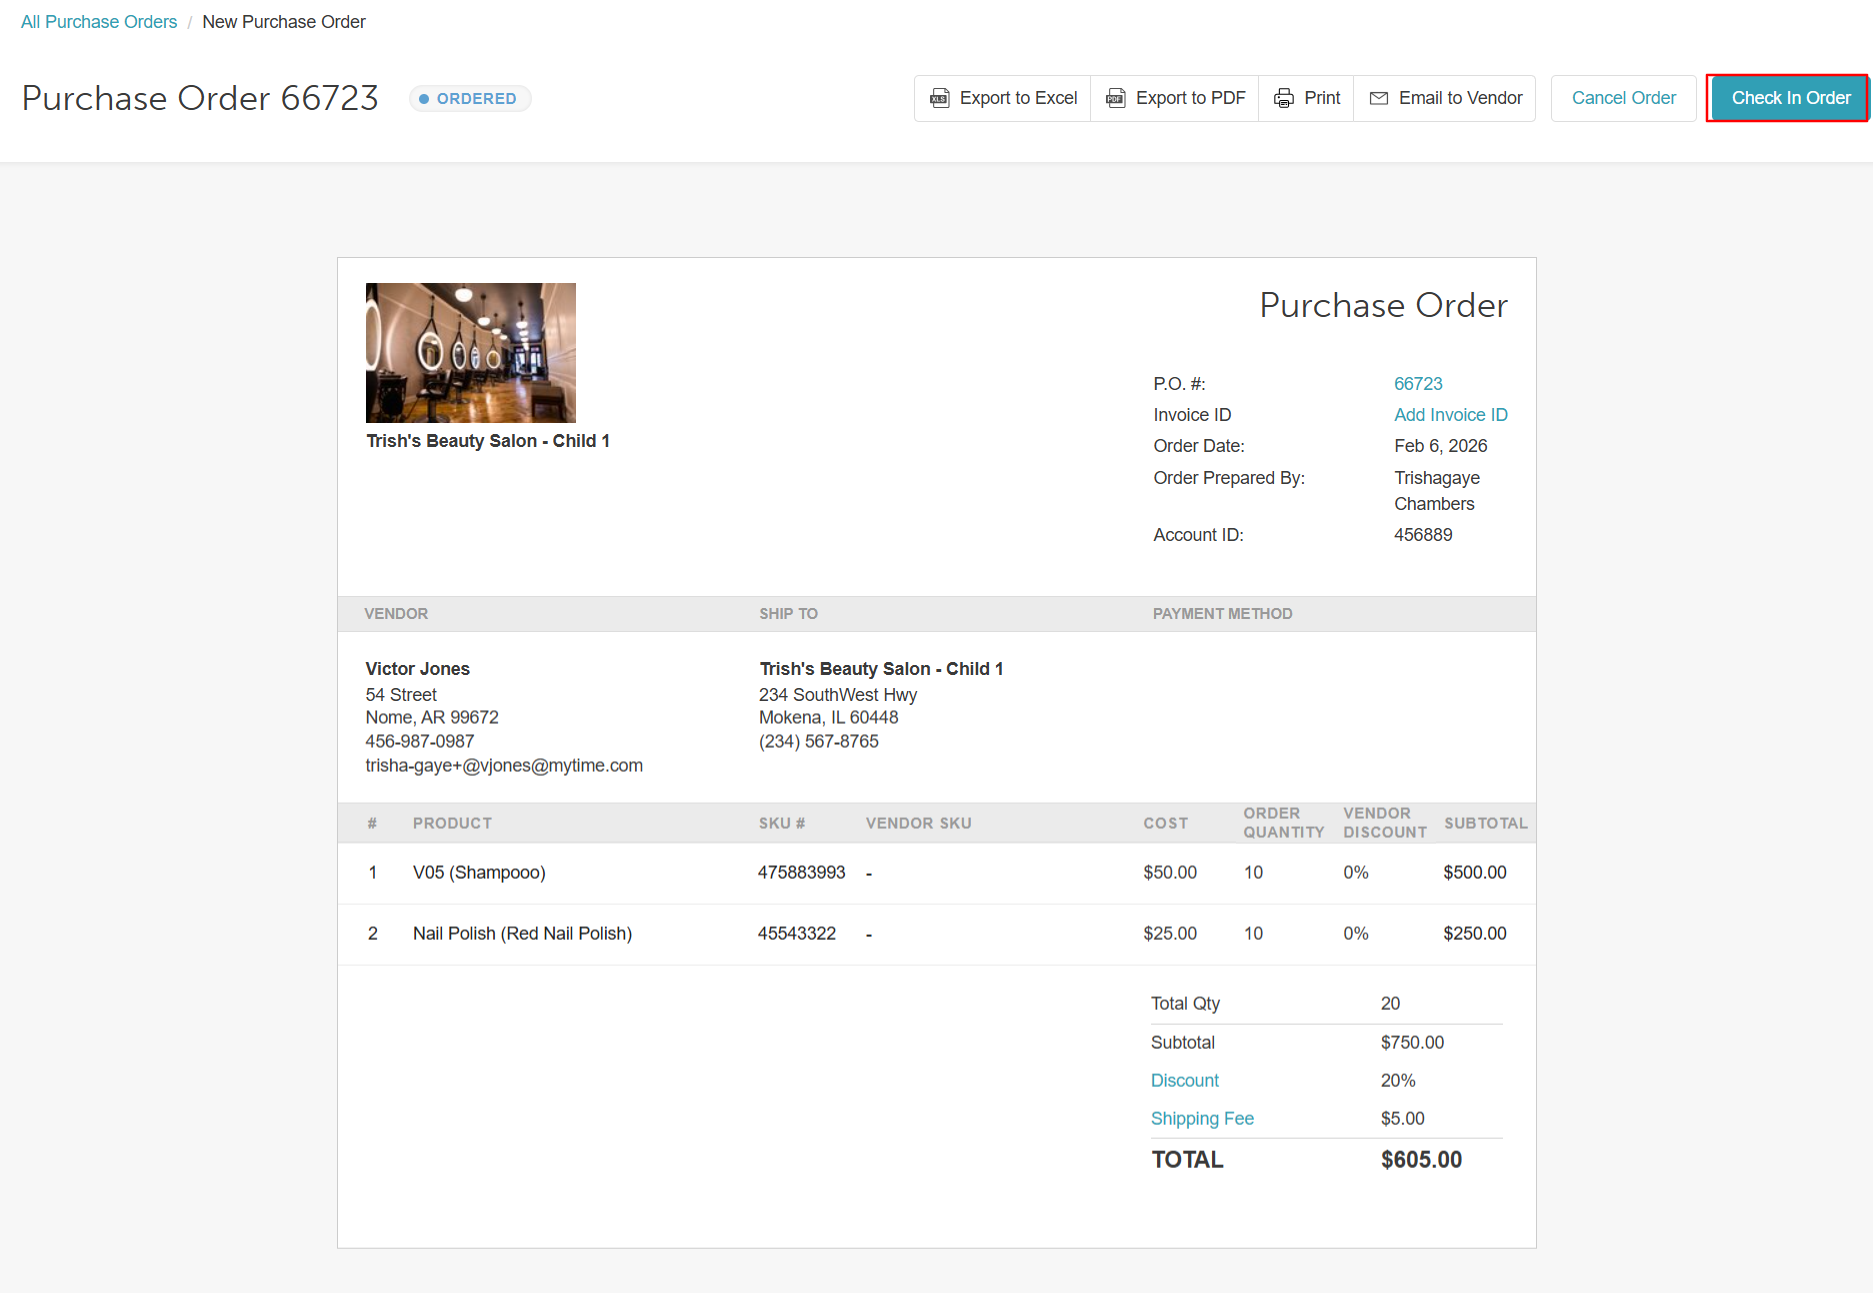
- Select Check-In Order
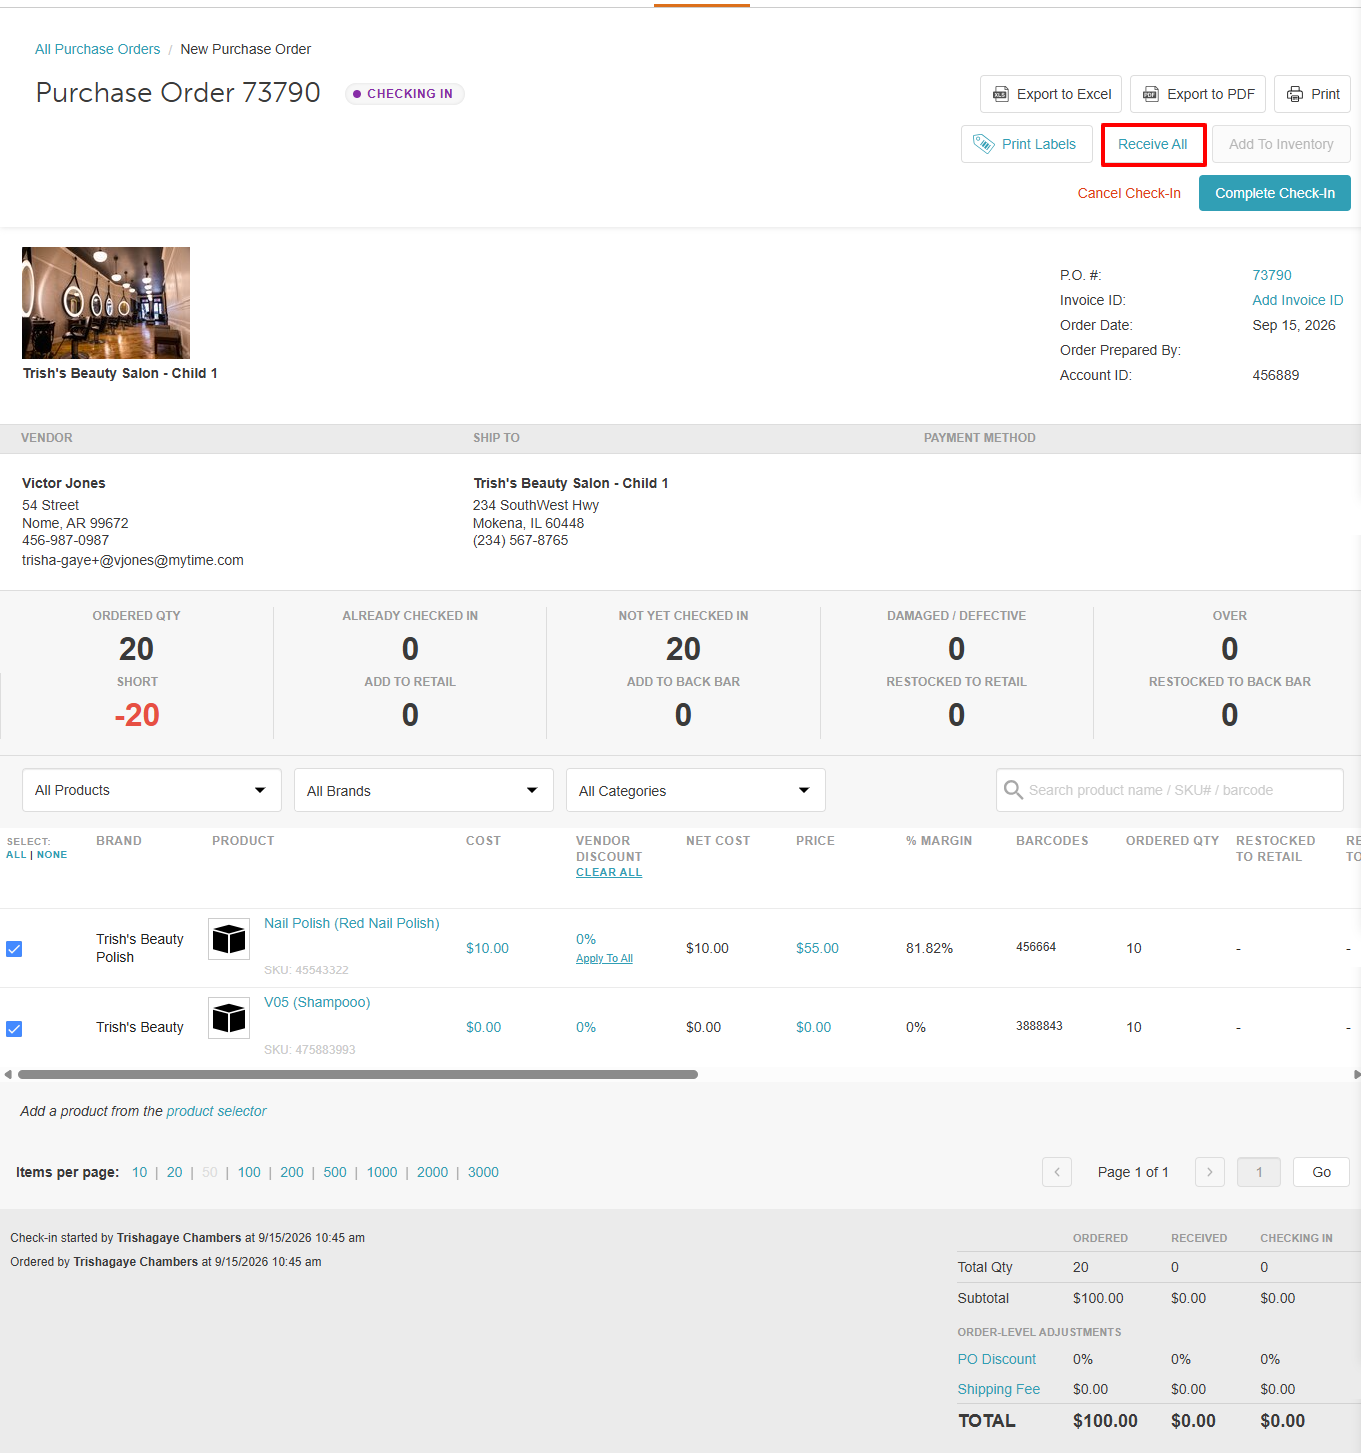
- Choose your receiving method:
- Bulk: Select "Receive All" to clear the full order at once
- Manual: Enter the quantities received in the Add to Retail or Add to Back Bar fields for each item
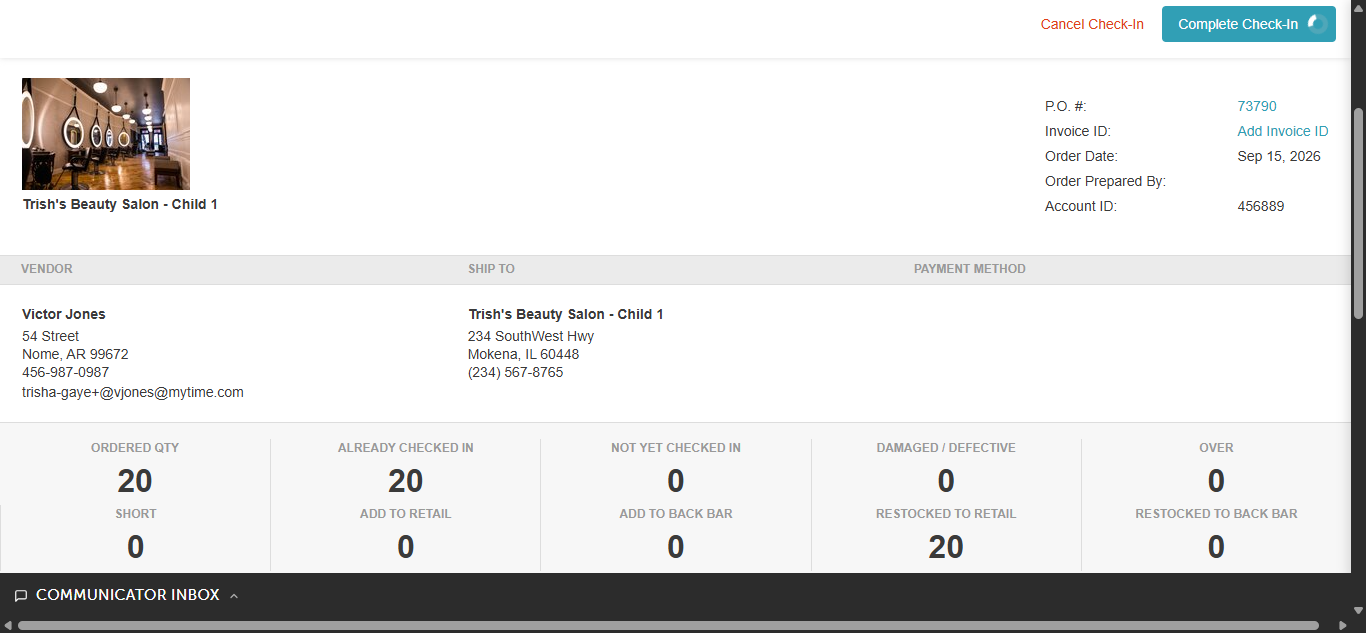
- Click Complete Check-In, confirm the items in the modal, and click Complete Check-In again to finalize.
Adding Unordered Products / SKUs
If a vendor sends extra items or unexpected samples, you can add them directly to the check-in flow:
- At the bottom-left of the Check-In screen, select Product Selector.
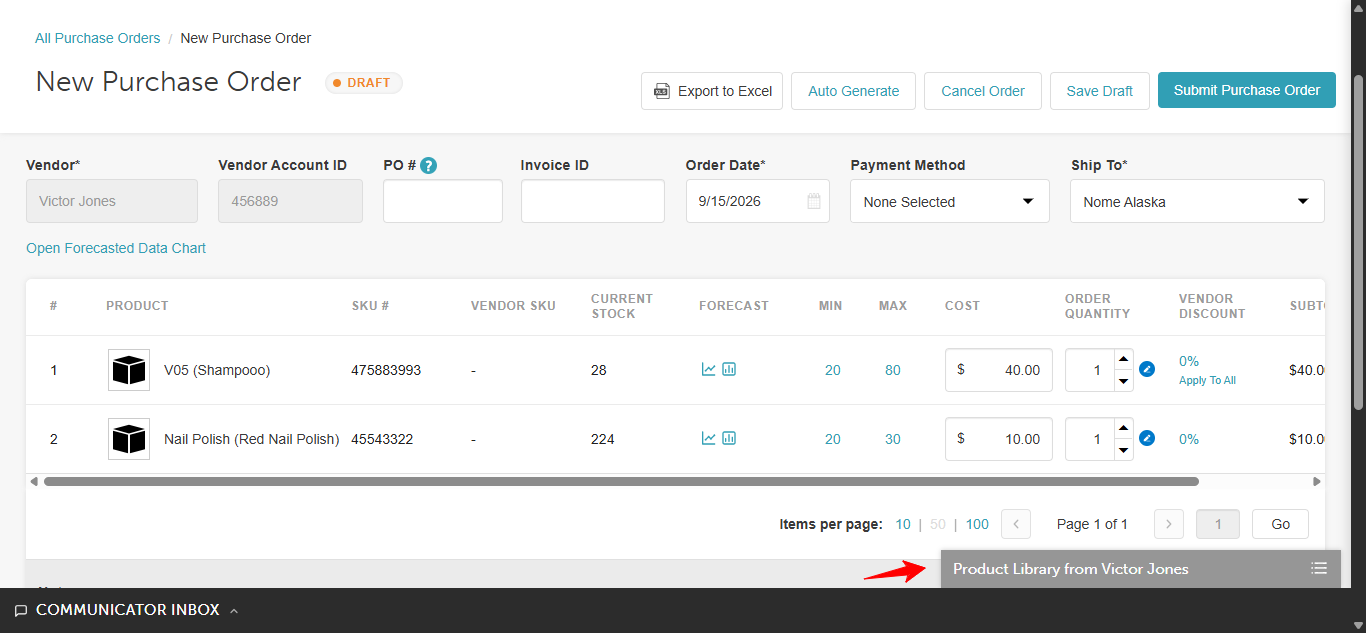
- Select the additional products from your library.
- Newly added items will highlight on the order with an ordered quantity of 1. Enter the physical count received in the Add to Retail or Add to Back Bar fields.
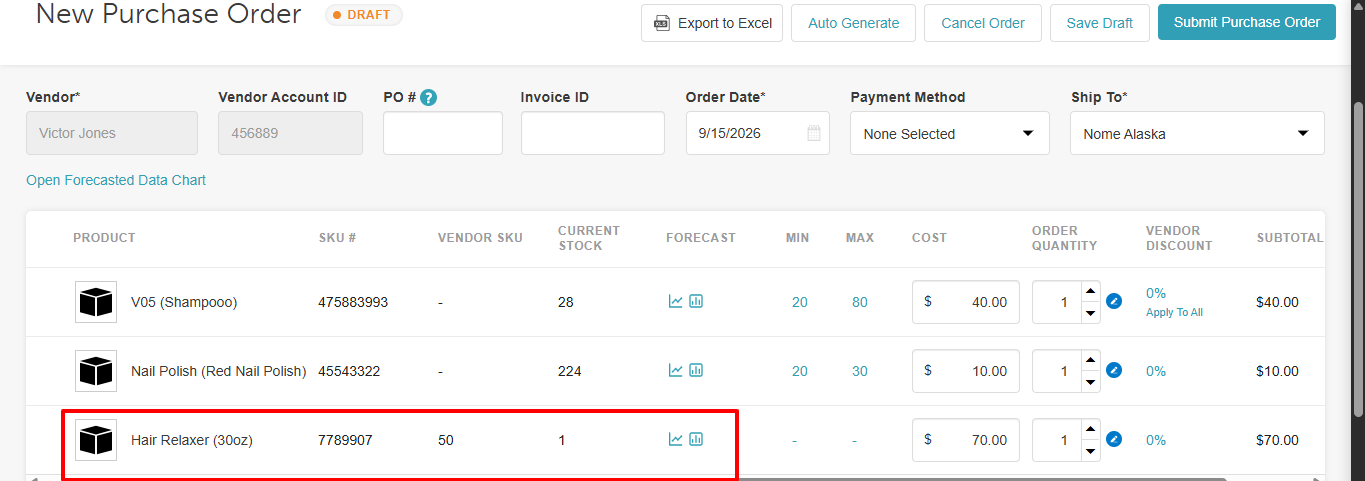
Variance Rules for Quantity Adjustments:
- Positive Variance (+): Received more than ordered. Negative value entries are allowed to adjust your intake.
- Zero / Negative Variance (-): Received less than or equal to ordered. Negative value entries are blocked to prevent inventory sync errors.
Applying Vendor Discounts
Discounts can be applied as either a flat dollar amount or a percentage across individual SKUs or the entire purchase order:
- Click the hyperlink in the Vendor Discount column next to any item.
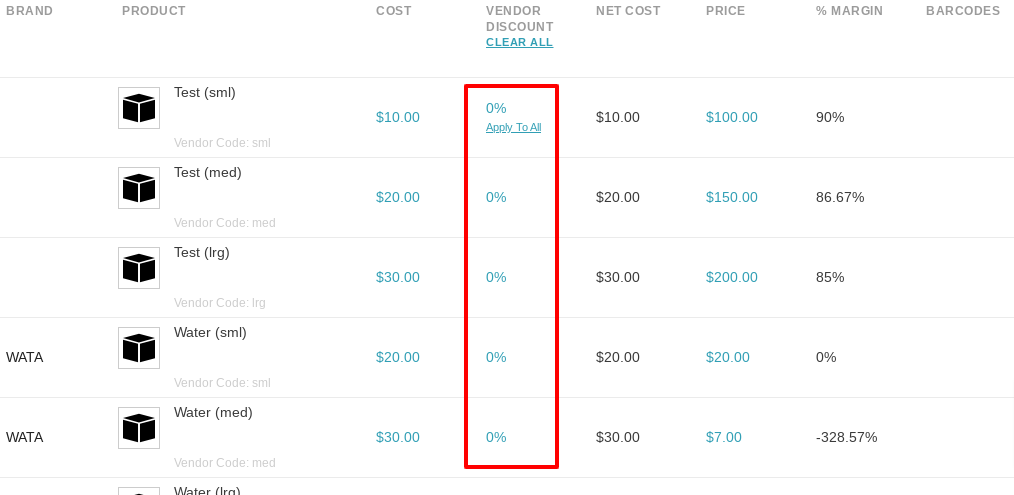
- Enter the discount value ($ or %) and click Save.
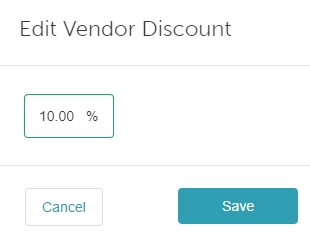
- (Optional) Select Apply to All to apply this same discount across every product in the order.
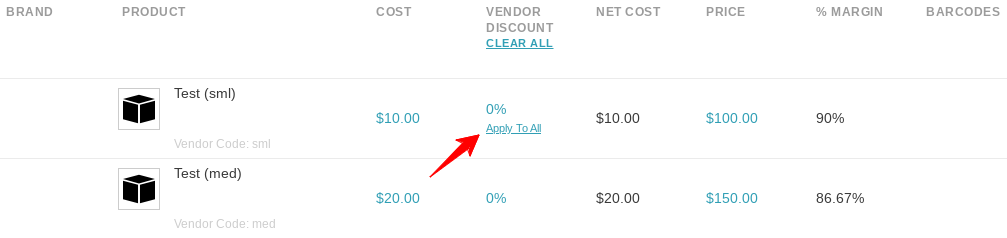
- To reset, select Clear All or set an individual item’s discount to $0.00
Updating Sale Price & Cost
Updating price or cost during check-in reloads the SKU details across your location and updates the Inventory Reconciliation Report.
- Click the hyperlinked value in the Cost or Price column next to any item.

- Enter the updated figure in the modal and click Save.
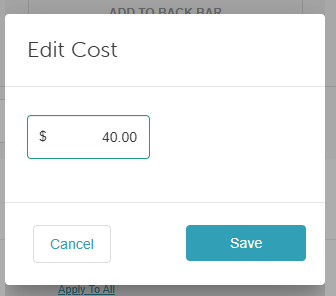
- The system will automatically recalculate your net cost and profit margin using the formula: 100 * (purchase order item price - purchase order item net cost) / purchase order item price)
Canceling a Check-In
If you need to halt a check-in midway:
- Select Cancel Check-In at the top of the screen and confirm the prompt.
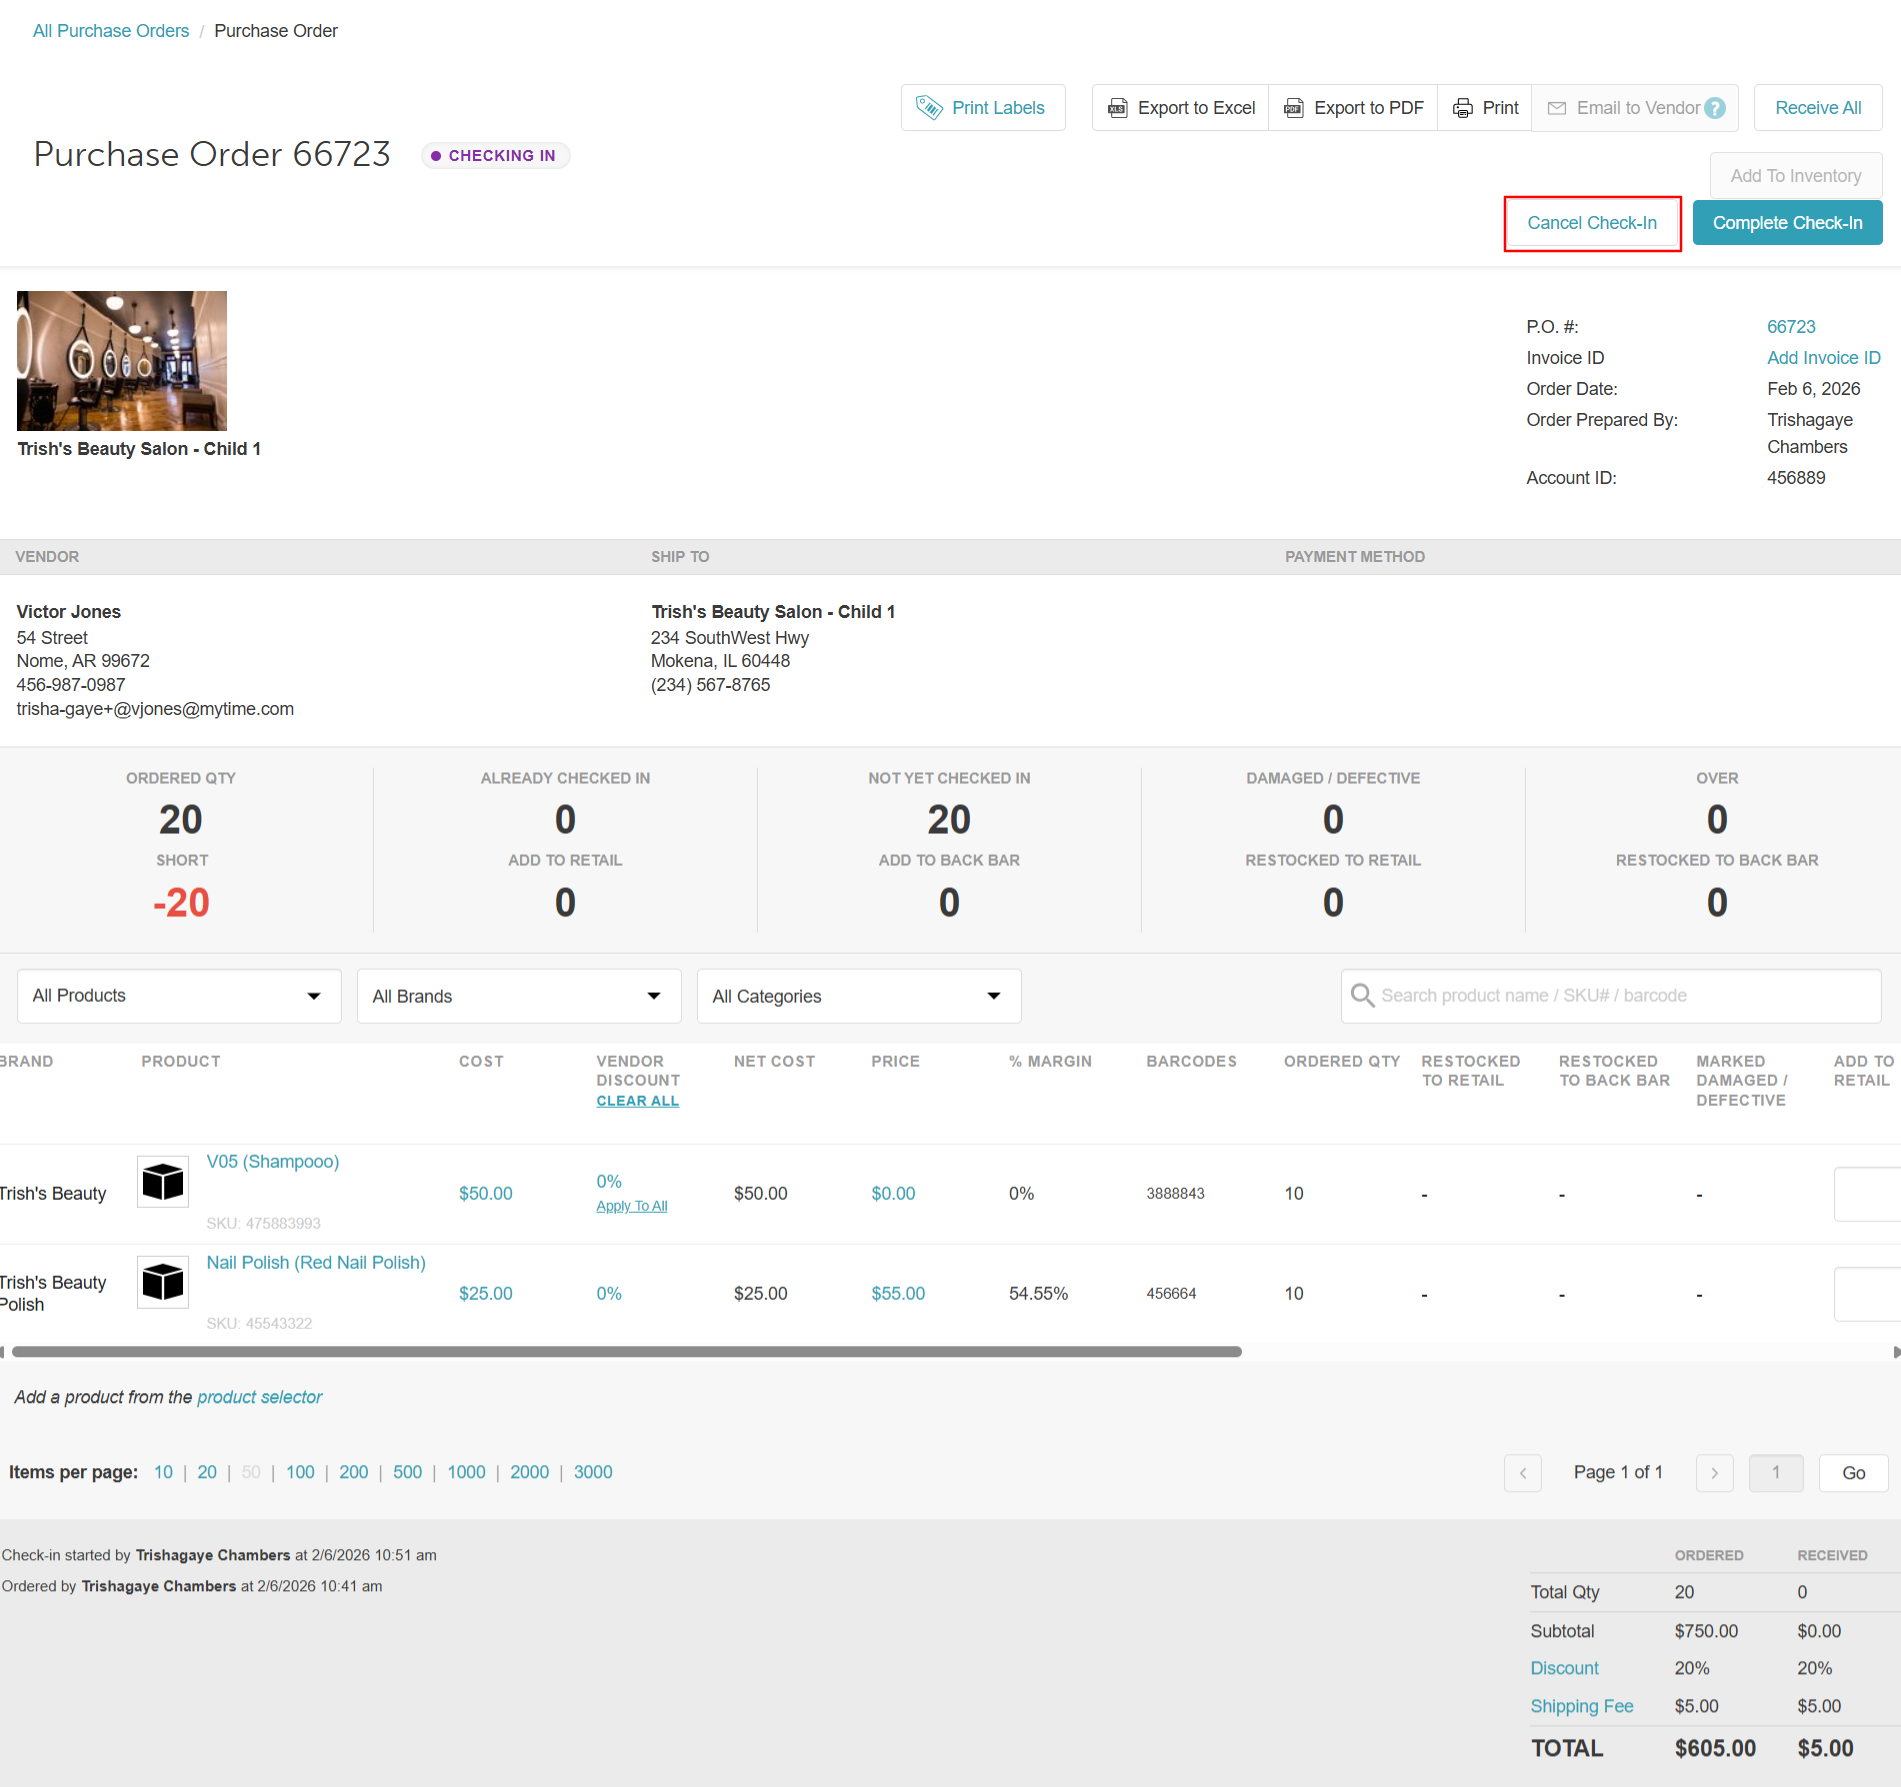
- The order status will revert to Ordered.
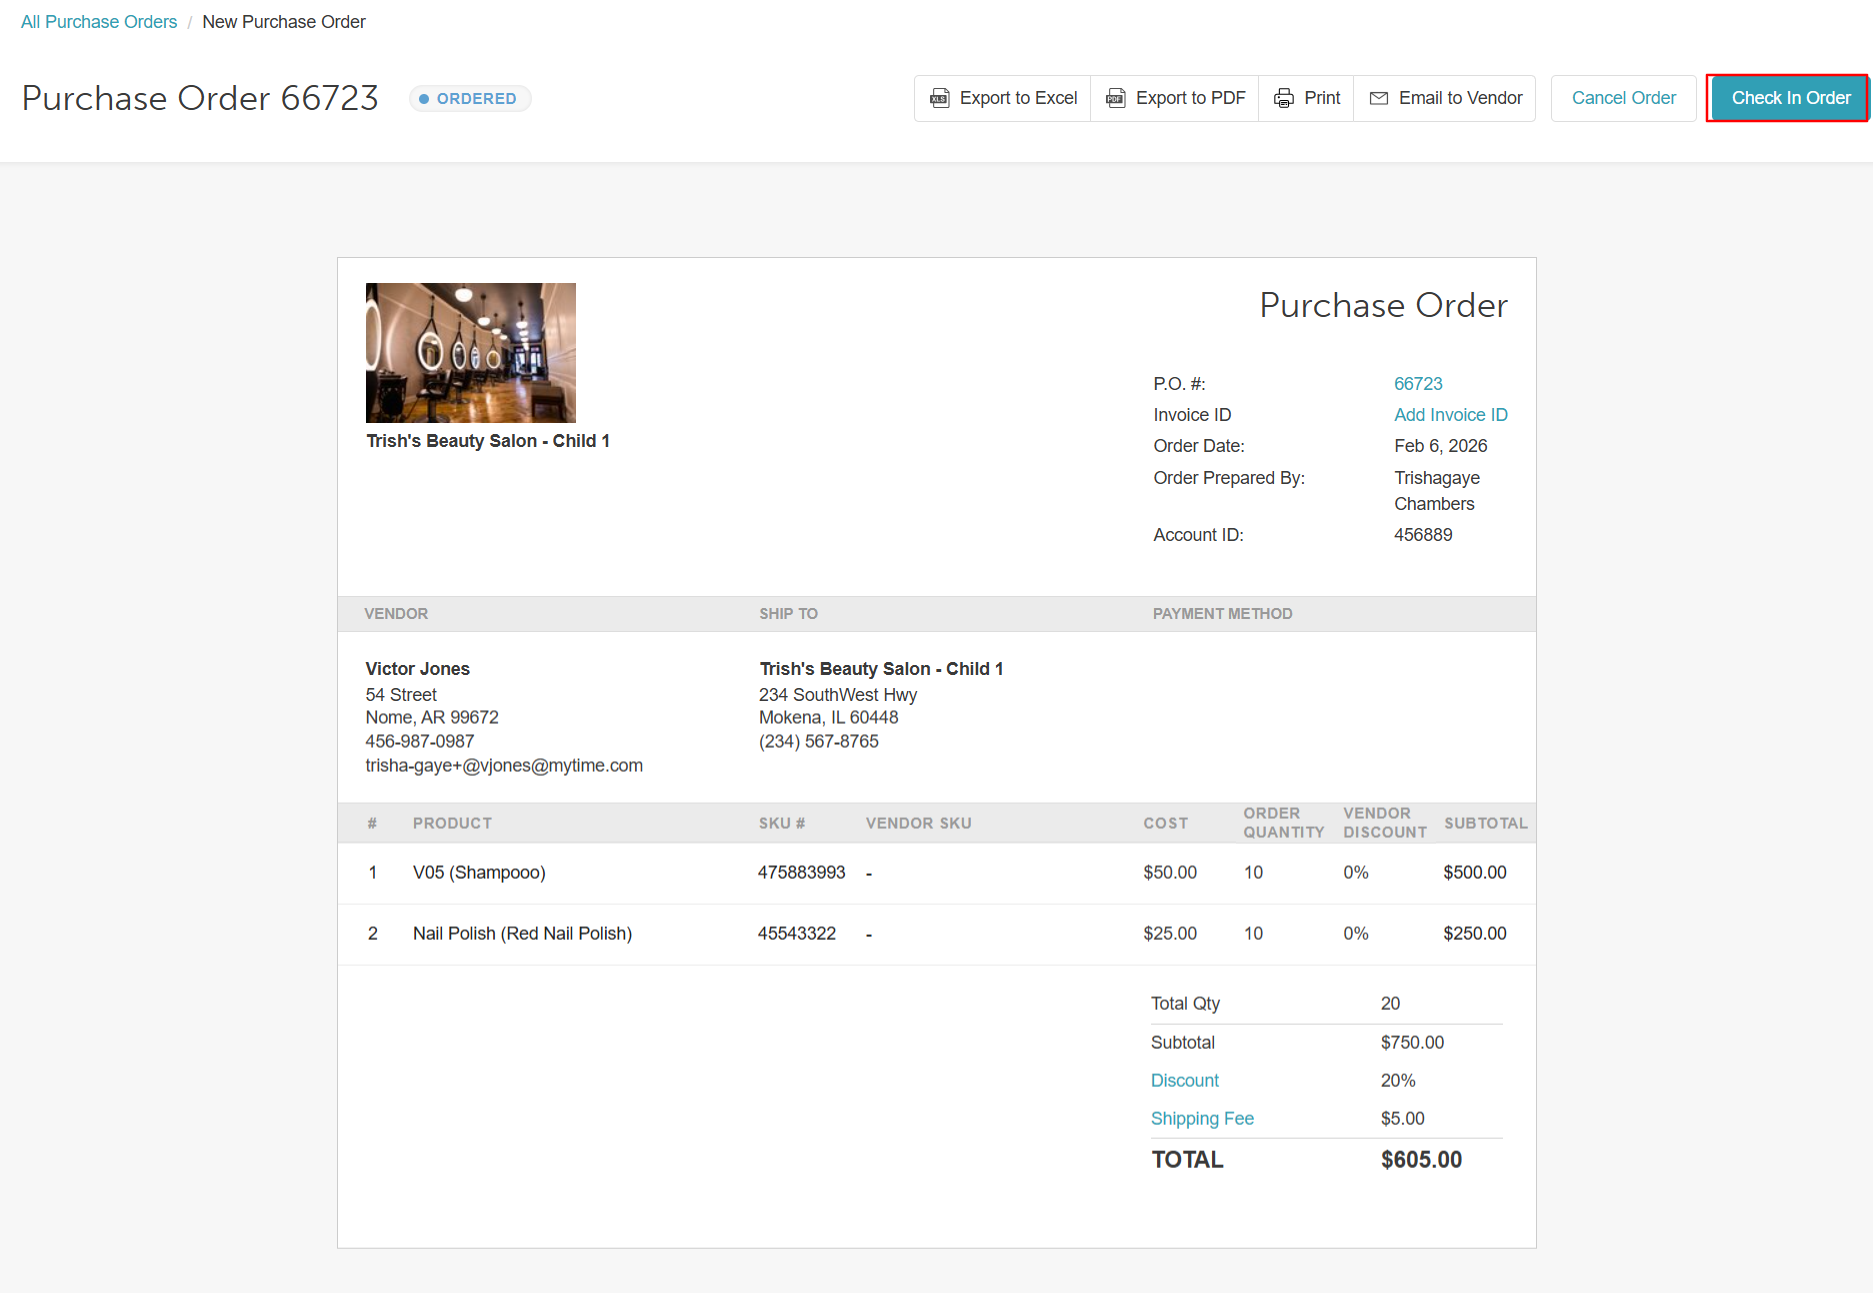
- Any quantities already pushed to inventory will remain in your stock, but the Add to Retail/Back Bar fields will reset to 0. Items already added will reflect under Restock to Retail/Back Bar.
Pro-Tip: Fast Scanning with Case Barcodes
To speed up large receiving runs without opening every box:
- Single Items: Scanning standard barcodes increases item counts by 1.
- Full Cases: Add a case-specific barcode in the Vendor Profile and set the Minimum Order Quantity (MOQ) to the case count. Scanning the case barcode during check-in automatically increases the received count by the full MOQ at once.
Please contact our Support Team at support@mytime.com if you have any questions.
Related Articles:
Checking In Purchase Orders on Scheduler App
Auto-Generating Purchase Orders via AI Forecasting
Auto Generate Purchase Order Up To The Max Quantity Per SKU
Adding Vendors while Importing Products
Was this article helpful?
That’s Great!
Thank you for your feedback
Sorry! We couldn't be helpful
Thank you for your feedback
Feedback sent
We appreciate your effort and will try to fix the article