Stay connected to your business on the go with the MyTime Scheduler app. Designed specifically for staff and owners, the app allows you to manage appointments, view schedules, and process payments directly from your mobile device. This guide provides a quick walkthrough for downloading and installing the app on both Android and iOS platforms.
Things to know:
- The app is available for both iOS and Android devices and can be downloaded from the Apple App Store or Google Play Store.
- Ensure your device is running the latest operating system for the best performance and security.
- You will need your MyTime login credentials (or a linked Google/Apple account) to sign in after installation.
Contents:
- Installing the MyTime Scheduler App on an Android Device
- Installing the MyTime Scheduler App on an iOS Device
Installing the MyTime Scheduler App on an Android Device
To get started with the MyTime Scheduler on your Android device, follow these steps to download and install the application from the Google Play Store:
- Open the Google Play Store and search for "MyTime Scheduler"
- The official app will appear at the top of the search results
- Tap on the app to open its details page
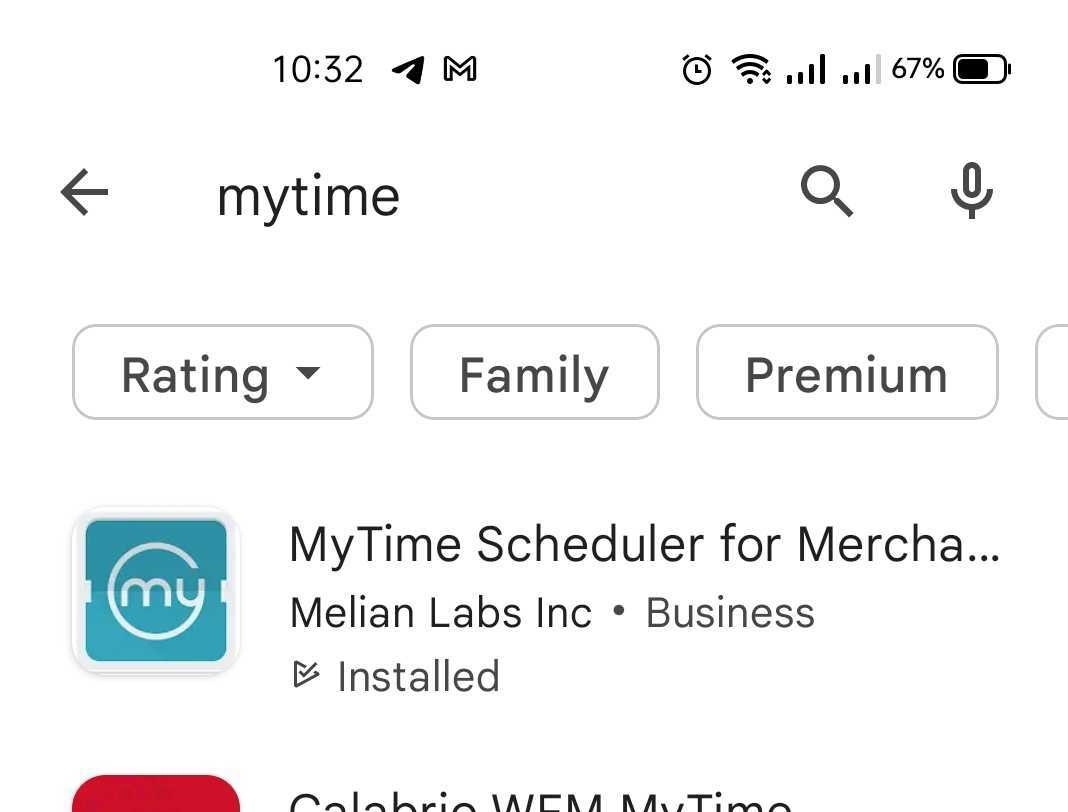
- Tap the Install button to begin the download
- Once the installation is finished, the MyTime icon will appear on your device's home screen or in your app drawer, ready for you to sign in.
Installing the MyTime Scheduler App on an iOS Device
Follow these steps to download and install the MyTime Scheduler app on your iPhone or iPad:
- Open the Apple App Store and search for "MyTime Scheduler"
- The official app will appear at the top of the search with the MyTime logo icon
- Tap on the app to open its detail page
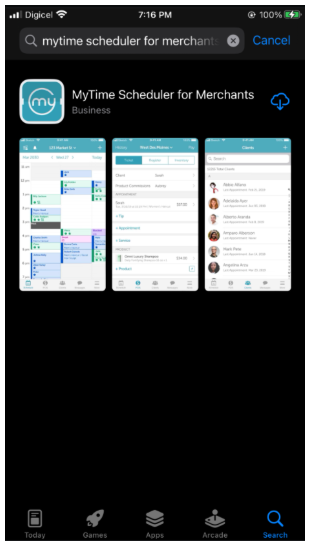
- Tap the "Get" or "Install" button. If prompted, authenticate the download using your Apple ID password, FaceID, or TouchID.
- After a few moments, the installation will be complete, and the MyTime icon will be available on your iOS home screen.
Once you have installed the app, you can access your account using several secure methods. Follow the instructions here based on your preferred login type or server configuration.
Related Articles:
Was this article helpful?
That’s Great!
Thank you for your feedback
Sorry! We couldn't be helpful
Thank you for your feedback
Feedback sent
We appreciate your effort and will try to fix the article