You can require staff to complete specific client, pet, or family member custom fields before checking out appointments in the Scheduler. This helps ensure essential information is collected and recorded.This article explains how to configure required custom fields, what happens when information is missing, and how the requirements affect checkout.
Things to know:
- The ability to designate custom fields as required is controlled by the Manage Client Setup access control setting.
- Client, pet, and family member custom fields can be marked as required from the Customize Clients Fields page.
- Checkout requirements differ between POS and Scheduler.
- Businesses using travel tickets for appointments are not affected by this feature. Travel tickets can still be printed even when required custom fields are incomplete.
- How Required Custom Fields Affect Checkout
- Required custom fields are handled differently depending on where the appointment is checked out.
- POS: Appointments can be checked out even if required custom fields are incomplete.
- Scheduler: Checkout is blocked until all required custom fields are completed.
- Required custom fields are handled differently depending on where the appointment is checked out.
- When Client Details Are Missing
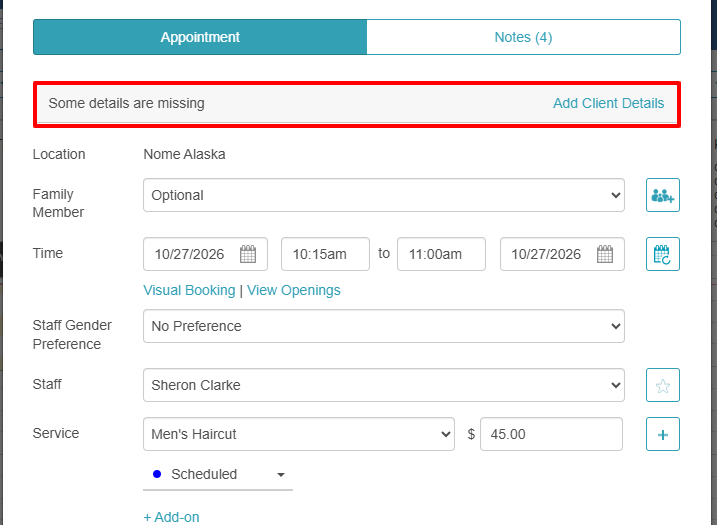
- If required client custom fields are incomplete, a Some details are missing banner appears above the appointment details, along with an Add Client Details link.
- Selecting Add Client Details redirects staff to the client profile, where they can complete the missing information.
- When Pet or Family Details Are Missing
- If required pet or family member custom fields are incomplete, the Scheduler displays the appropriate link:
- Add Pet Details
- Add Family Member Details
- Staff must complete the missing information before proceeding with checkout.
- If required pet or family member custom fields are incomplete, the Scheduler displays the appropriate link:
- How Pet Details Are Saved During Appointment Booking
- Pet details entered during appointment booking are temporarily retained to prevent information loss before the appointment is saved.
- Retained information: If the Add Pet Details modal is closed and reopened before booking is completed, previously entered information remains available.
- Pending status: After pet details are added, a PENDING badge indicates that the information is ready to be saved to the pet's profile.
- Missing required fields: If required fields, such as vaccinations or gender, are incomplete, the affected pet section is highlighted so staff can identify and correct the missing information.
- Appointment save failures: If an appointment cannot be saved because of a scheduling conflict or system error, the entered pet details are retained, so staff do not need to re-enter them.
- Final save: The pet profile is officially created and saved when the appointment is successfully saved.
- Pet details entered during appointment booking are temporarily retained to prevent information loss before the appointment is saved.
- The setup option displayed in the top-right user menu depends on how you access the account and your assigned role:
- When navigating from the Parent Account (Location Management tab):
- Admin: Displays Business Setup when viewing the location account.
- Login As: Displays Location Setup when viewing the location account.
- When logged in directly at the Location Level:
- Location Owners & Location Managers: Display Location Setup.
- Service Providers & All Other Roles: Display Profile Setup.
- When navigating from the Parent Account (Location Management tab):
Contents:
- Enabling the "Require Mandatory Client Fields to Be Completed Before Checkout" Setting
- Checking Out Appointments via the Scheduler
Enabling the "Require Mandatory Client Fields to Be Completed Before Checkout" Setting
- Navigate to Business Setup or Location Setup > Settings.
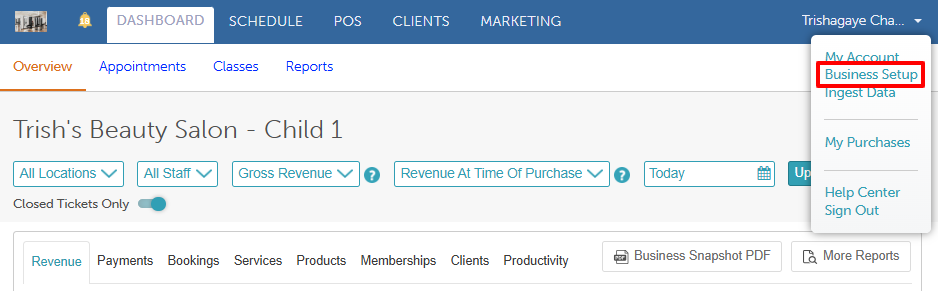
- In the Calendar section, locate "Require Mandatory Client Fields to Be Completed Before Checkout".

- Toggle the setting to Yes.

- Click Save to apply the changes.
Once enabled, the Scheduler prevents checkout when required client custom fields are incomplete. A message appears on the appointment modal to identify the missing information.
Checking Out Appointments via the Scheduler
- Navigate to the Scheduler
- Use the filters to narrow the schedule by date, location, or staff, as needed.
- Locate and open the appointment, class, or event you want to check out.
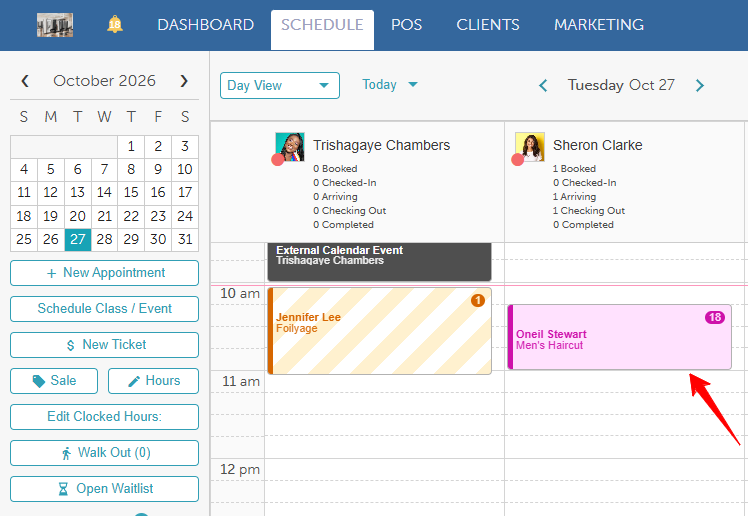
- If required client fields are incomplete, a Some details are missing banner appears above the appointment details, with an "Add Client Details" link.
- Click Create Ticket. The banner is highlighted in red to indicate that required information is missing.
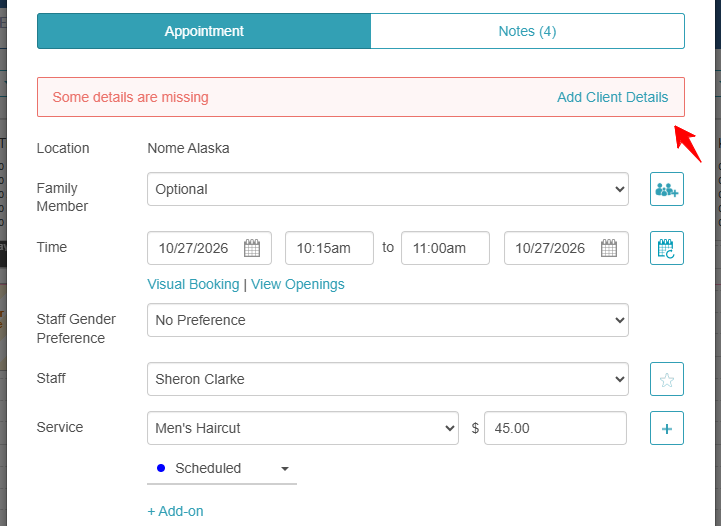
- Click Add Client Details to open the client's profile.
- Complete all required fields and save the profile.
- You will be redirected to the appointment modal, where the missing-details warning should no longer appear.
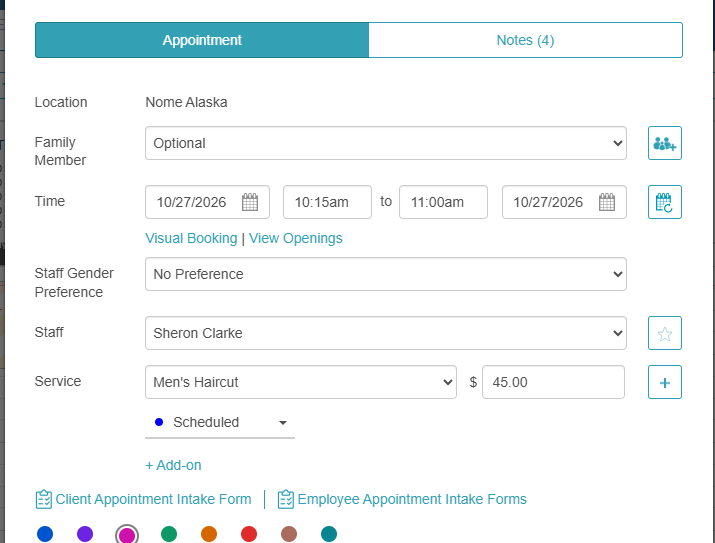
- Proceed with creating the ticket, printing it if needed, and checking out the appointment.
For more information, contact us at support@mytime.com or (385) 233-6964.
Related Articles:
Was this article helpful?
That’s Great!
Thank you for your feedback
Sorry! We couldn't be helpful
Thank you for your feedback
Feedback sent
We appreciate your effort and will try to fix the article