Membership agreements can be generated and signed during in-store purchases through the client profile, POS, Ingenico terminals, or the Scheduler app. This article walks you through how to generate waivers and intake forms for memberships.
Things to know:
- Membership waivers can be presented and signed:
- In-store via the client profile, POS, Ingenico terminals, or the Scheduler app
- Learn more about signing waivers via the Ingenico terminal here.
- Membership waivers will only display in POS if a membership intake form has been created and one or more memberships have been selected/assigned to that form.
- A mandatory waiver prompt will appear during membership purchase if the company setting “Prompt for membership waiver signature when purchasing a membership” is enabled. This setting blocks payment until the waiver is completed.
Contents:
- Generating Membership Waivers via Client Profile
- Enabling Mandatory Prompt for Membership Waivers
- Generating Membership Waivers via POS
Generating Membership Waivers via Client Profile
- Go to the Clients tab and open the desired client profile
- In the Memberships section, click Add Membership
- Select the Location and the Membership
- The Waiver field will appear. Select the appropriate waiver from the dropdown
- The membership agreement will display for the client to sign
- After signing, click Save
- The signed waiver will be attached to the membership
- Click Take Payment to complete checkout


Enabling Mandatory Prompt for Membership Waivers
- Navigate to Business Setup > Settings
- Scroll to the POS sections
- Locate the 'Prompt for membership waiver signature when purchasing a membership' setting

- Toggle to 'Yes'
- Save changes
Generating Membership Waivers via POS
Follow the steps below to generate and complete a membership waiver when processing a membership through the POS:
- Navigate to POS > New Ticket
- Add a client, then add the membership to the ticket
- If the company setting for mandatory waivers is enabled, a “Send Agreement” prompt will appear, indicating that a membership waiver must be completed.
- Select the appropriate waiver from the dropdown. If only one waiver is available, it will be preselected automatically.

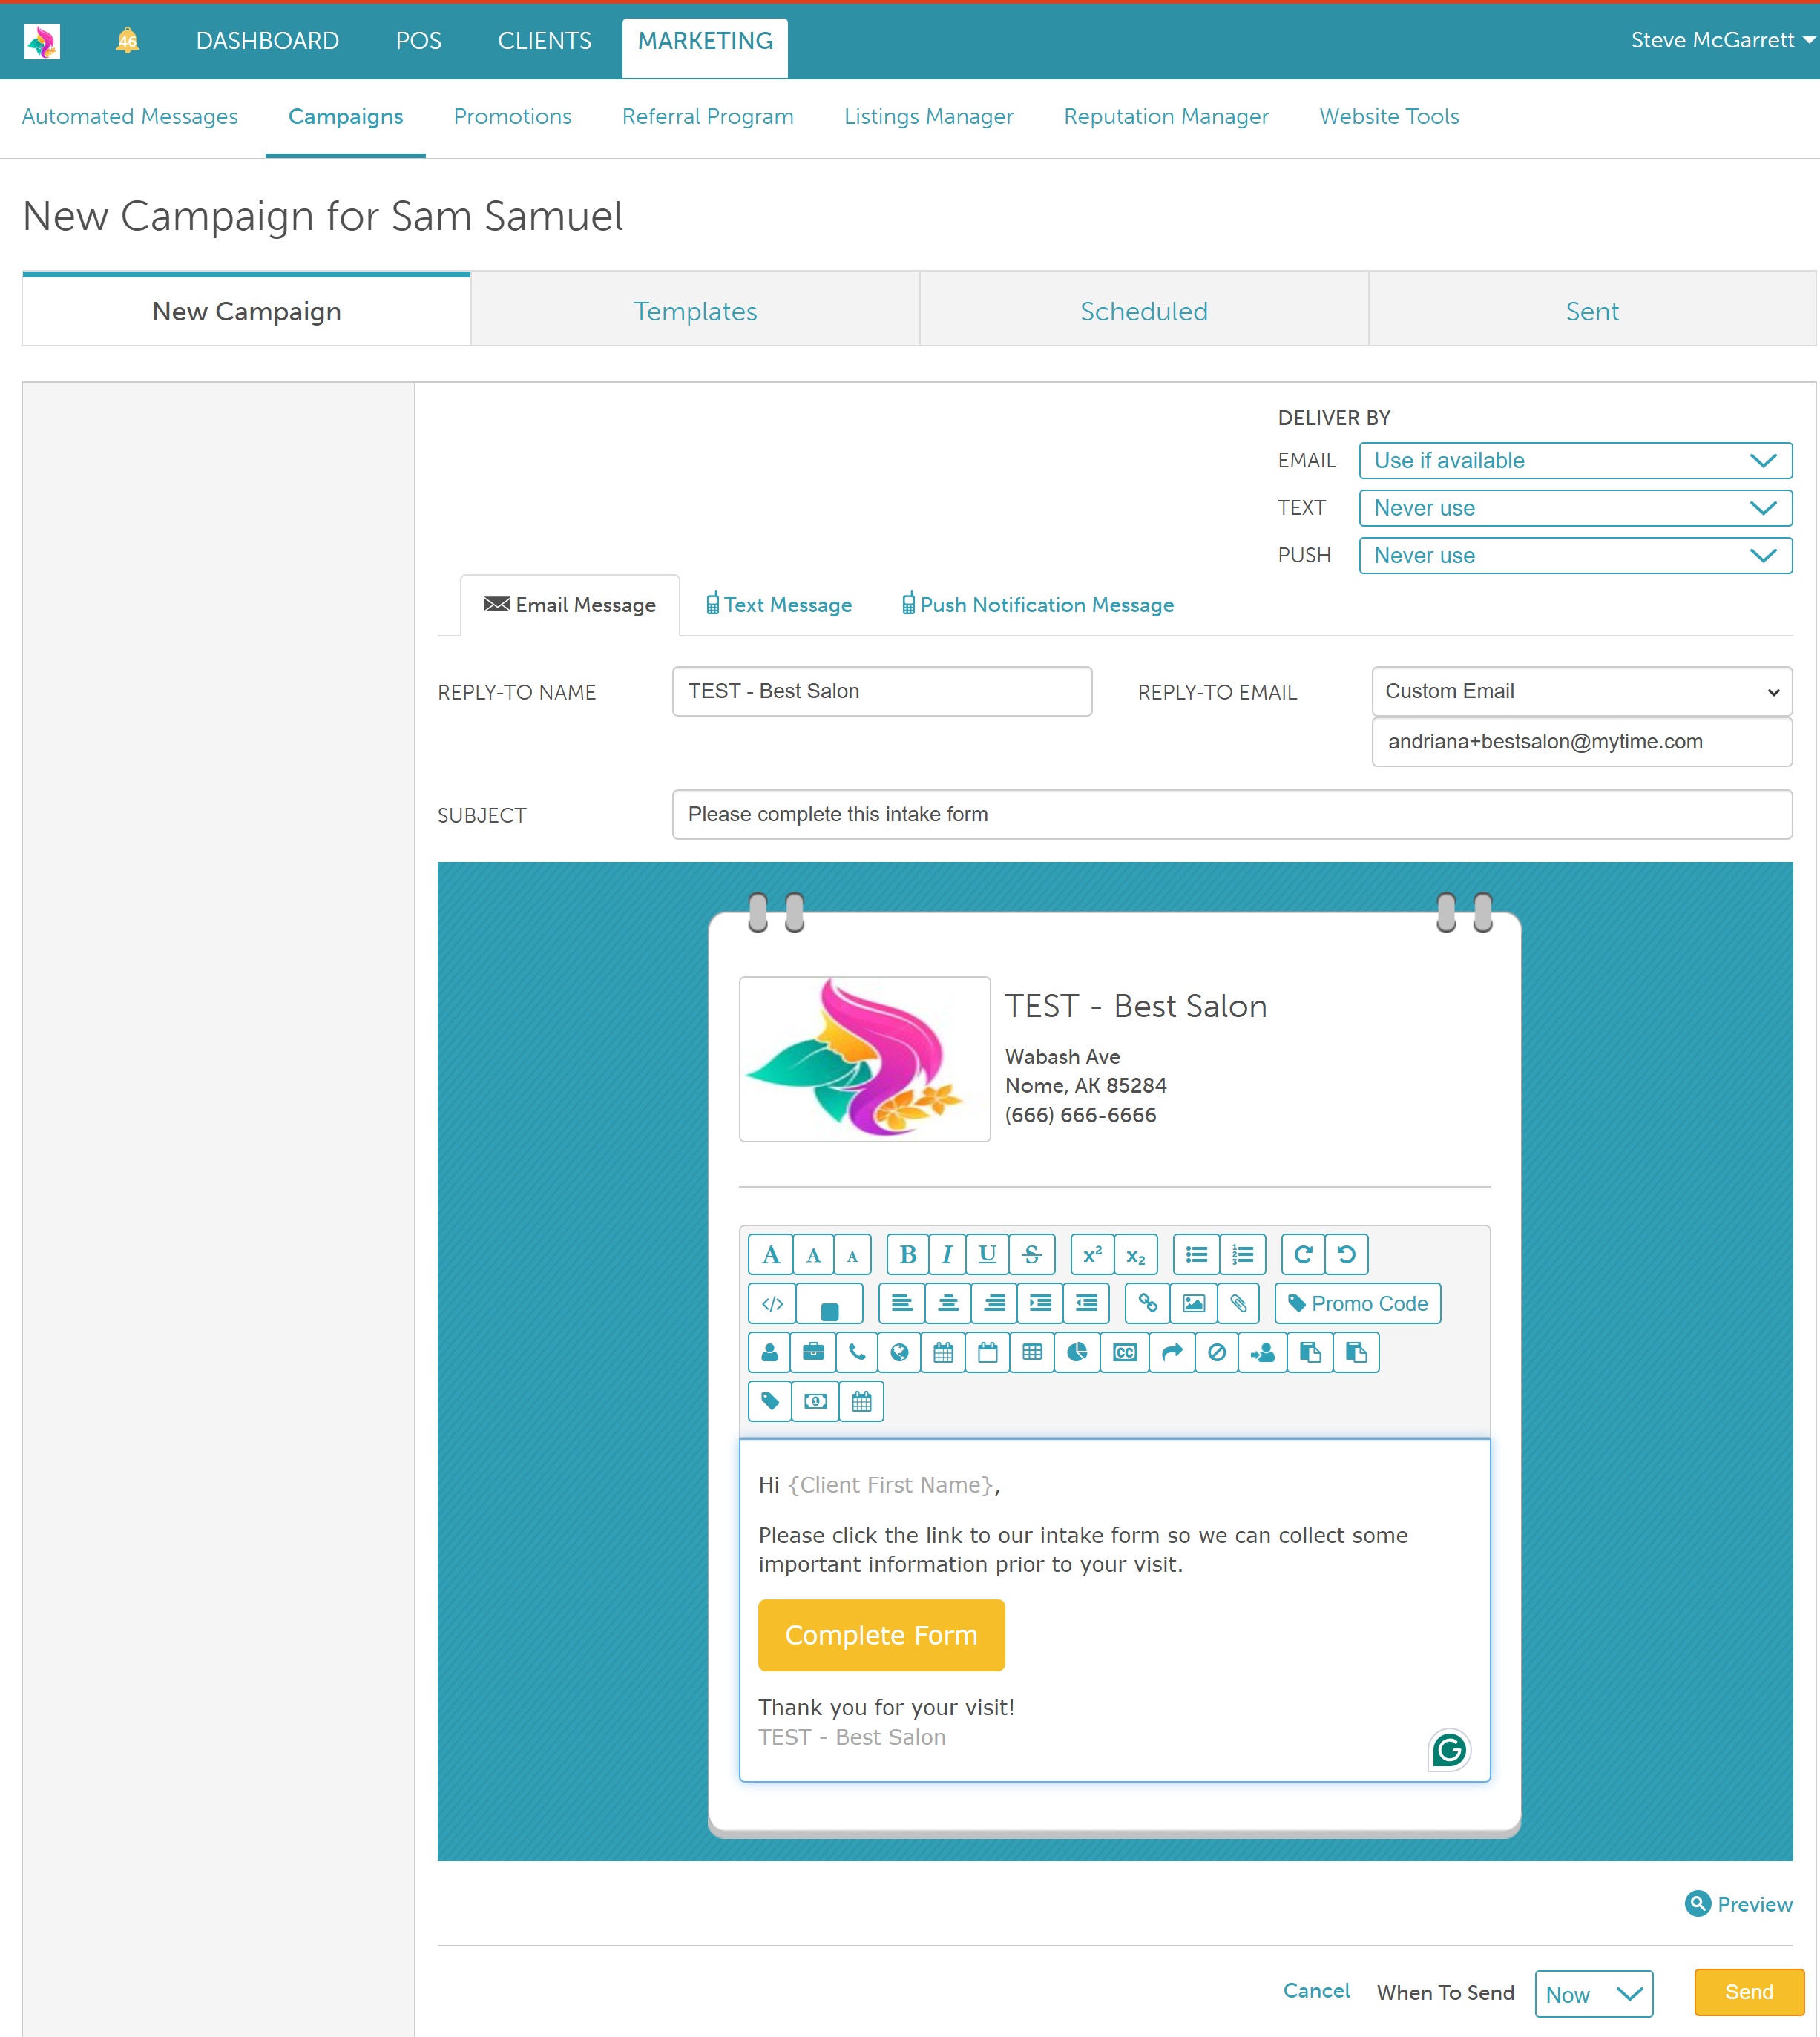
- Choose how you want to send the intake form by clicking 'Send':

- Email: Redirects to the New Campaign page to email the form
- Communicator: Generates a shareable link and opens it in the Communicator app for sending.

- Shareable Link: Copies the link directly to your device’s clipboard.
- Email: Redirects to the New Campaign page to email the form
- If the mandatory waiver setting is not enabled, an "Add Waiver" field will appear instead. Click the dropdown to select a waiver if needed.

- The membership agreement will display for the client to review and sign
- Save the signed waiver
- The completed waiver will be attached to both the ticket and the client profile
- Click Take Payment to complete checkout

For more information, contact us at support@mytime.com or (385) 233-6964.
Related Articles:
Creating Waivers and Intake Forms
Was this article helpful?
That’s Great!
Thank you for your feedback
Sorry! We couldn't be helpful
Thank you for your feedback
Feedback sent
We appreciate your effort and will try to fix the article