If a class session is fully booked, you can easily add interested clients to a waitlist. When a scheduled attendee cancels or reschedules, the system automatically notifies those on the waitlist that a seat has become available, ensuring they can book the session promptly.
Benefits of using the waitlist:
- Fill last-minute openings: Keep your classes full even when cancellations occur.
- Maximize class revenue: Ensure every available spot is a paid spot.
- Prevent overbooking: Manage demand smoothly without exceeding your capacity limits.
Things to know:
- In order to utilize the class waitlist feature, ensure the following settings are configured:
- Access Control: Staff must have the Schedule Classes/Events permission set to Edit.
- Company Setting: To use the Class Waitlist feature, activate the "Enable Classes Waitlist" setting under Business Setup > Settings. Once enabled, staff can add clients to the class waitlist.
- Class-Level Setting: The "Enable Waitlisting" toggle must be turned ON inside each individual class modal (it is OFF by default). You can enable it when scheduling a class or at any time after the class has been created.
- To optimize performance and ensure the schedule runs faster, the waitlist displays 25 clients per page. If you have more than 25 clients waiting, use the pagination controls at the bottom of the list to view additional entries.
- The "Join Waitlist" option will only appear on the class roster once the class reaches full capacity.
- When a spot opens up in a class session, clients on the waitlist receive a "Class Session Available" notification. This email includes a deep link that simplifies the booking process:
- Direct Checkout: Clicking the link bypasses class selection and takes the client straight to the checkout screen with the correct class and attendee types already in their cart.
- Cart Persistence: If the client refreshes their browser, the URL parameters automatically restore the cart so they don't lose their selection.
- Automatic Error Handling: If the link is invalid or the session is no longer available, the client is redirected to the main class selection page instead of getting stuck on a loading screen.
- Full Compatibility: Works for all class types (local, global, or recurring), membership-included classes, and for both guests and logged-in users
- Spots are filled on a first-come, first-served basis, meaning the first client to successfully complete the booking will secure the available spot. Example: If three clients are notified of an opening and click the booking link, the first client to complete the booking will secure the spot, while the other two will no longer see availability once it has been filled.
- Notifications will not be sent if the opening occurs within the business’s advance booking cutoff window. Example: A yoga class at 6:00 PM is fully booked, and three clients join the waitlist.
- At 2:00 PM, a spot opens: All waitlisted clients are notified.
- At 5:30 PM, a spot opens and the business has a 1-hour cutoff: No notifications are sent, since the opening falls within the cutoff window.
Contents:
- Enabling the Enable Classes Waitlist Setting
- Adding a Client to the Waitlist from the Class Roster
- Adding Clients to the Class Waitlist Directly from the Waitlist Modal
- Viewing and Managing the Class Waitlist
Enabling the Enable Classes Waitlist Setting
- Navigate to Business Setup > Settings
- In the 'Calendar' setting section
- Locate the "Enable Classes Waitlist" setting
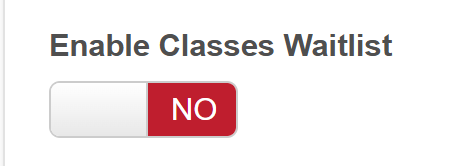
- Toggle to 'Yes'
- Scroll to the bottom of the page and save
Adding a Client to the Waitlist from the Class Roster
- Navigate to the Schedule
- Locate the class or event on the calendar
- Click on the class/event
- Select the View Attendees button. This will open the current roster for that session
- Once the roster is open, click the "Join Waitlist" button (usually located near the top or bottom of the attendee list)

- Identify the Client
- Existing Client: Type the client's name into the search field
- New Client: Click the Add Icon (plus sign) on the right-hand side to create a new profile
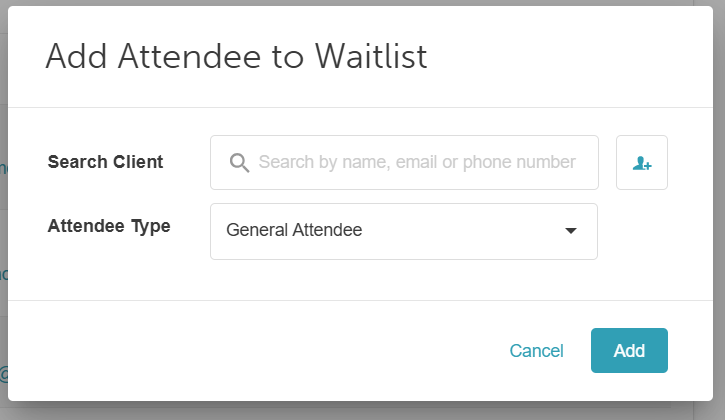
- From the dropdown menu, select the appropriate Attendee Type
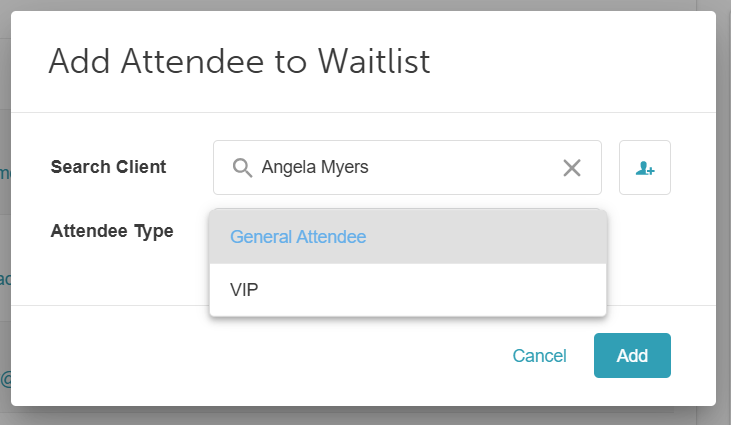
- Click Add. A confirmation message will appear once the client is successfully placed on the list

Adding Clients to the Class Waitlist Directly from the Waitlist Modal
To manually add a client through the Waitlist modal, follow these steps:
- Navigate to the schedule
- Click the Open Waitlist button located on the left-hand side, directly below the calendar
- Click the "+ Add Client to Waitlist" button at the top of the modal

- Enter the client's name or contact info into the search field and select their profile from the results

- Choose the specific Class Date from the pop-up calendar

- Select the desired Class from the list of available sessions for that day
- Choose the appropriate Attendee Type (e.g., Member, Drop-in, etc.)

- Click Add. A confirmation message will appear once the client is successfully placed on the list

- Select Done to return to the waitlist overview.
The client will now appear on the class waitlist and will be eligible for a spot if one becomes available.
Viewing and Managing the Class Waitlist
Once clients are on the waitlist, you can easily track their status, message them, or move them into an open spot. Follow this guide to navigate the waitlist modal and keep your classes at peak capacity.
- Navigate to the schedule
- Locate the "Open Waitlist" button on the left below the calendar

- The waitlist modal provides several ways to manage your list effectively:

- Search & Filter: Use the search bar to find a client by name. You can also filter by Date Range or sort by Time to prioritize upcoming sessions.
- Add New Entries: Click the "+Add Client to Waitlist" button at the top of the modal to manually add a new person to the list.
- Review Client Details: Click a client’s name to view their profile, including the class name, assigned staff, attendee type, and the date they joined the list.
- Identify Openings: A green dot next to the class time indicates that a seat is available. This signal confirms you can now move a waitlisted client into the active roster.
- Book a Client: Click Book to open the class roster. The "Add Attendee" window will appear with the client's information pre-filled; click Add to confirm their spot.
- Contact Client: Click the message icon to reach out directly via the Communicator.
- Remove Entry: Click the "X" icon to delete a client from the waitlist.
- When you are finished managing your entries, click the "Close" button to return to the main schedule.
For more information, contact us at support@mytime.com or (385) 233-6964.
Related Articles:
Adding Clients to the Classes Waitlist on Scheduler App
Configure Class Session Available Notification
Was this article helpful?
That’s Great!
Thank you for your feedback
Sorry! We couldn't be helpful
Thank you for your feedback
Feedback sent
We appreciate your effort and will try to fix the article