Appointment notes are specific notes about each appointment. Clients can enter appointment notes during the checkout process when booking online, and staff members can add them to the appointment modal. In this article, we will walk through how to create/edit appointment notes on the scheduler App.
Things to know:
- The ability to add appointment notes is governed by the "Accessing Appointments" access control setting.
- Future appointments will reflect any notes added to appointments in the past. This means that if an appointment was scheduled for Holly on June 16 and July 10 and the June 16 appointment has notes added, then the appointment notes will also be visible from the July 10 appointment.
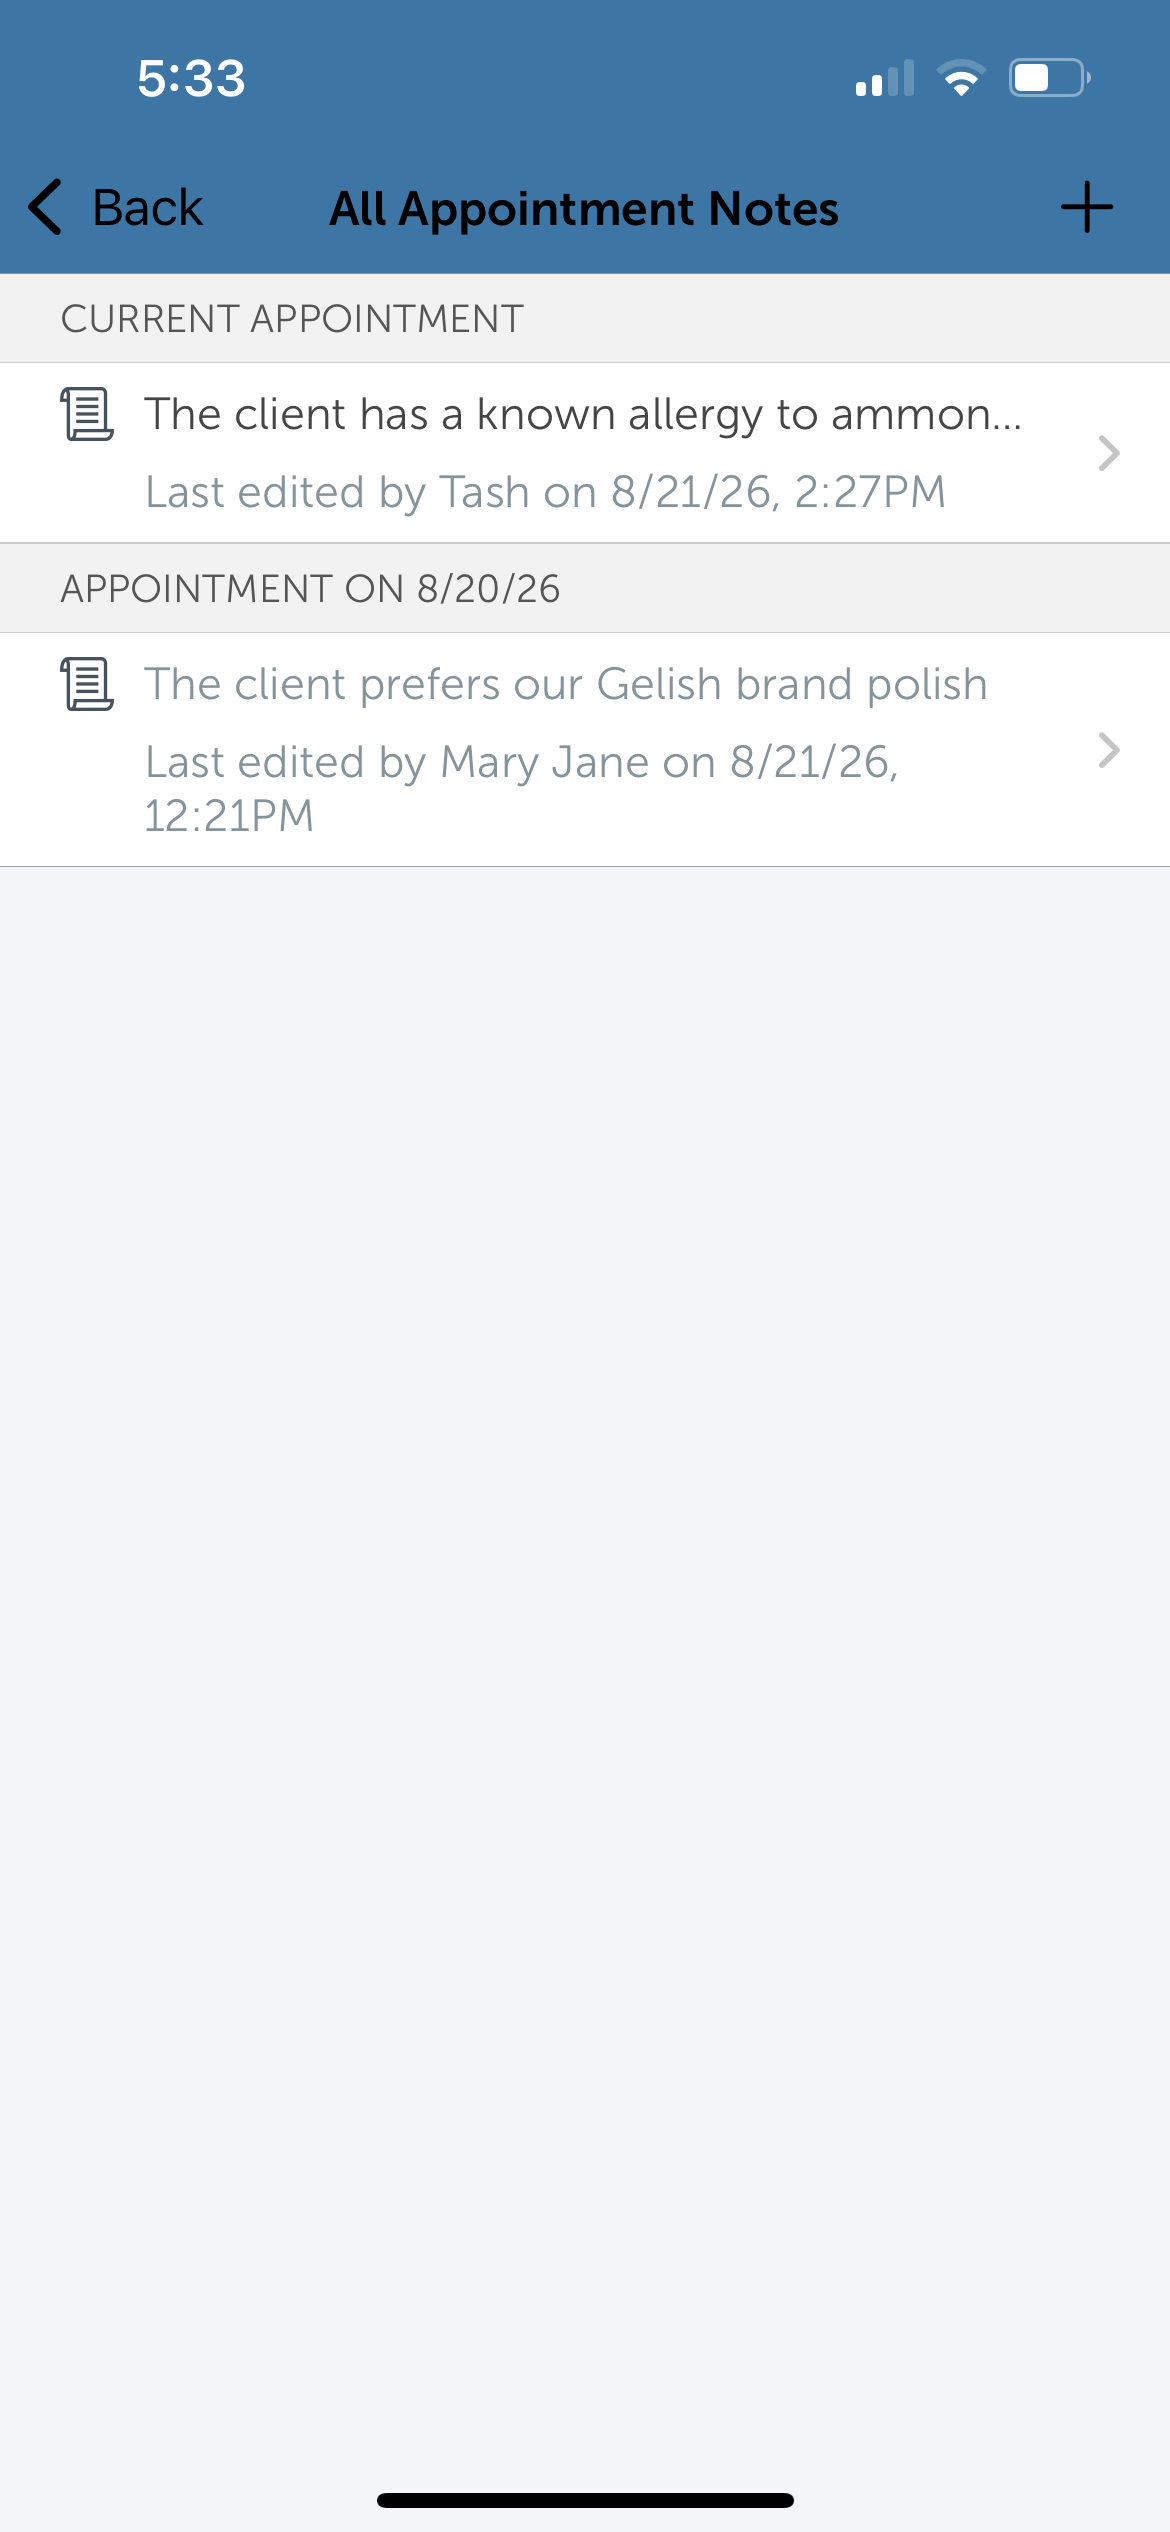
- Saved notes are viewable from the All Appointment Notes screen
- Notes are grouped according to the appointment on which they were created.
- Notes for the current appointment can be edited or deleted and can include photo attachments.
- Past appointment notes will automatically appear listed beneath current appointment notes for easy historical reference
- Notes from past appointments are read-only. They cannot be edited or deleted.
- Print Appointment Note is available for both current and past appointment notes.
- When viewing a note from a past appointment, the message “Previous appt notes will have the ability to print but NOT to edit or delete” will be displayed.
To add appointment notes on the scheduler app, simply:
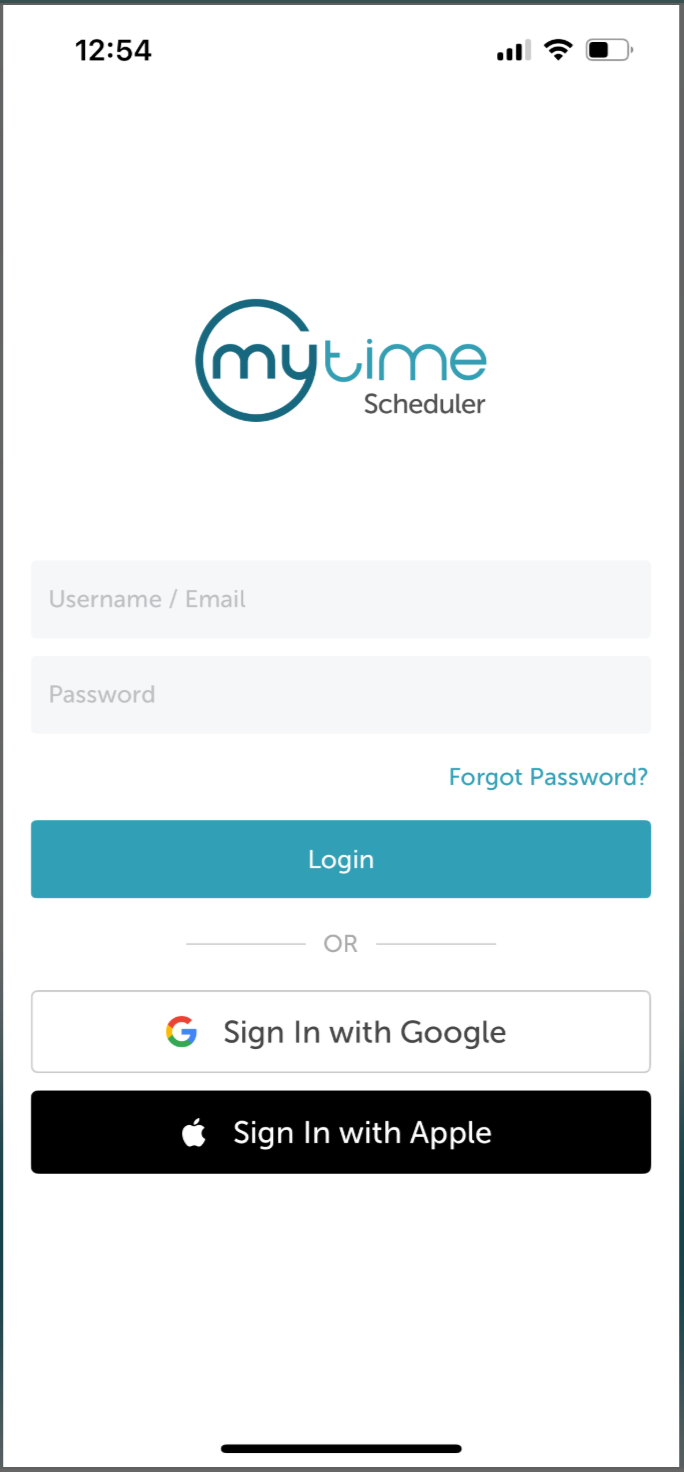
- Launch the MyTime Scheduler app on your device
- Choose your login method:
- Standard: Enter your registered email address and password, then tap 'Sign In'
- Social Login: Select 'Continue with Google' or 'Continue with Apple' to use your existing credentials for a faster login experience. For detailed instructions, learn more here
- Once signed in, you will be directed to the schedule by default
- Filter to the appropriate location and staff. Learn more here.
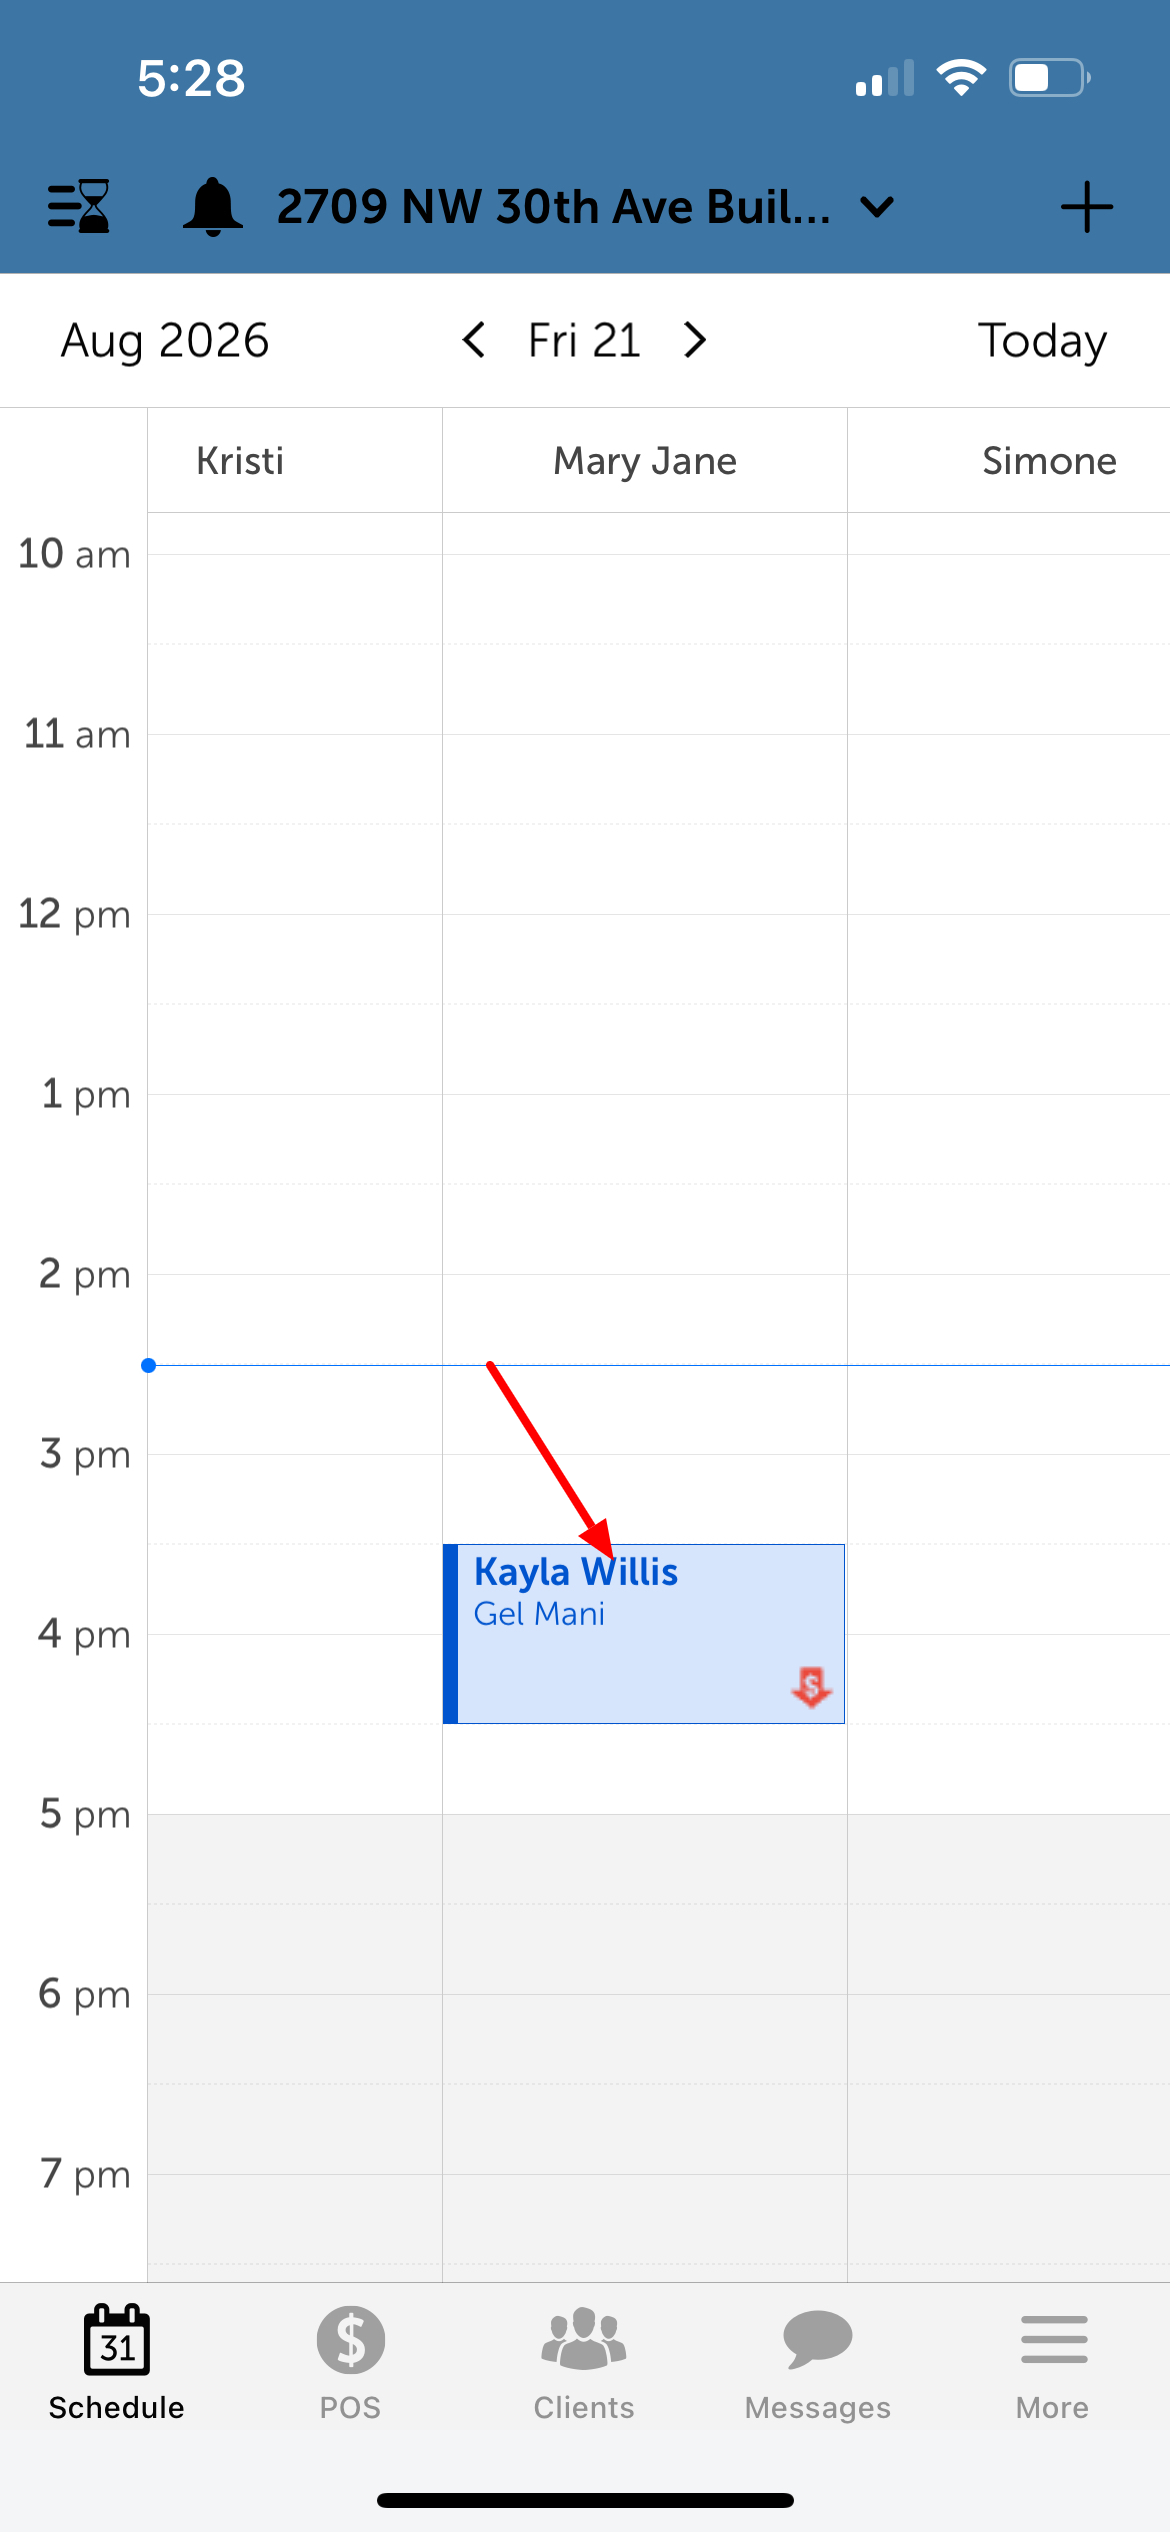
- Locate and select the desired appointment
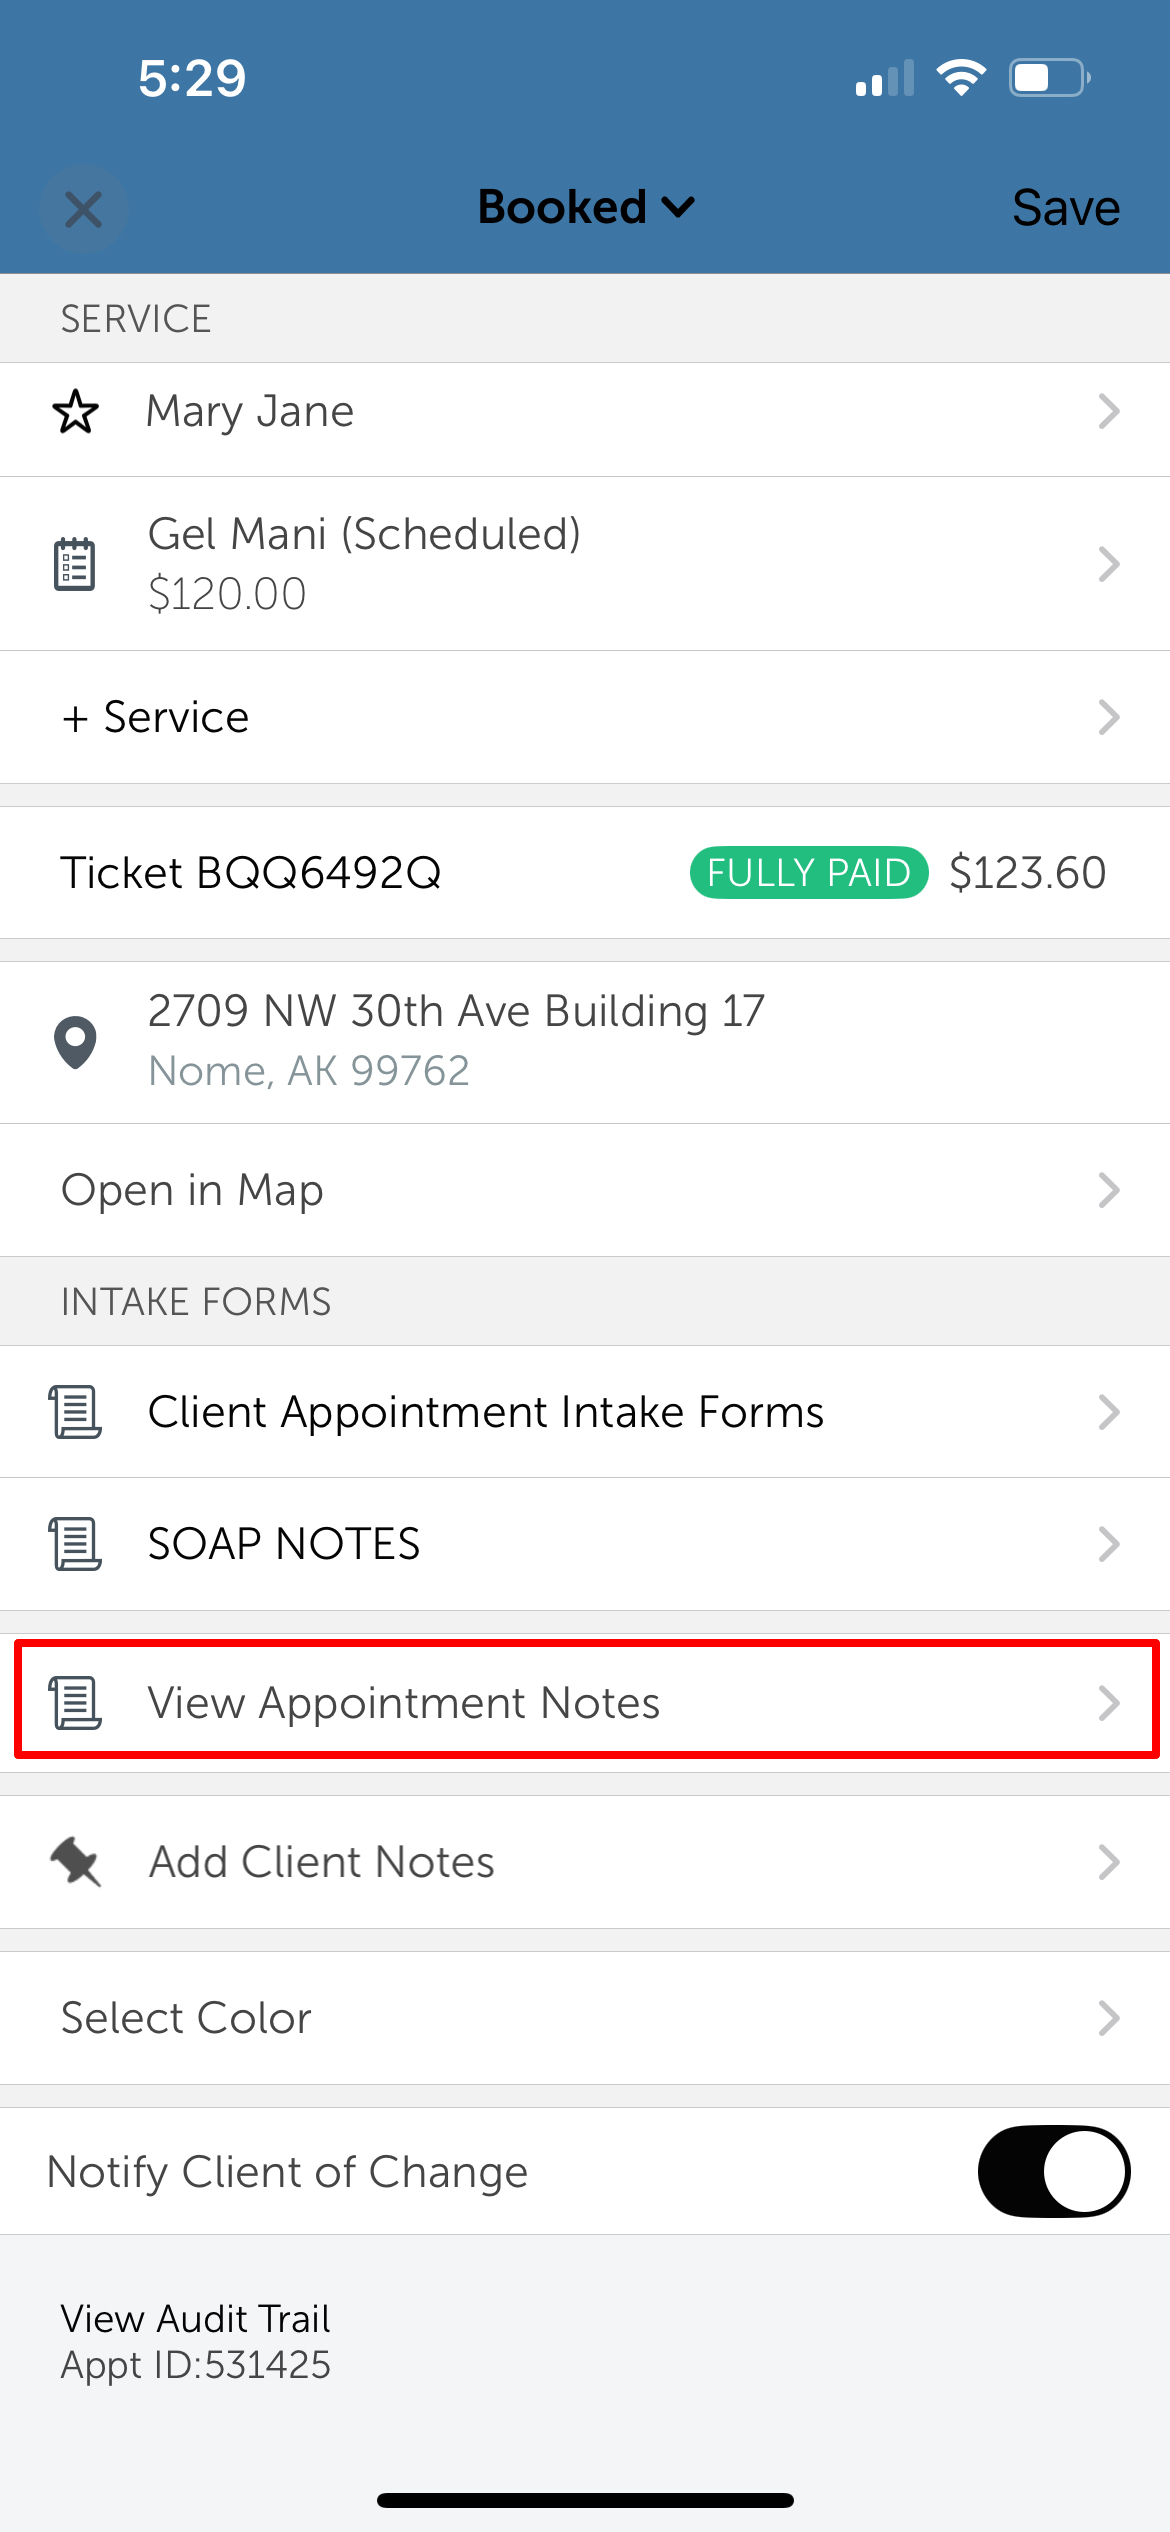
- Open the appointment modal, scroll down to the View Appointment Notes section, and tap on it
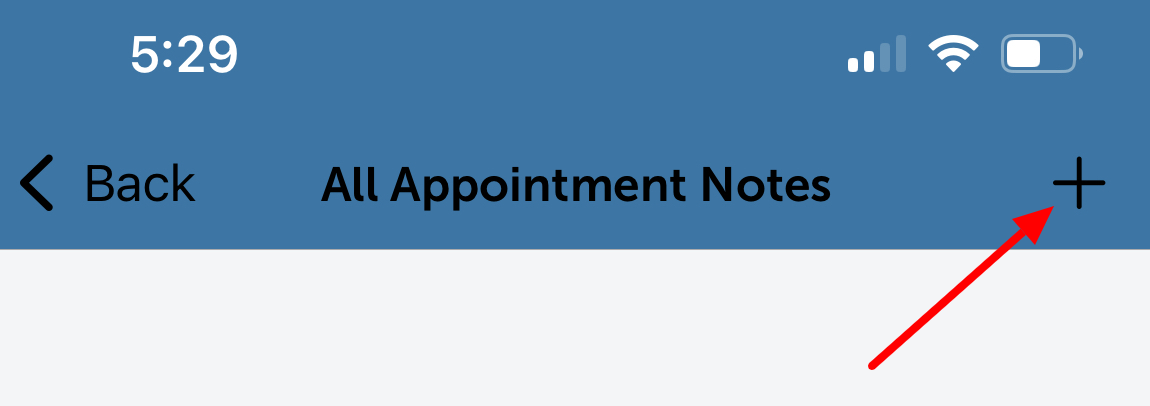
- Tap the + icon in the top right corner of the screen
- From this screen, you can perform any of the following actions:
- Type your detailed appointment notes
- Select + Photo to attach images to the note
- Select Print Note to generate a physical copy
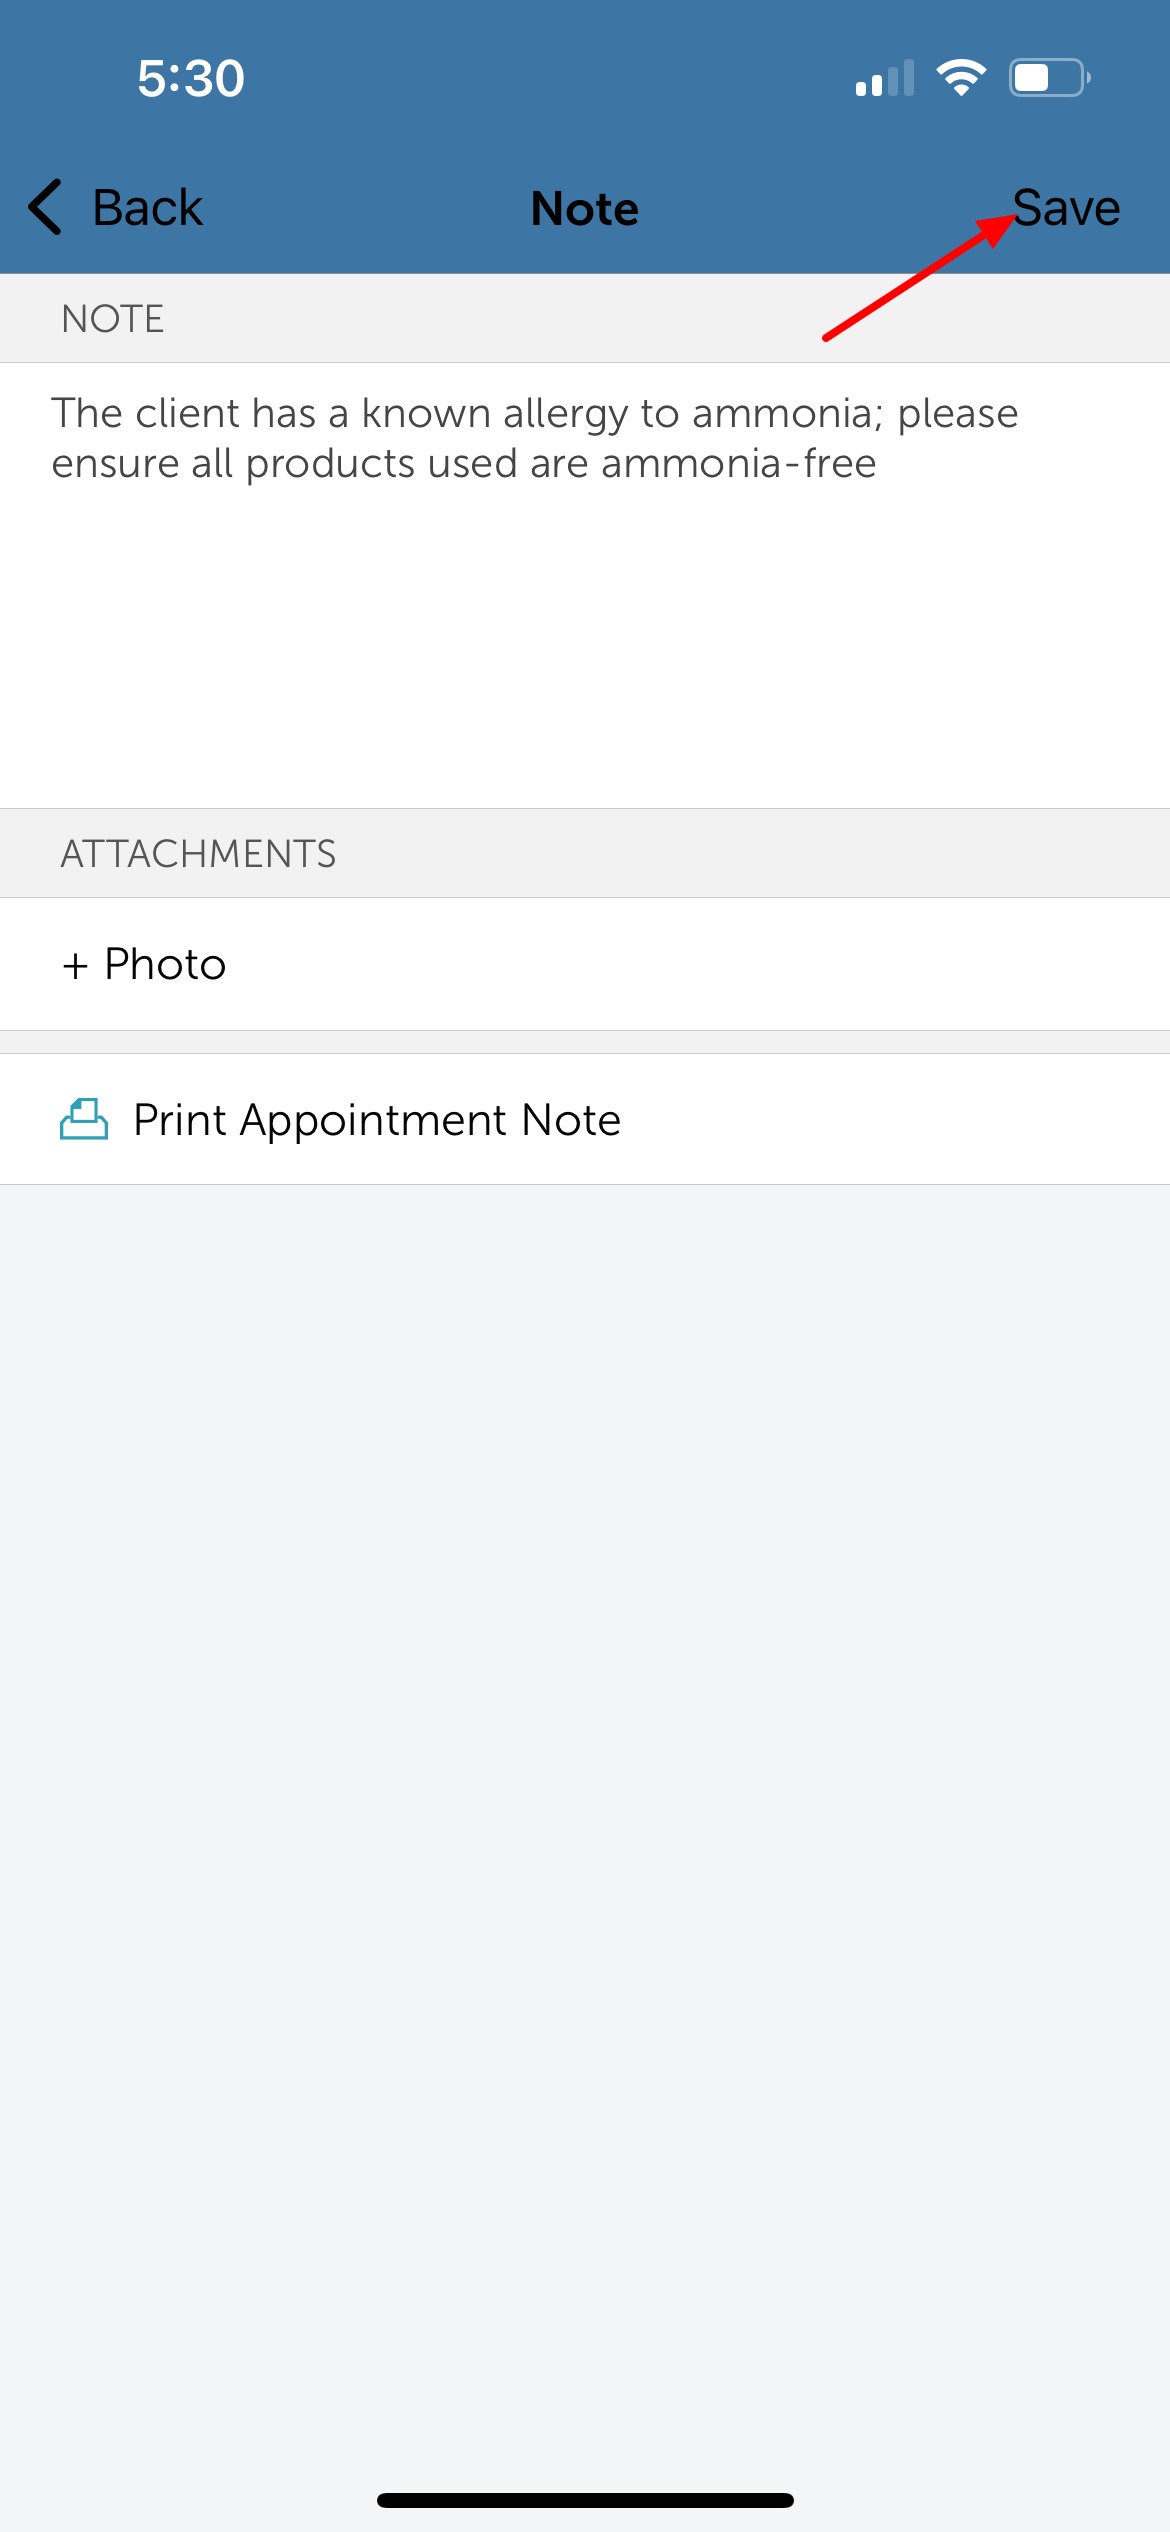
- Once finished, save your changes
- Once saved, the note will be visible from the "All Appointment Notes" screen
For more information contact us at support@mytime.com.
Related Article:
Was this article helpful?
That’s Great!
Thank you for your feedback
Sorry! We couldn't be helpful
Thank you for your feedback
Feedback sent
We appreciate your effort and will try to fix the article