Afterpay allows your clients to split in-store purchases into four interest-free installments, while your business receives the entire payment upfront. This article guides you through processing Afterpay transactions at checkout via the Point of Sale (POS), as well as managing refunds.
Things to know:
- The ability to create tickets is governed by the "Creating Tickets" access control.
- This feature is only available to businesses that have a Stripe payment account
- Your business must have an active Afterpay account linked to your Stripe payment processor
- Afterpay funds your entire transaction total upfront via your Stripe processor, following your regular bank payout schedule. You receive the full payment right away while Afterpay collects the client's future installments.
- Full or partial refunds can be processed directly from the Closed Tickets tab in POS.
- Refunded amounts automatically flow through Afterpay to credit back the client’s installment plan.
- Afterpay transactions are subject to minimum and maximum ticket limits set by Afterpay and your payment gateway. To process successfully, the ticket total must fall within the following regional thresholds per currency:
- USD: $1.00 – $4,000.00
- AUD: $1.00 – $4,000.00
- NZD: $1.00 – $4,000.00
- CAD: $1.00 – $2,000.00
- The setup option displayed in the top-right user menu depends on how you access the account and your assigned role:
- When navigating from the Parent Account (Location Management tab):
- Admin: Displays Business Setup when viewing the location account.
- Login As: Displays Location Setup when viewing the location account.
- When logged in directly at the Location Level:
- Location Owners & Location Managers: Display Location Setup.
- Service Providers & All Other Roles: Display Profile Setup.
Contents:
Enable Afterpay Setting
- Navigate to Business Setup / Location Setup > Settings
- Locate the 'Enable Afterpay' setting
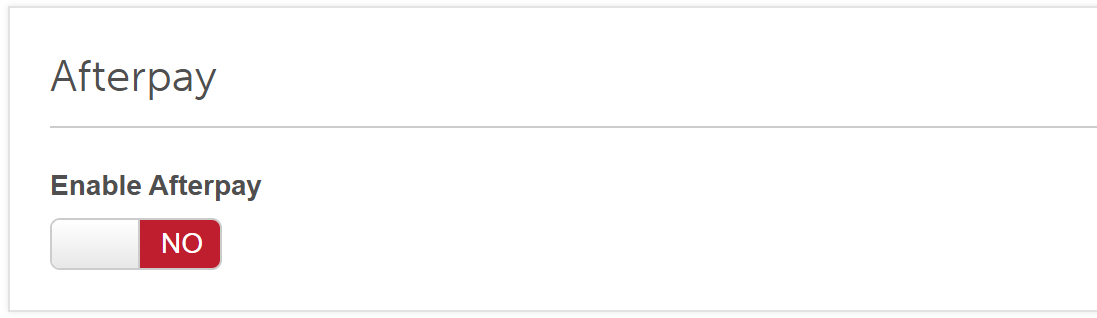
- Toggle the setting to 'Yes'
- When the Afterpay Setup modal appears, click "Request Activation
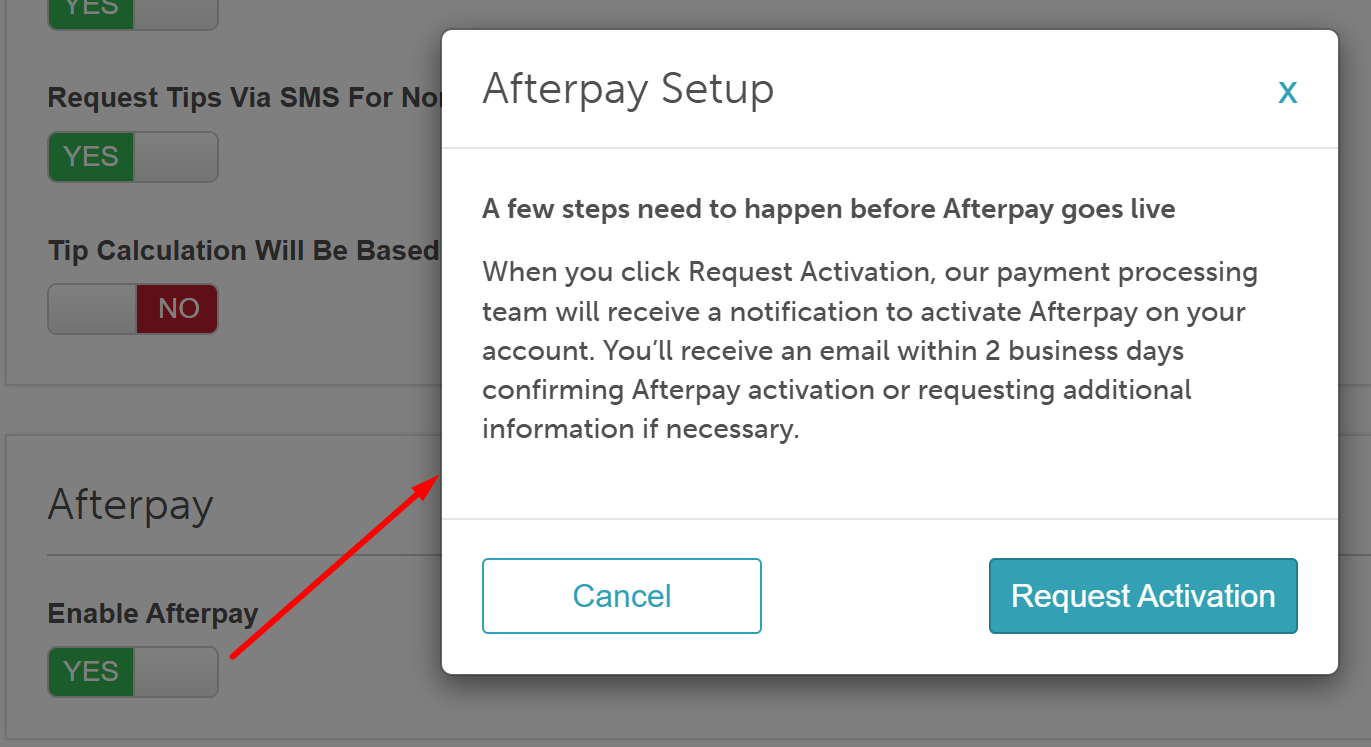
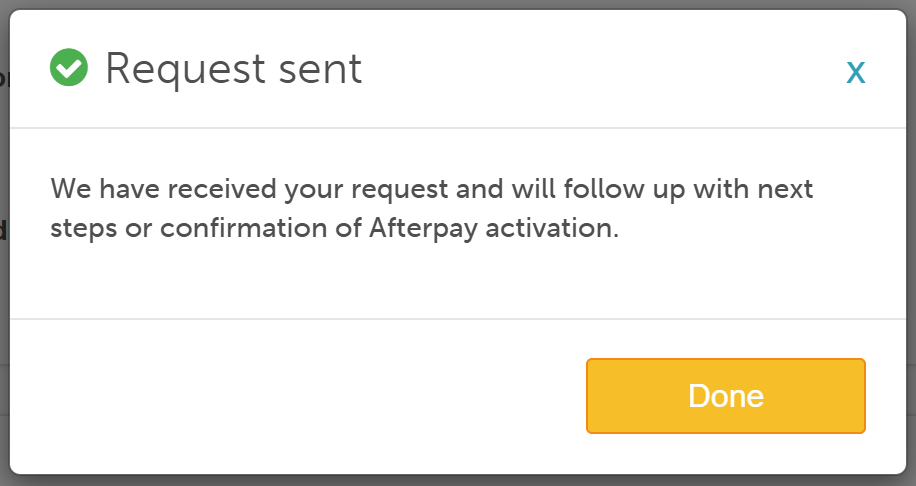
A request sent confirmation will be displayed; click 'Done'
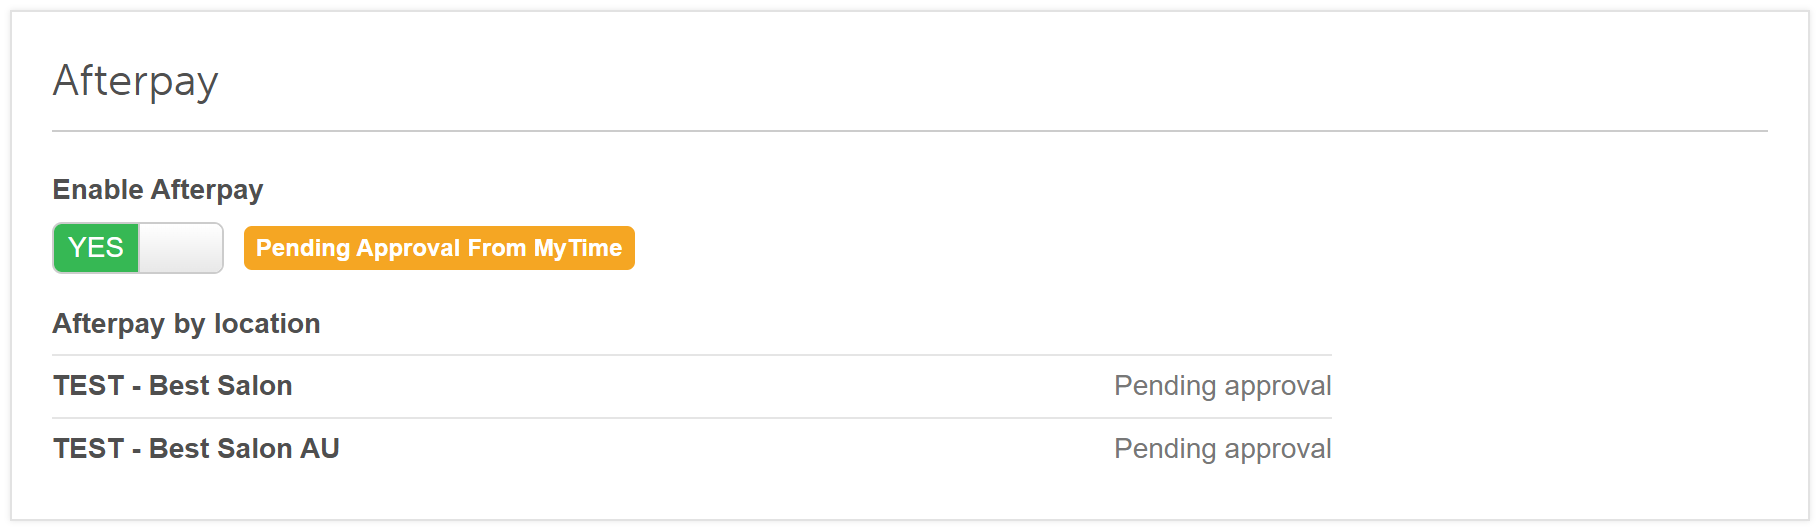
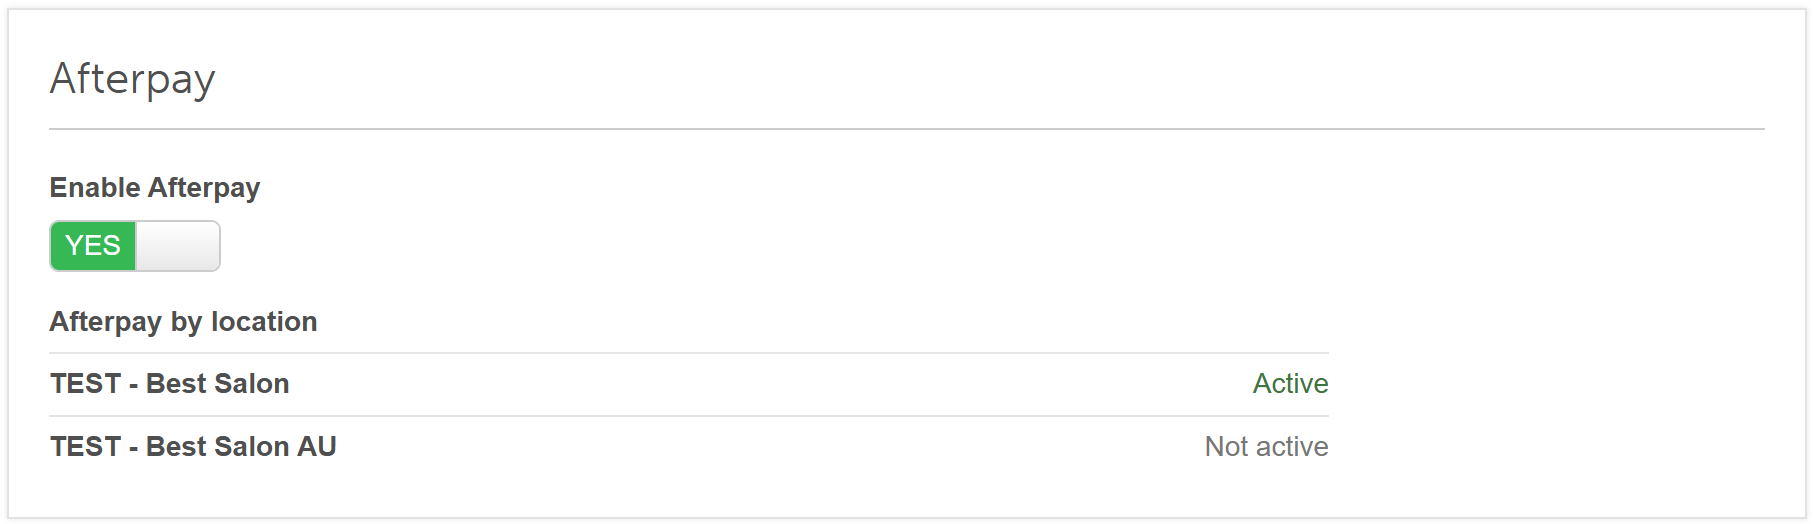
- After requesting activation, the setting will display a "Pending Approval From MyTime" badge. For multi-location accounts, an "Afterpay by Location" section will be displayed below the toggle displaying one of the following statuses for each location:
- Active: Afterpay is fully configured (Stripe payment account has been connected under the "How should MyTime pay you for services?" section on the Payments & Deposits page, and the feature has been approved by our team)
- Pending Approval: The request is currently being processed by our team.
- Not Active: There is no Stripe bank account configured for this location.
- Declined by Stripe: Stripe has declined the business (typically due to business category restrictions; this cannot be resolved via settings changes).
- Afterpay Is Not Offered in This Country: Afterpay is unavailable in this location's region through Stripe.
- Could Not Be Checked Right Now: Temporary connection issue reaching Stripe; the system will automatically re-check and resolve this status.
- Note: If you need to cancel the request before approval, simply toggle the setting to No.
- Once your request is approved, the Pending Approval badge will be removed, and the location will now display the status to the right
- Click Save to save changes
Checking Out via POS
- Navigate to POS > New Ticket page
- Select or create the ticket containing the client’s services, classes, or products they wish to purchase
- Click Take Payment.
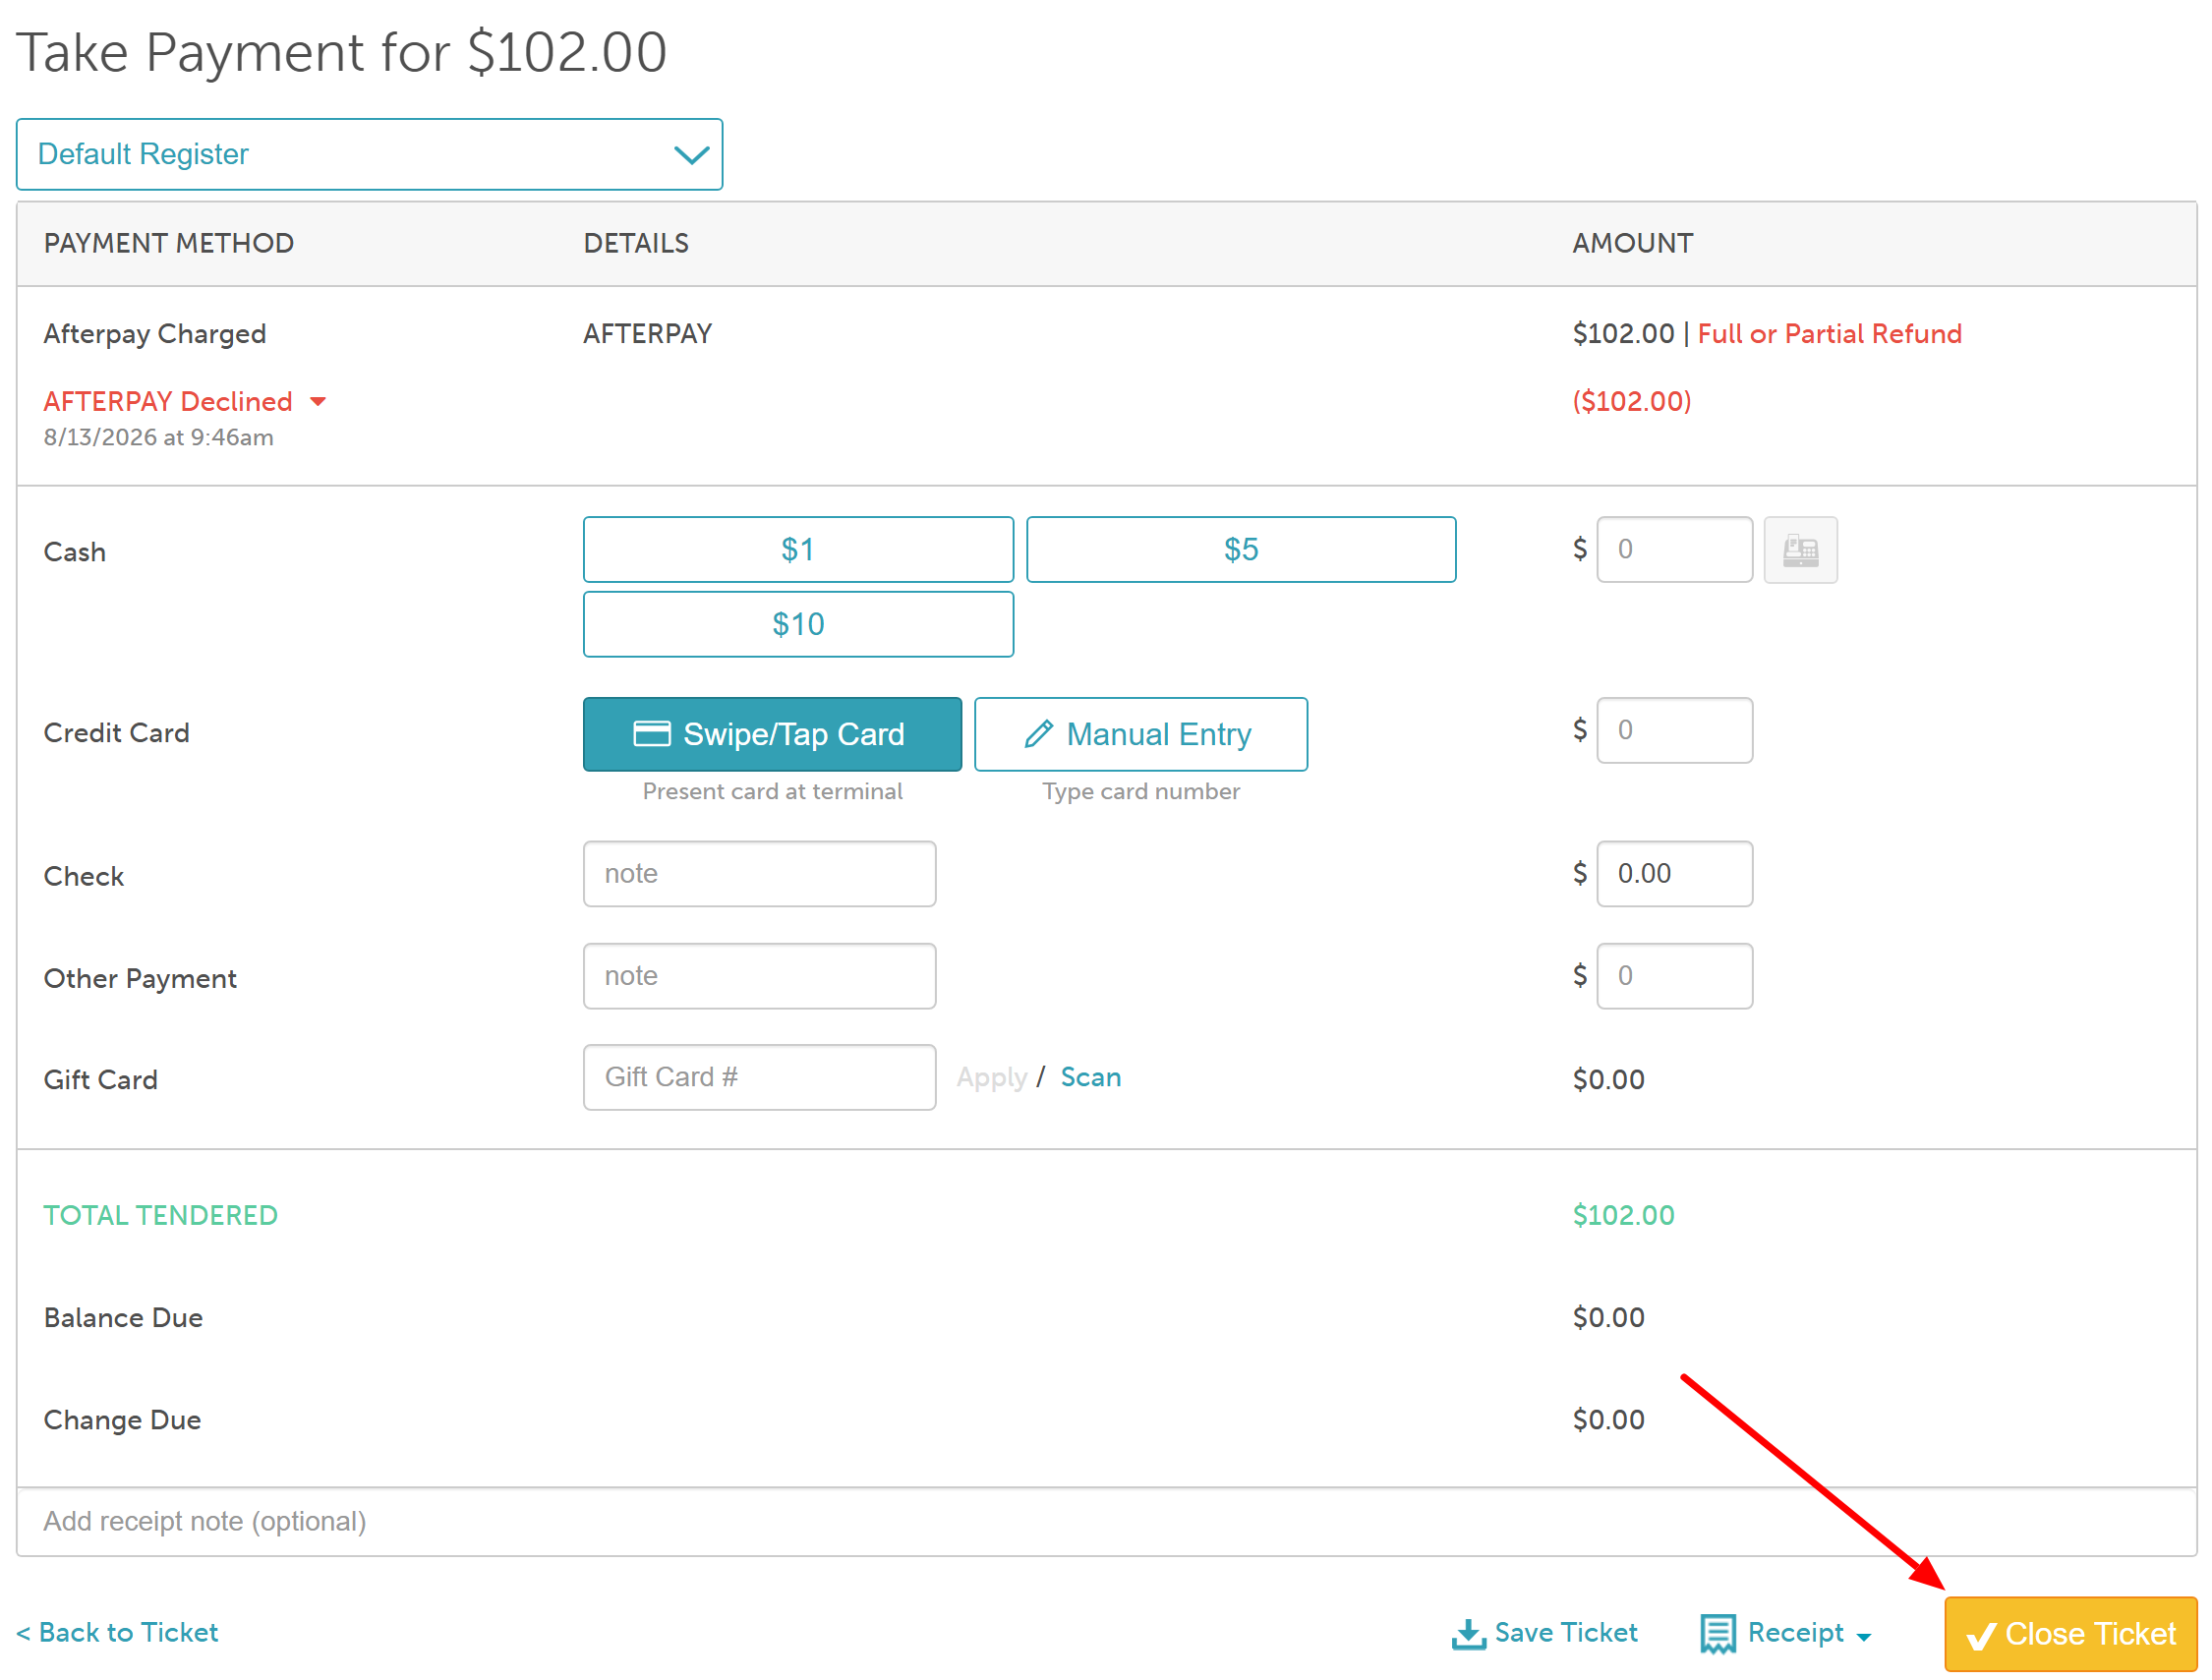
- On the payment screen, Afterpay will be displayed as a payment method
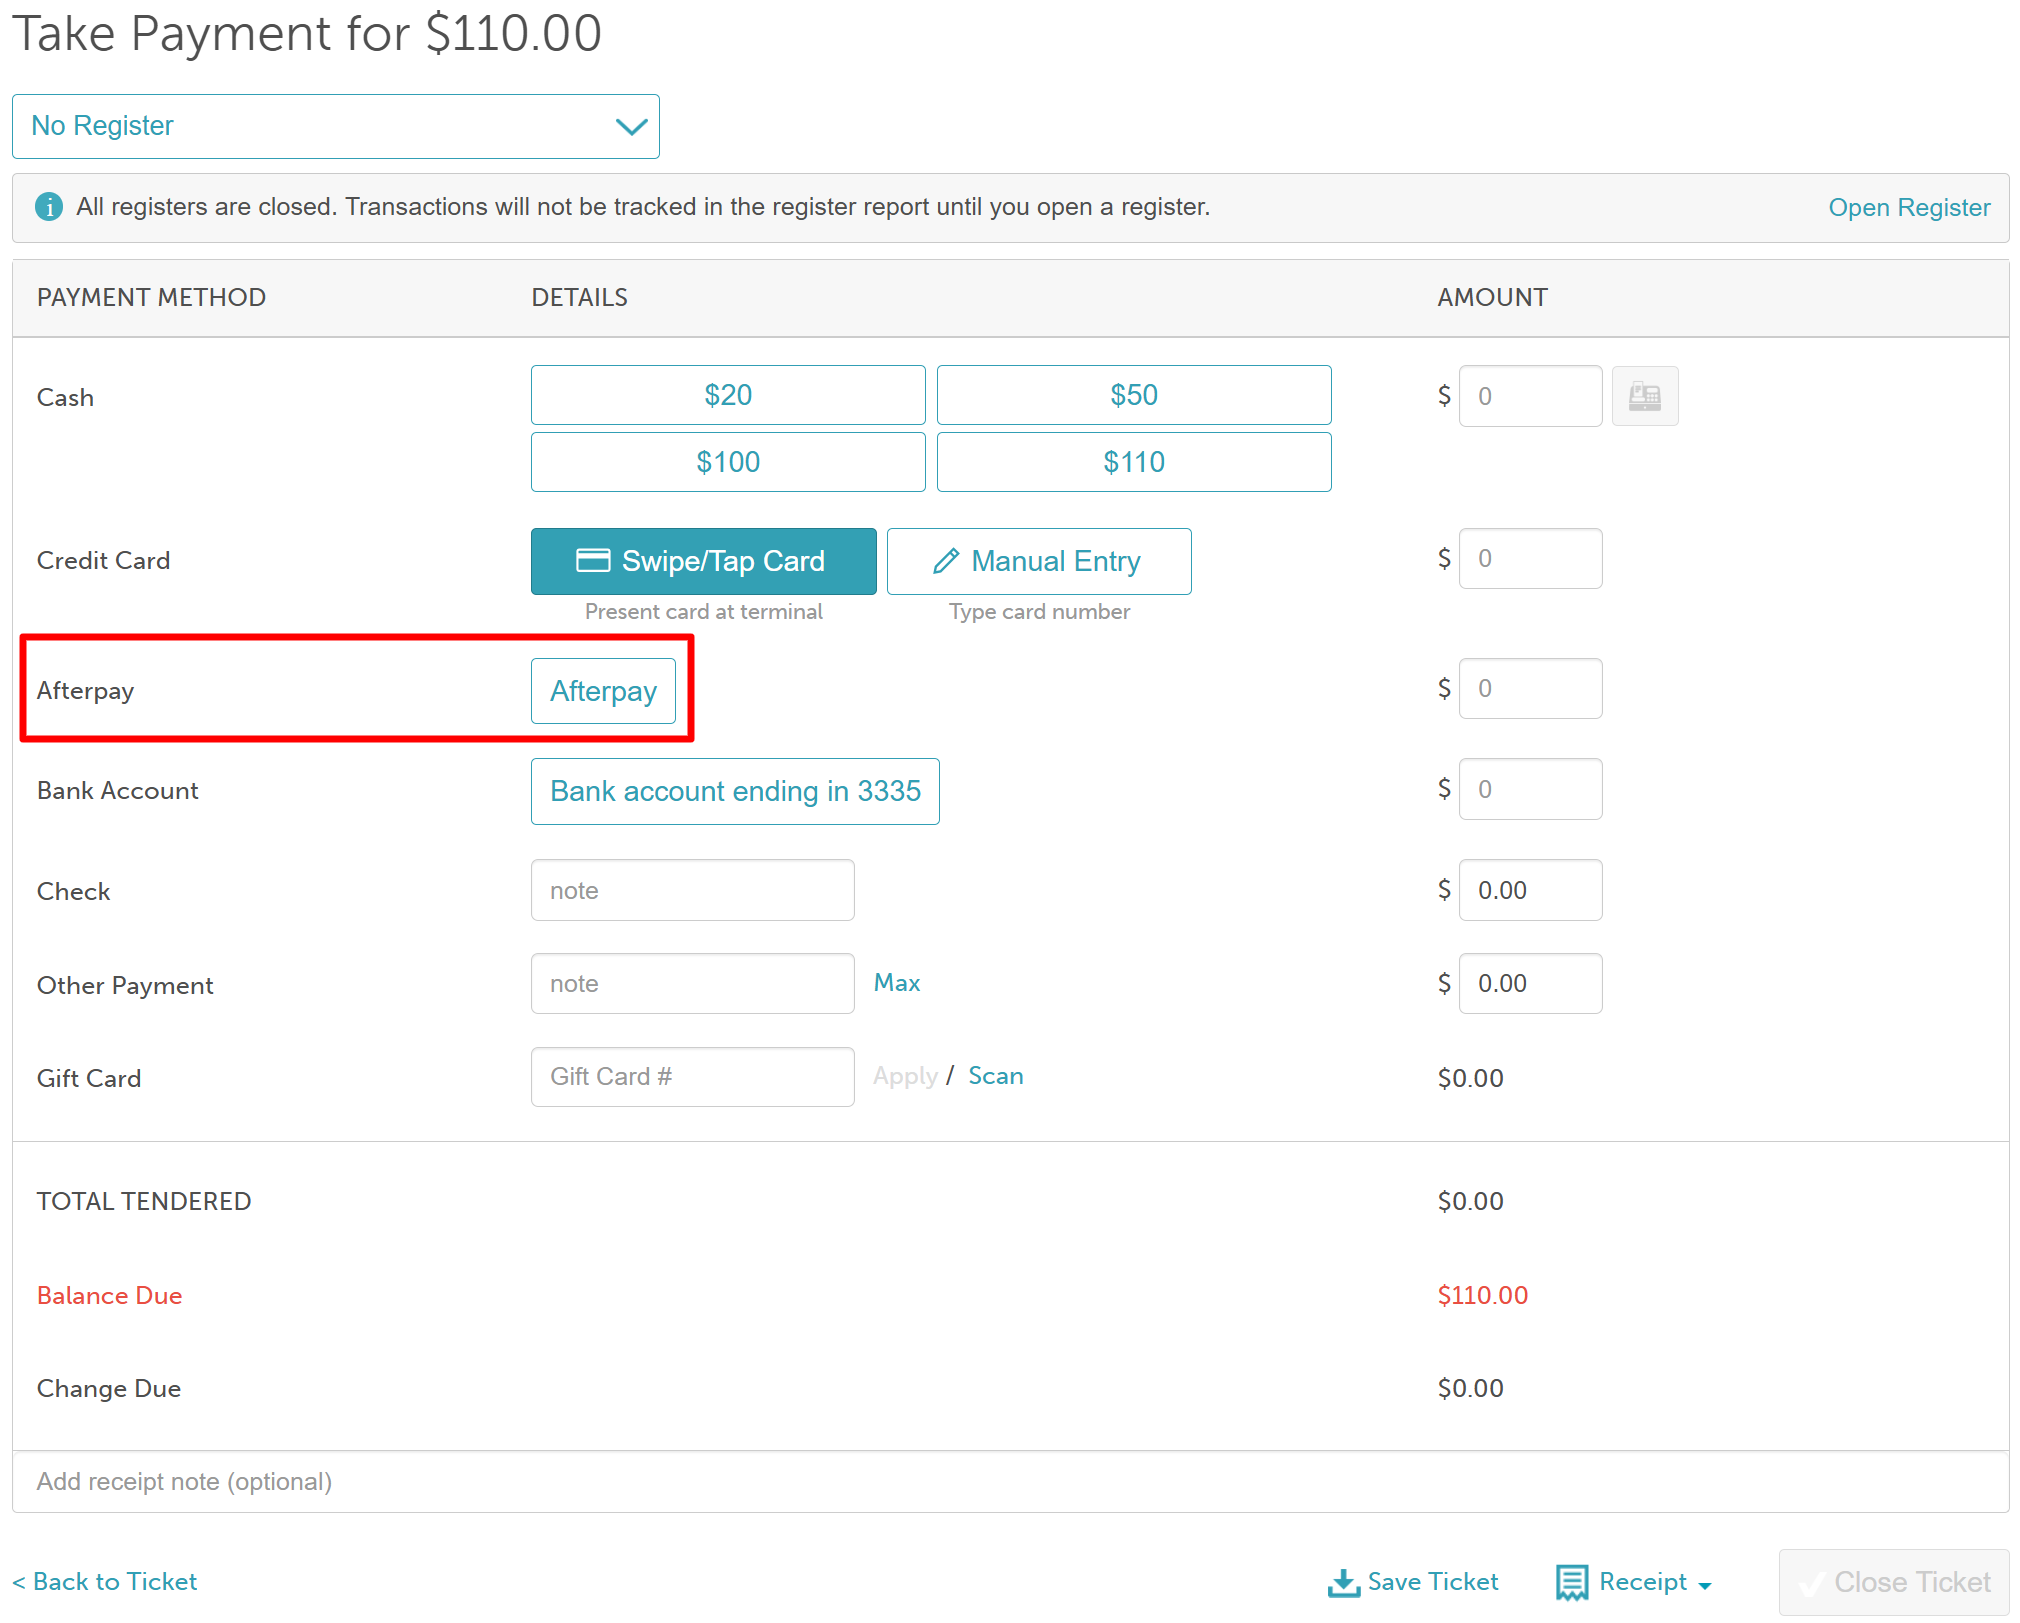
- Select Afterpay to open the Afterpay details pop-up
- The client's email address and full name will pre-fill in the appropriate fields
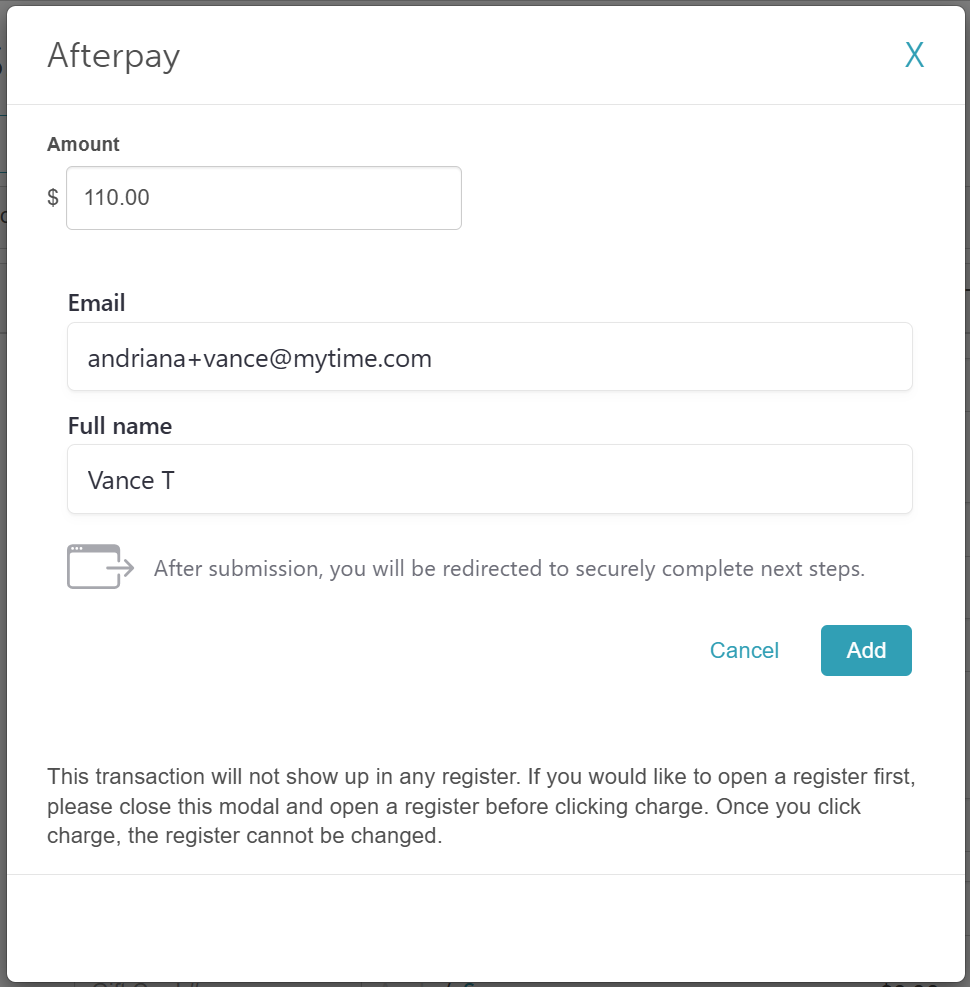
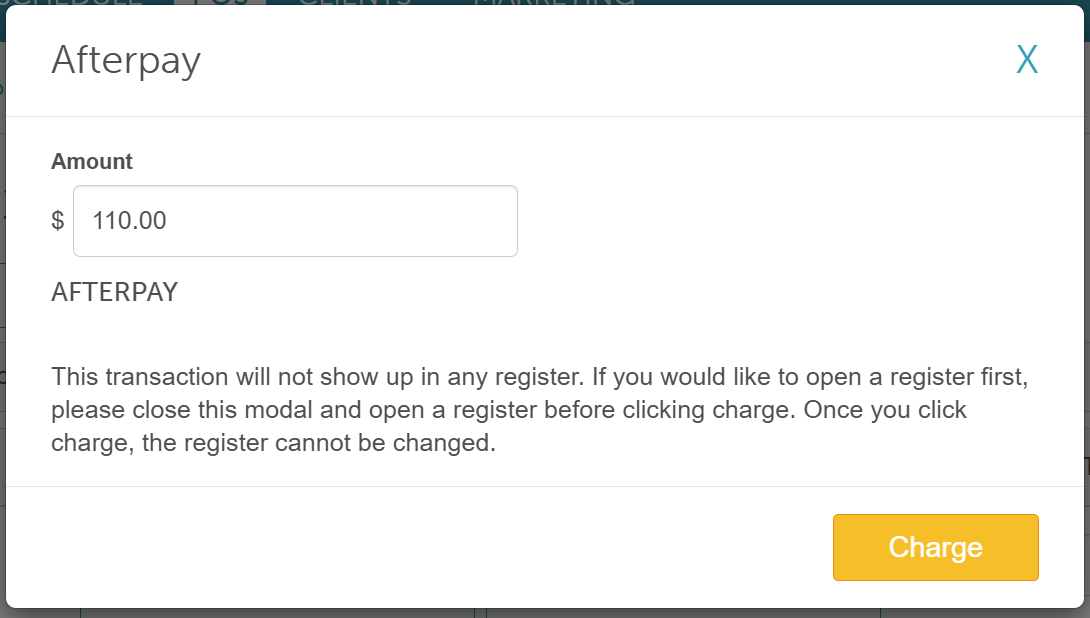
- Click 'Add' and then 'Charge'
- From the dropdown menu, select how you would like to send the payment link to your client:
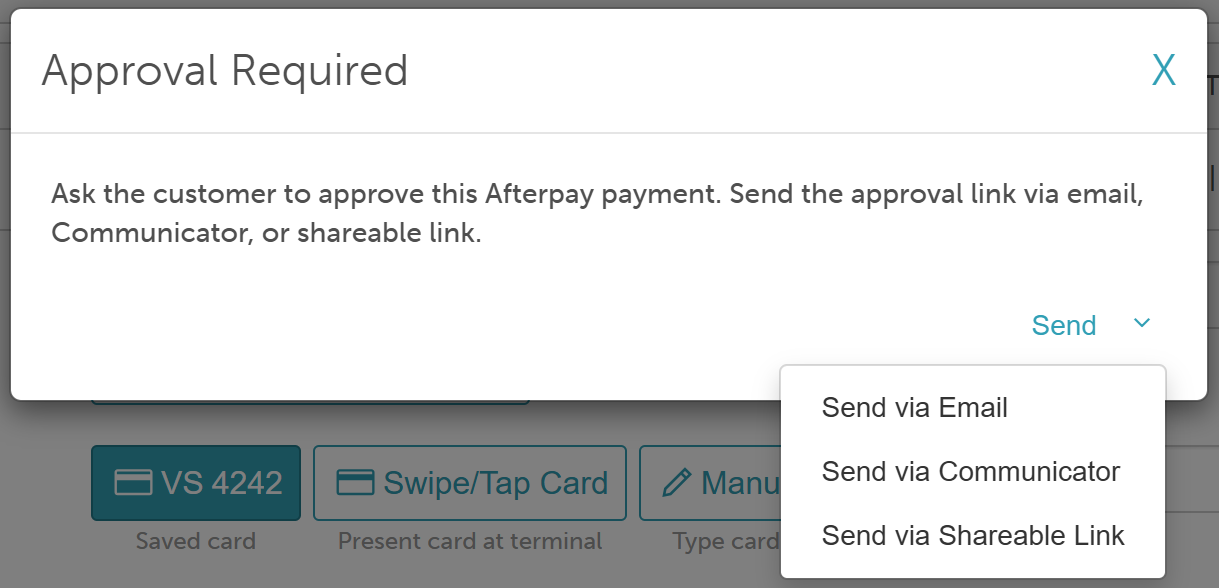
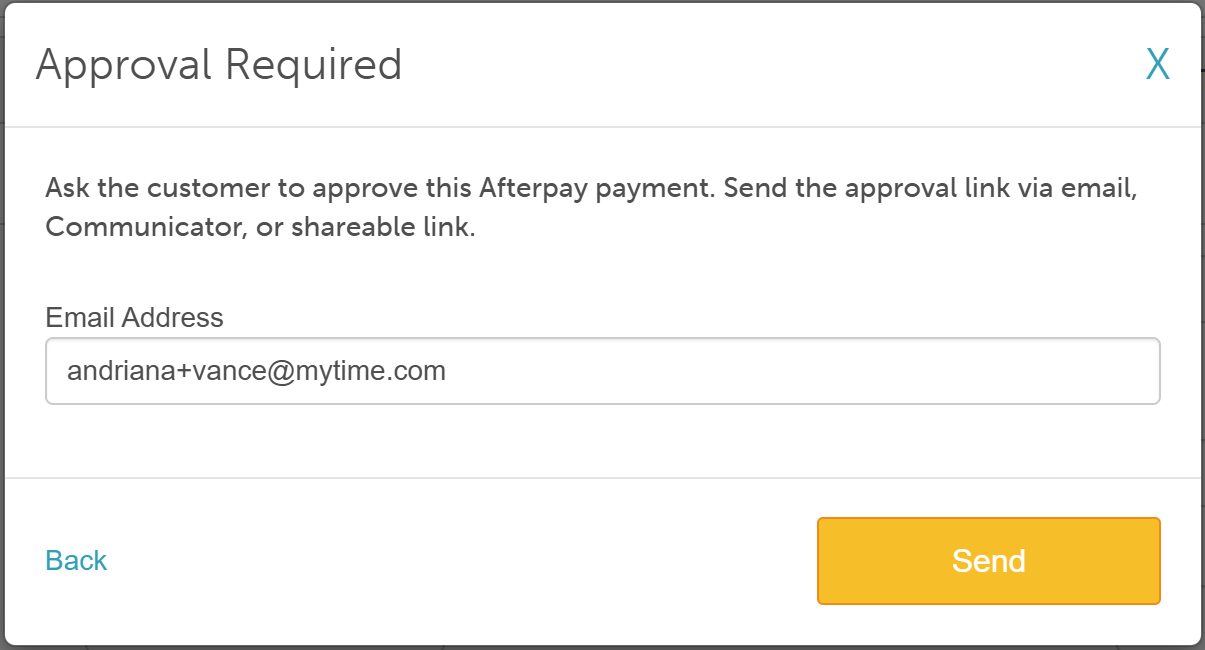
- Send via Email: Confirm or edit the client's email address, then click Send.
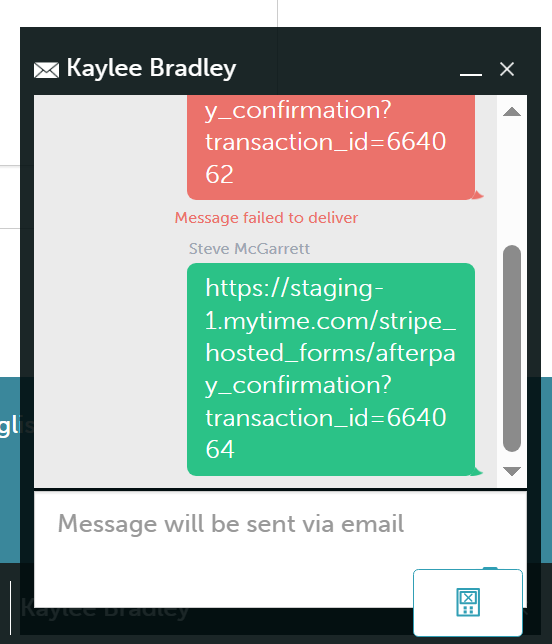
- Send via Communicator: Automatically populates the payment link inside the Communicator chat window to send directly to the client.
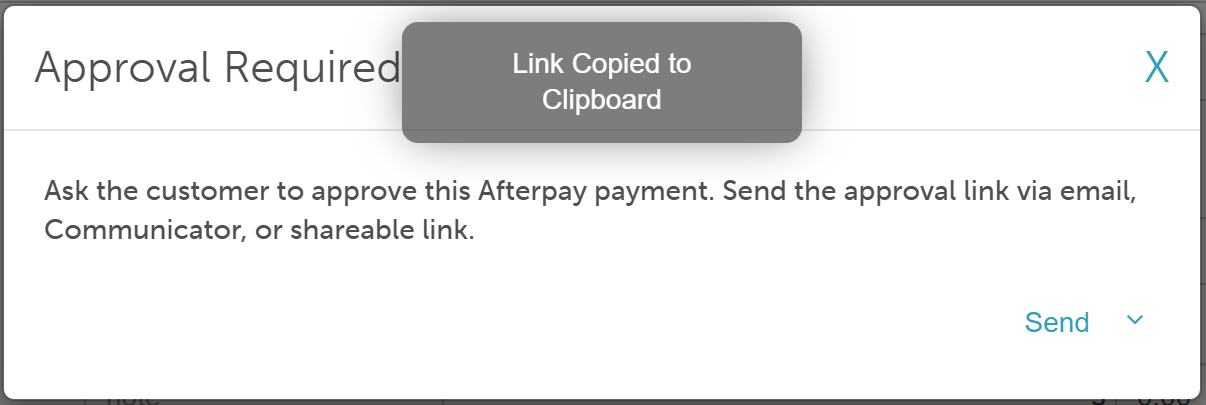
- Send via Shareable Link: Copies the payment link to your clipboard so you can manually paste and share it.
- Send via Email: Confirm or edit the client's email address, then click Send.
- An "Awaiting Afterpay approval..." status message will appear at the top of the payment screen until the client approves the payment or you cancel the request

- Once the client completes the authorization in their Afterpay app or browser, the POS ticket will automatically update so you can close it
For more information, contact us at support@mytime.com or (385) 233-6964.
Related Article:
Checking Out With Afterpay via Booking Widget (Online)
Was this article helpful?
That’s Great!
Thank you for your feedback
Sorry! We couldn't be helpful
Thank you for your feedback
Feedback sent
We appreciate your effort and will try to fix the article