Appointment service statuses help track the completion of individual services within multi-service bookings. These statuses, which can be updated from the appointment modal, serve solely as a reminder for staff about which services are still pending and do not affect the overall status of the appointment. In this article, we will explore the various service statuses and how to use them to streamline your business operations effectively on the scheduler app.
Things to know:
- The ability to add or configure appointment service statuses is governed by the "Accessing Account Settings" access control permission
- When creating a new appointment, the service status automatically defaults to the first option listed on your settings page.
- If you change a service after a status has already been selected, the status will automatically reset back to that default first option.
- For recurring appointment series, any status changes made to a single appointment apply only to that specific instance and do not persist across the rest of the series.
- When a service status changes, the open POS ticket updates automatically to reflect the new progress.
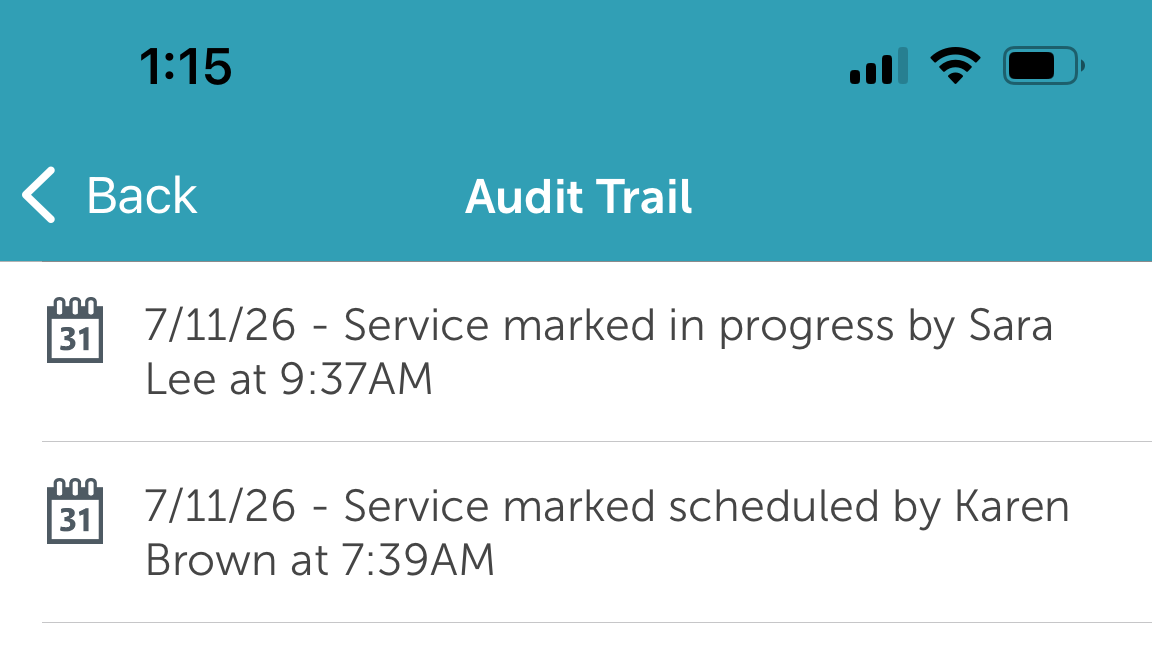
- The system logs an audit trail for every change, capturing the Date/Time of change, Modified By (staff name), Current Value, and Previous Value. Note: The audit trail will reset if the service or its variation is swapped entirely.
Update Appointment Service Status
1. Launch the MyTime Scheduler app on your device
2. Choose your login method:
- Standard: Enter your registered email address and password, then tap 'Sign In'
- Social Login: Select 'Continue with Google' or 'Continue with Apple' to use your existing credentials for a faster login experience. For detailed instructions, learn more here
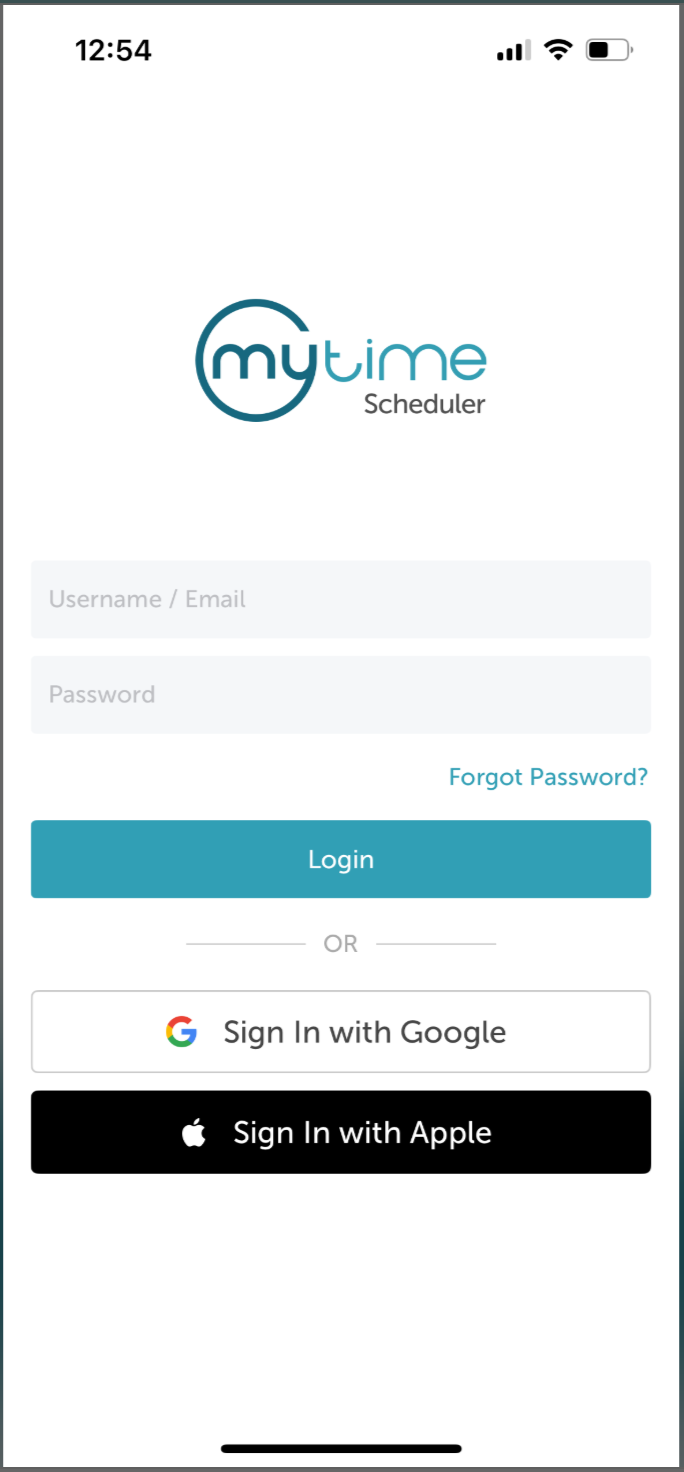
3. Once signed in, you will be directed to the schedule by default
4. Tap the desired appointment on the schedule 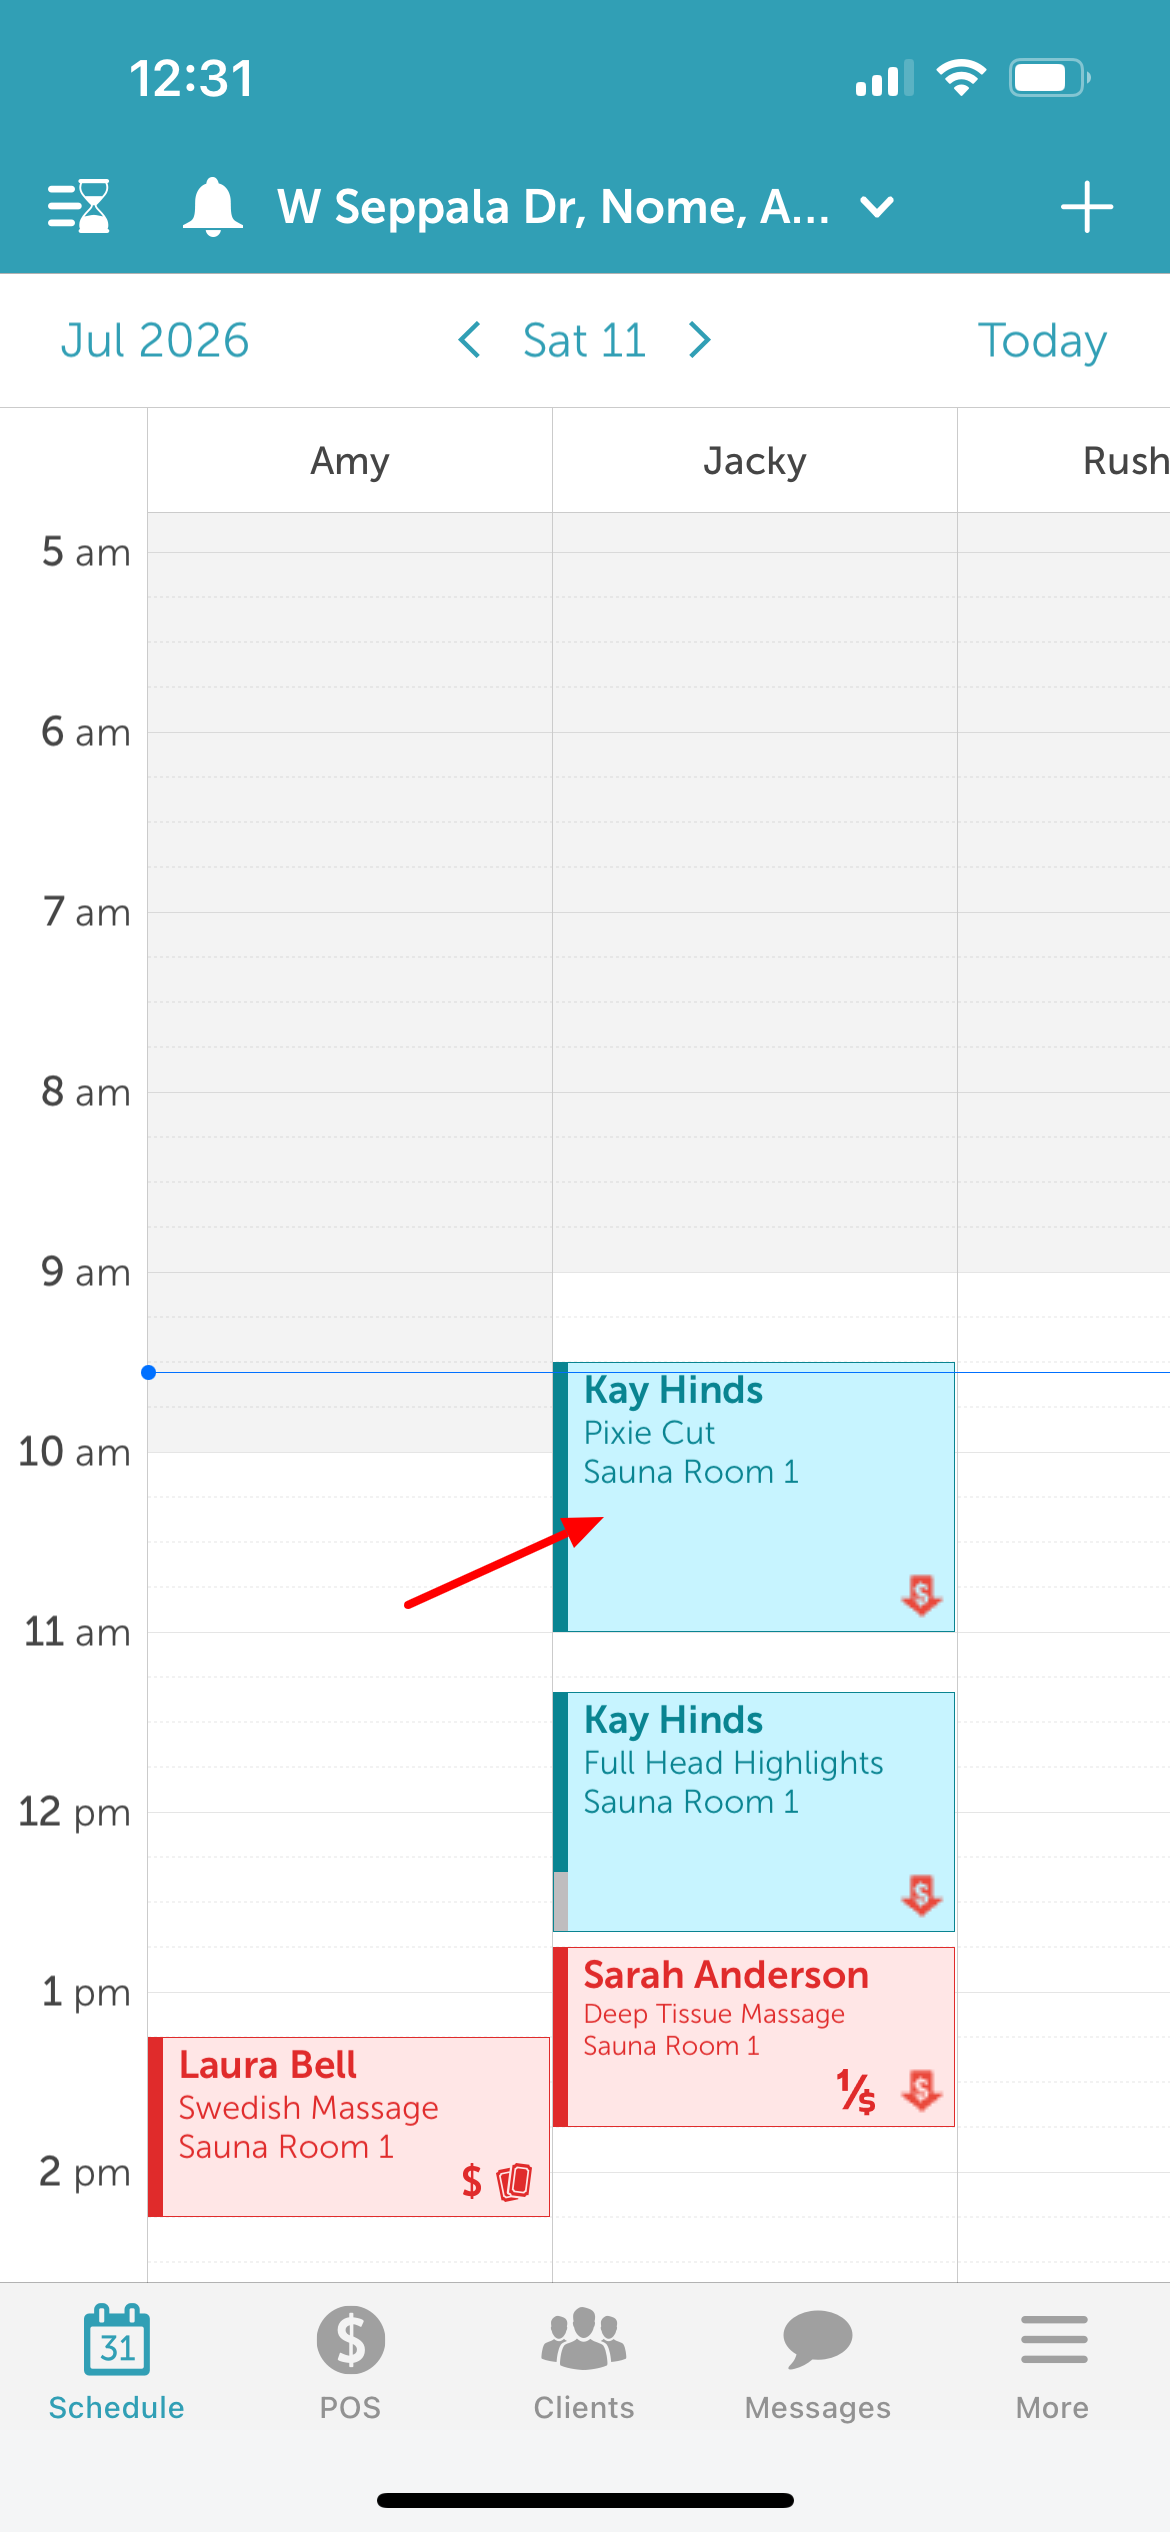
5. In the appointment modal, locate the service. (Note: A status indicator appears in brackets () next to each service)
6. Tap the service 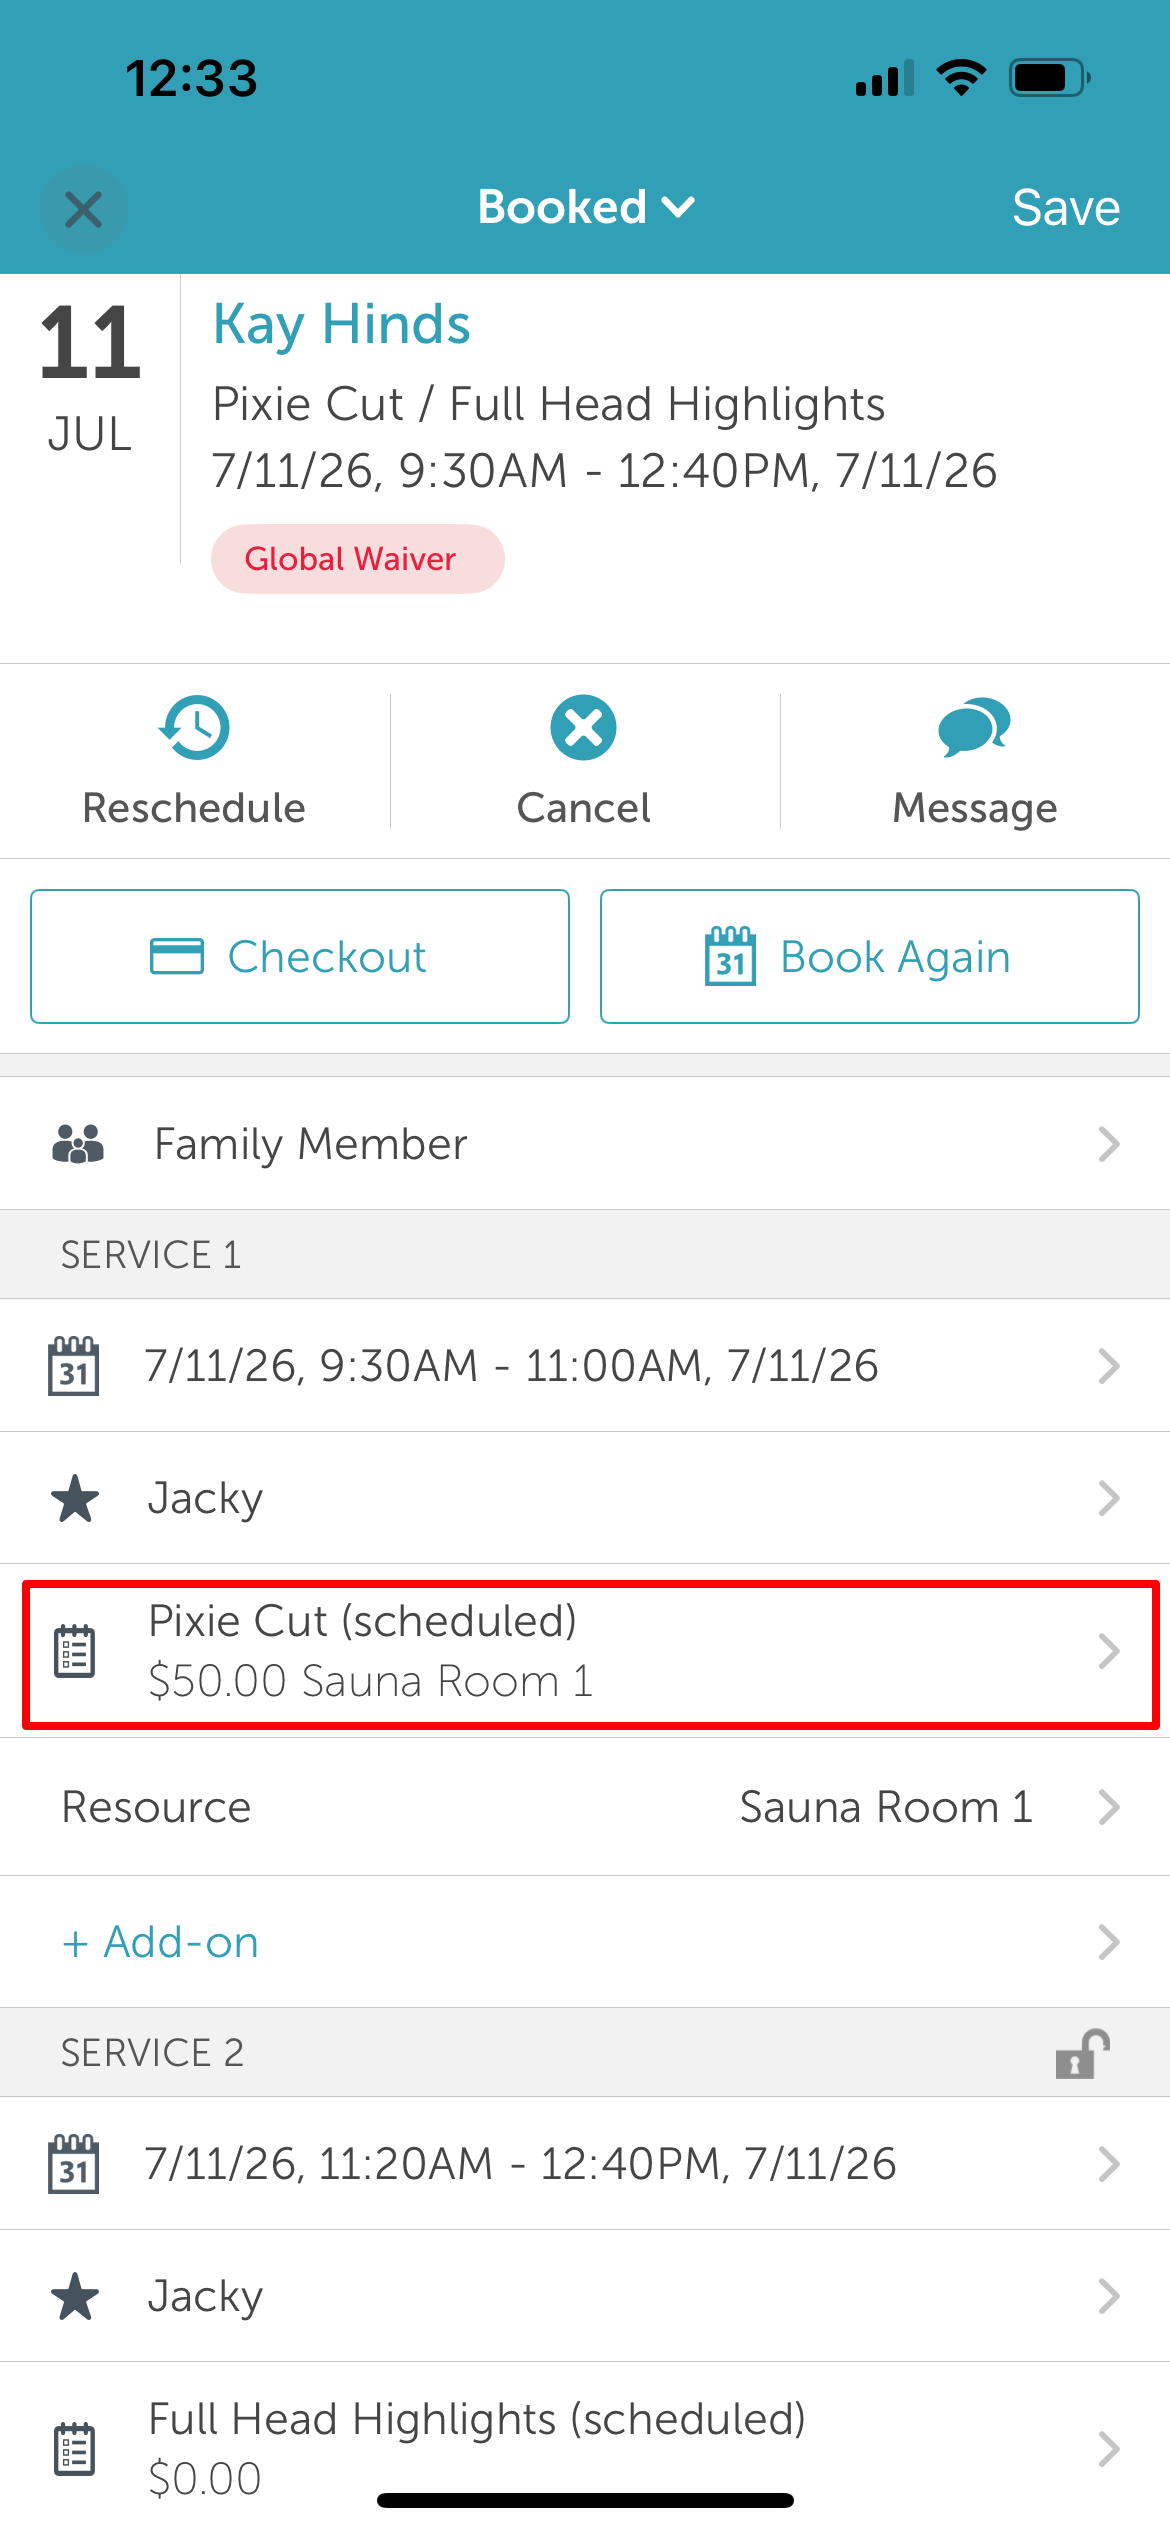
7. Tap the current status to open the service status picker screen 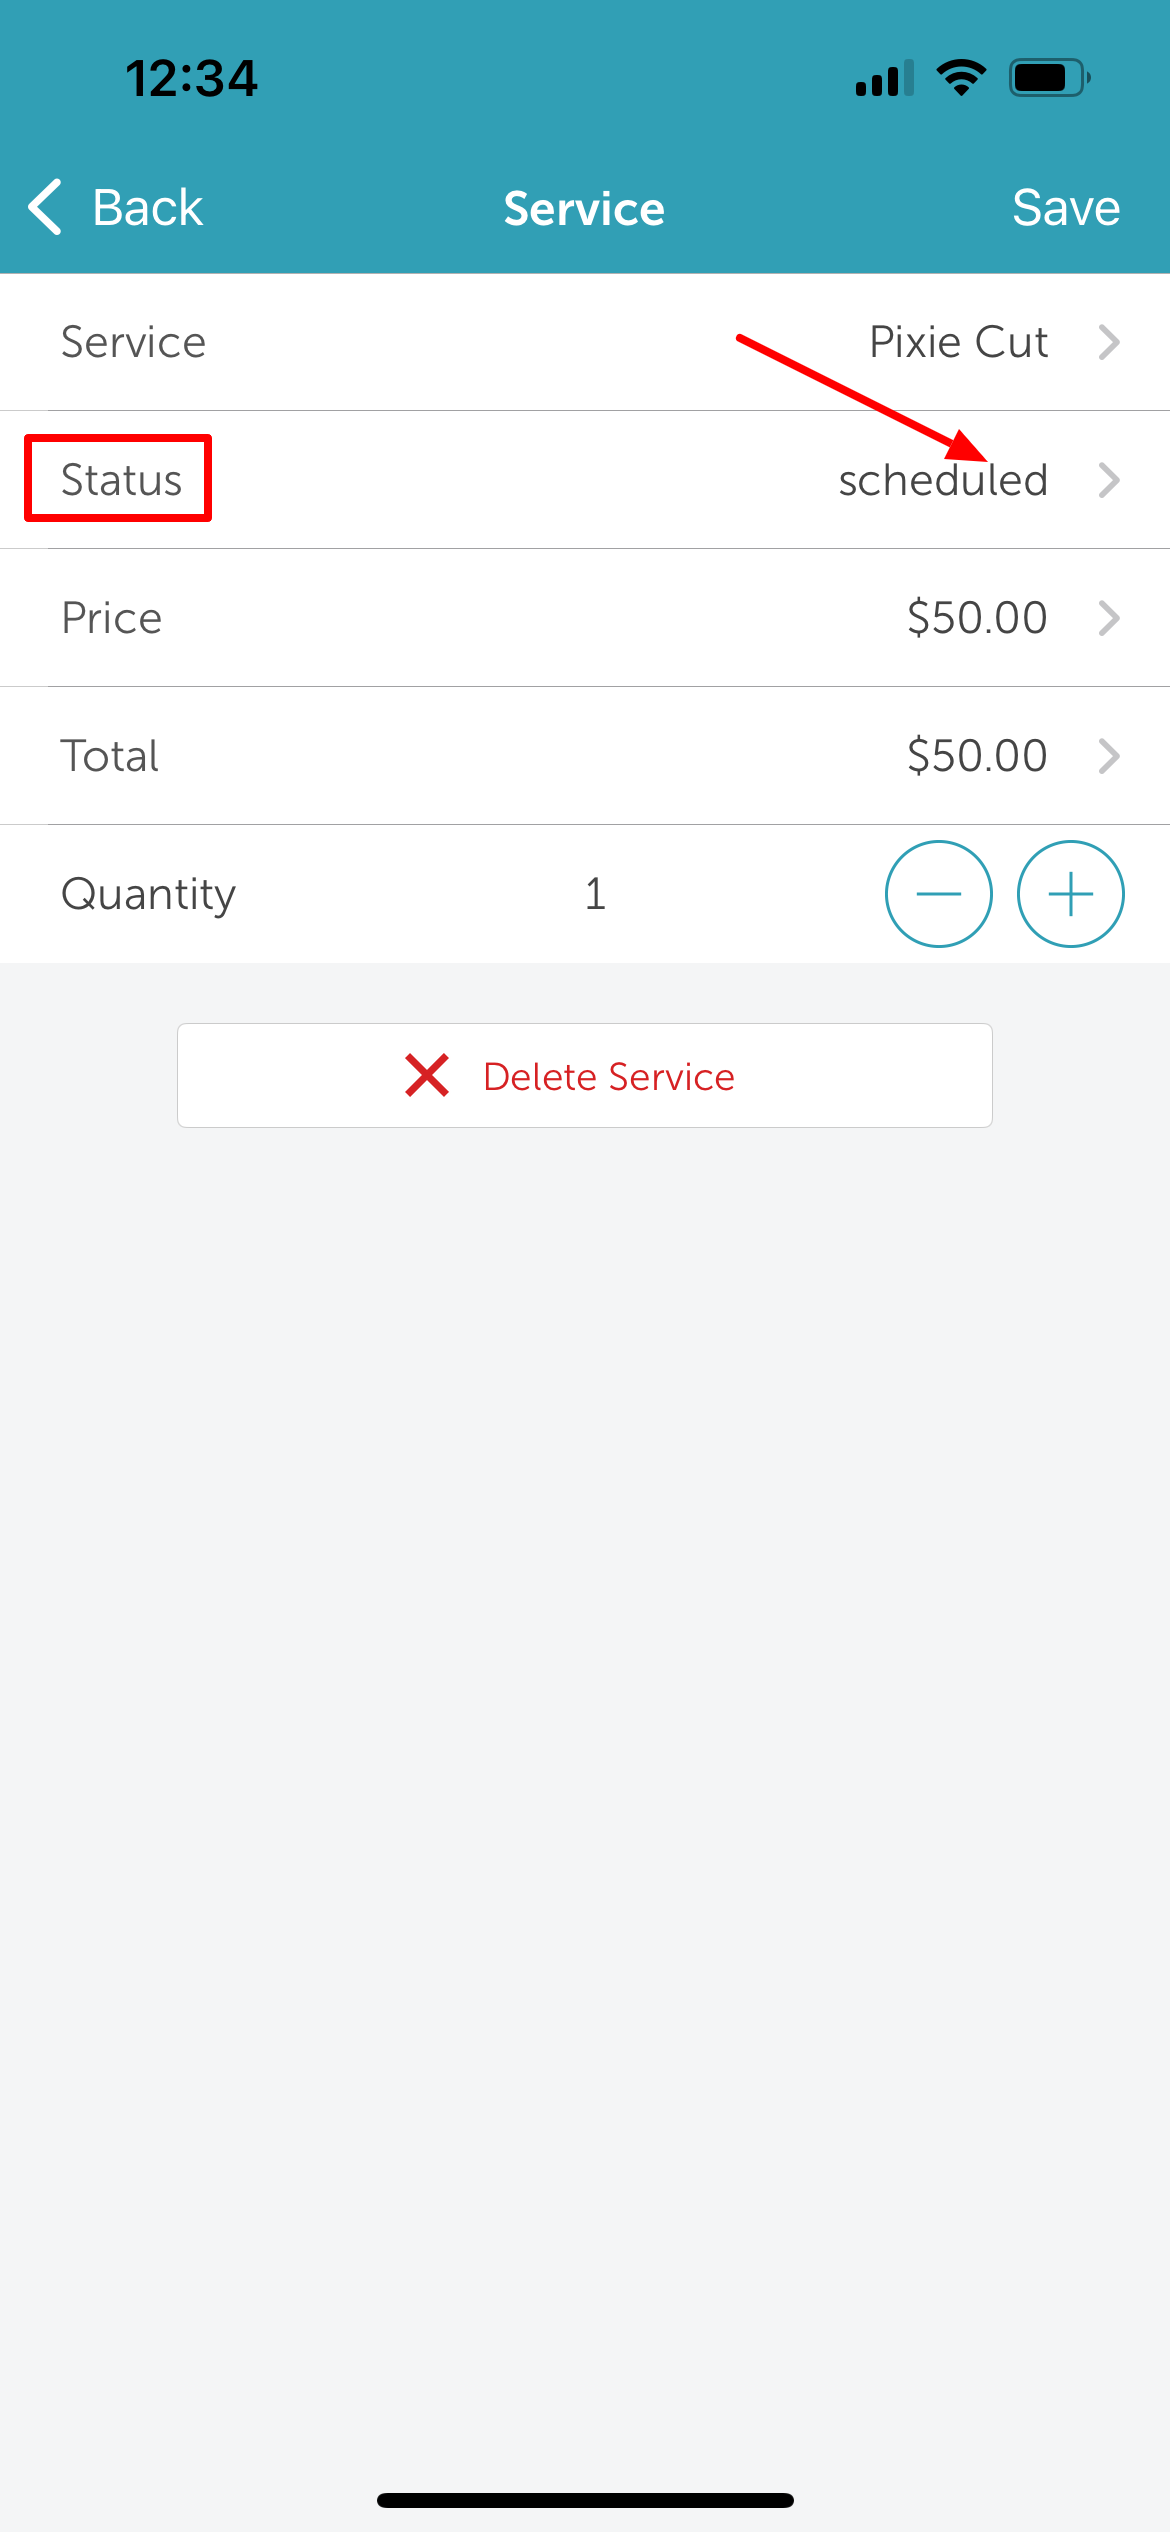
8. Select your new status
9. Tap Save in the top right corner of the screen 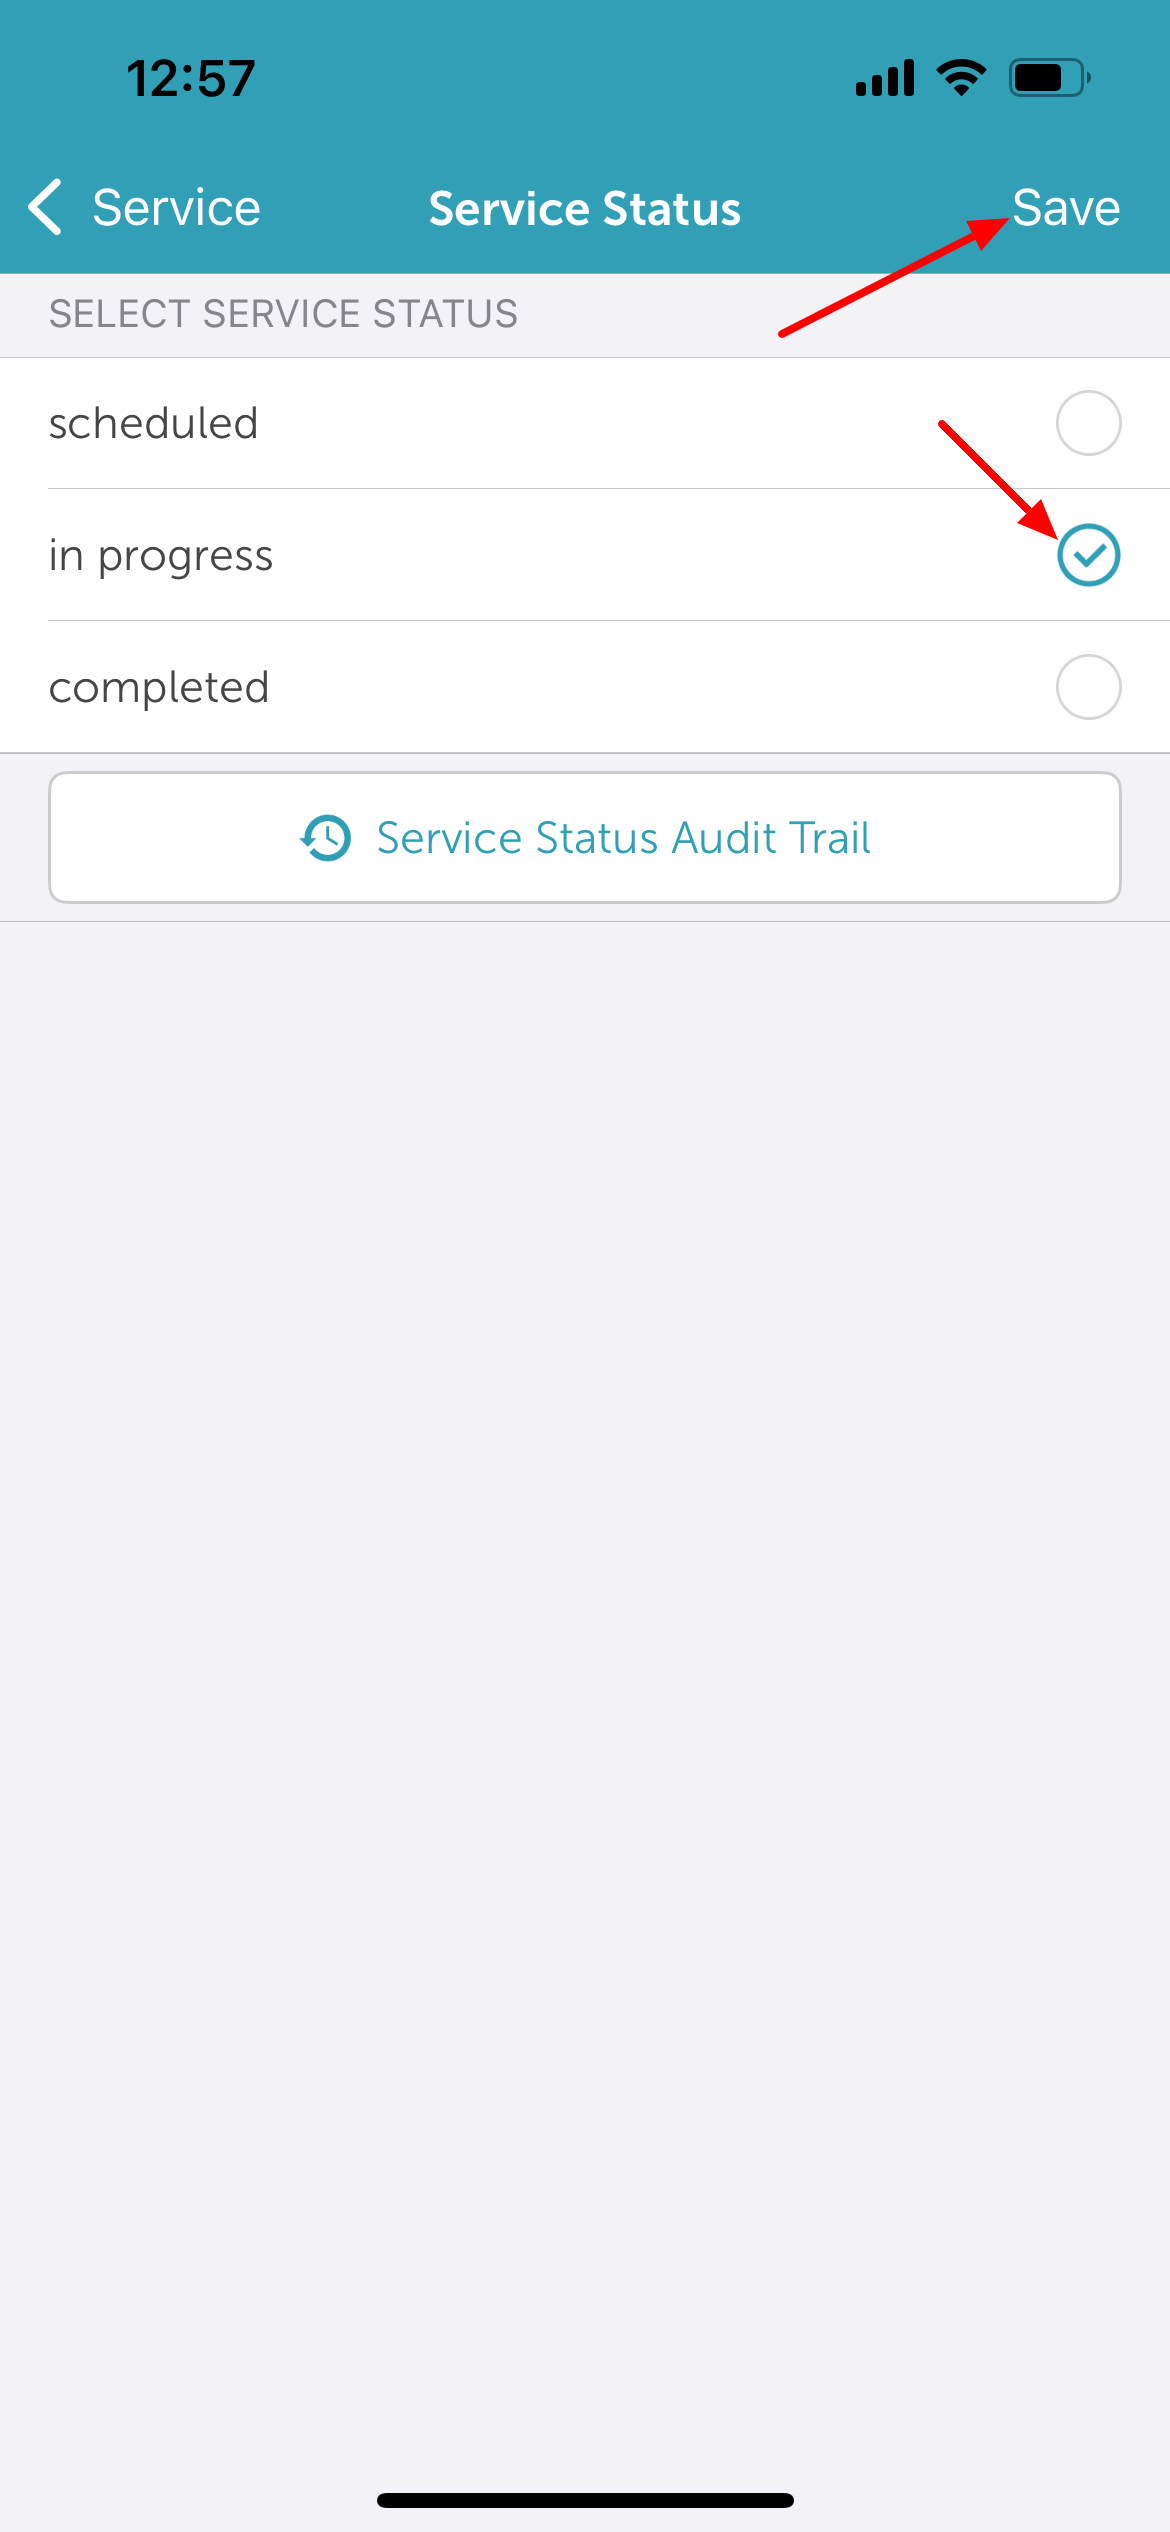
10. Confirm your changes by tapping Save again on the confirmation prompt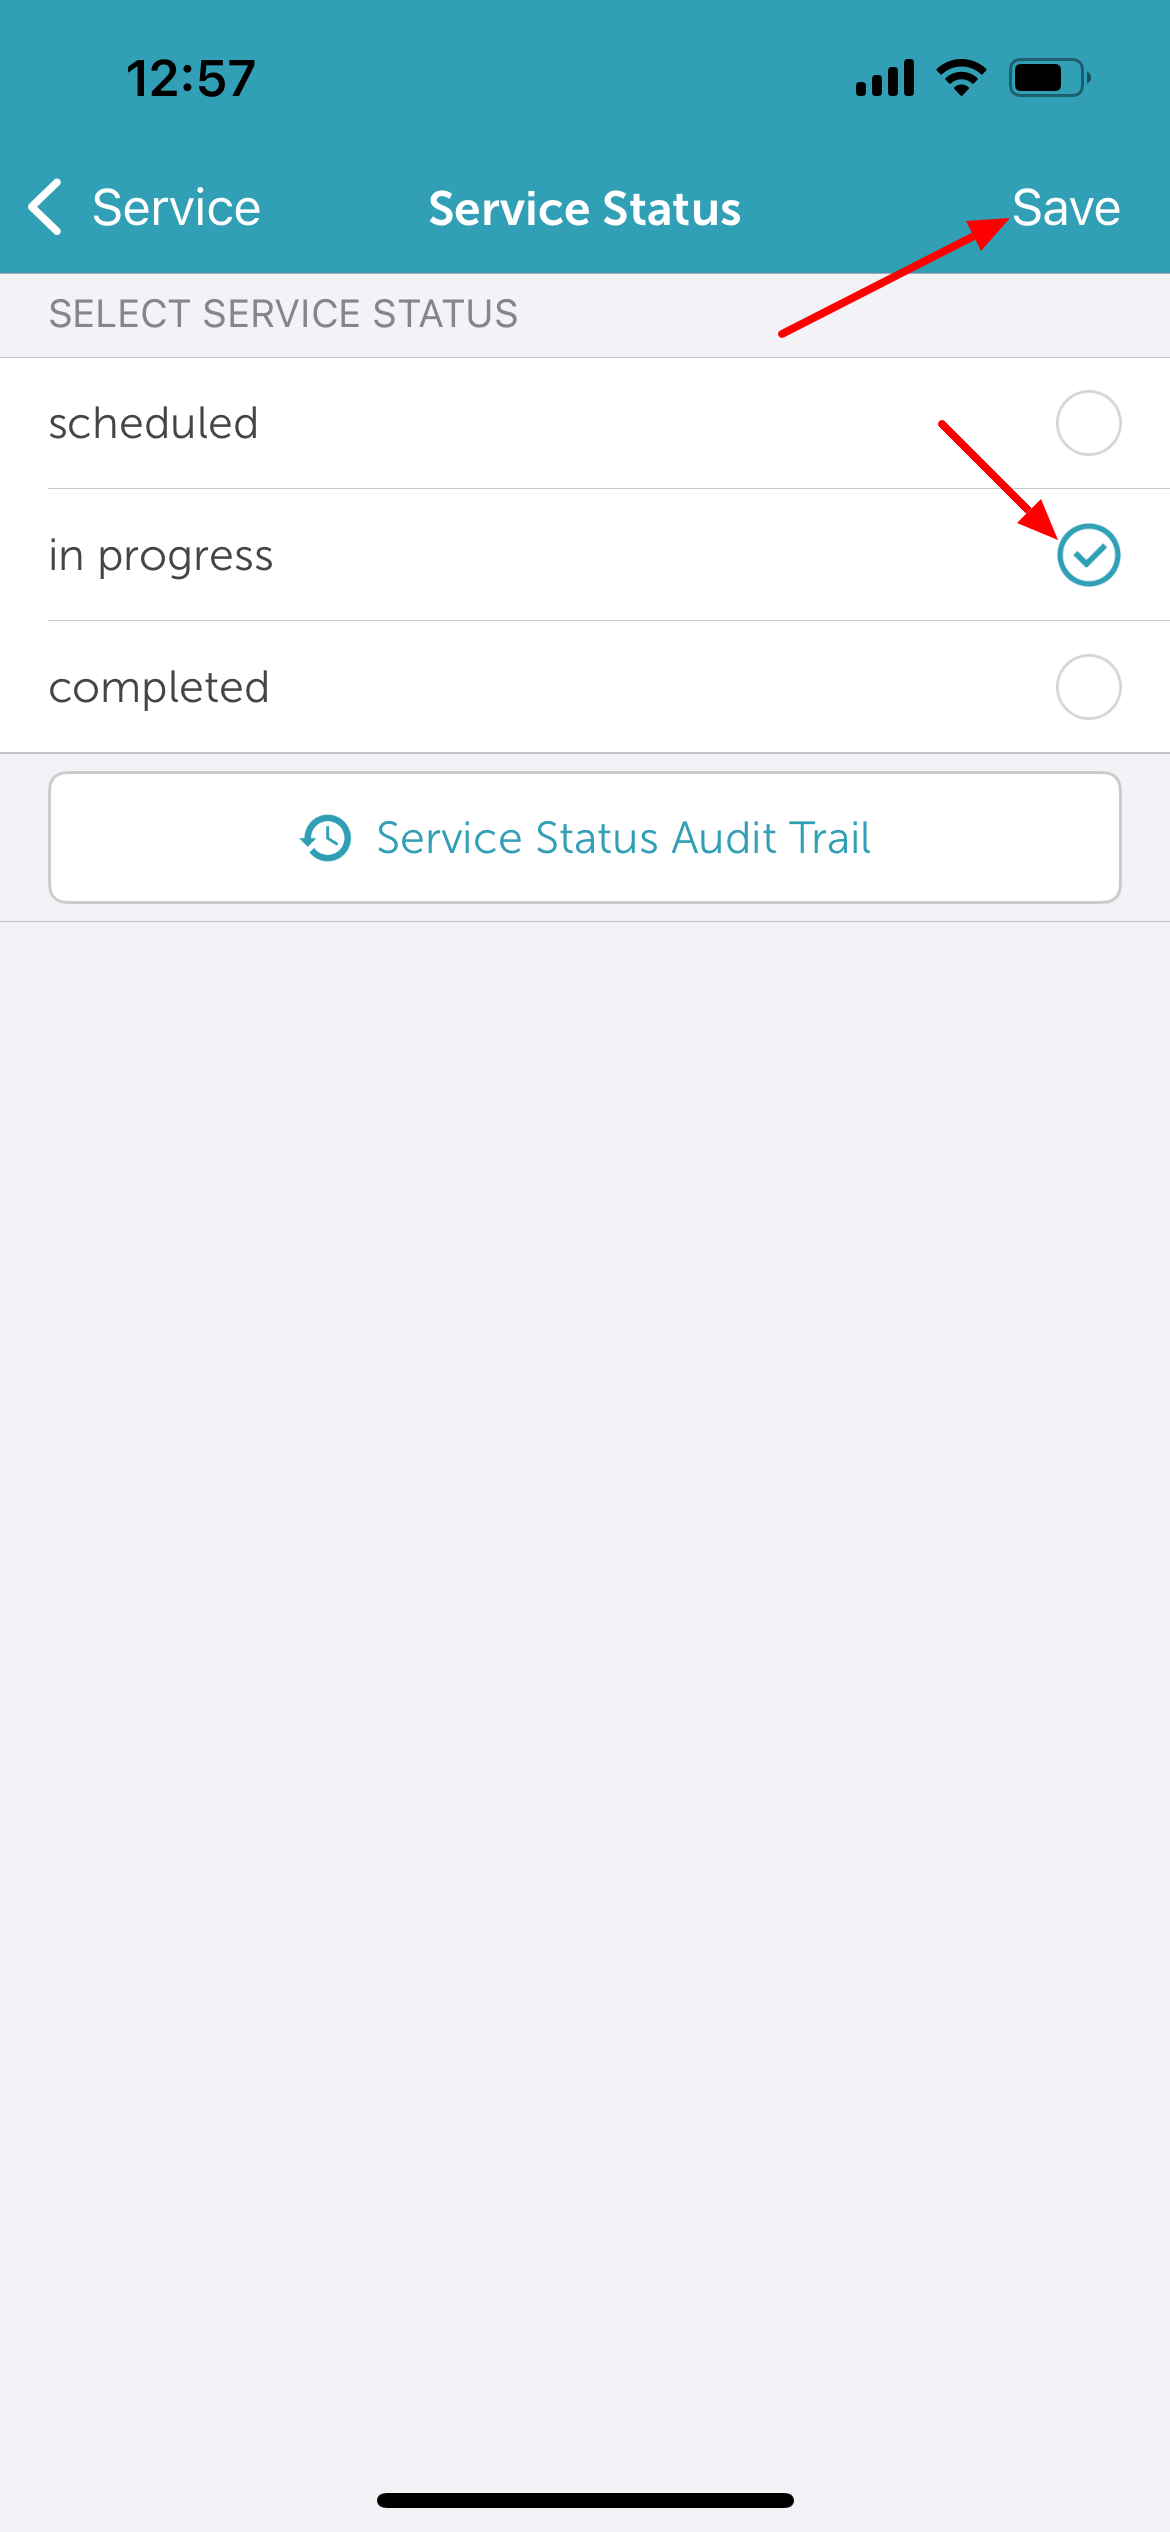
11. Tap Save one final time to update the appointment on the schedule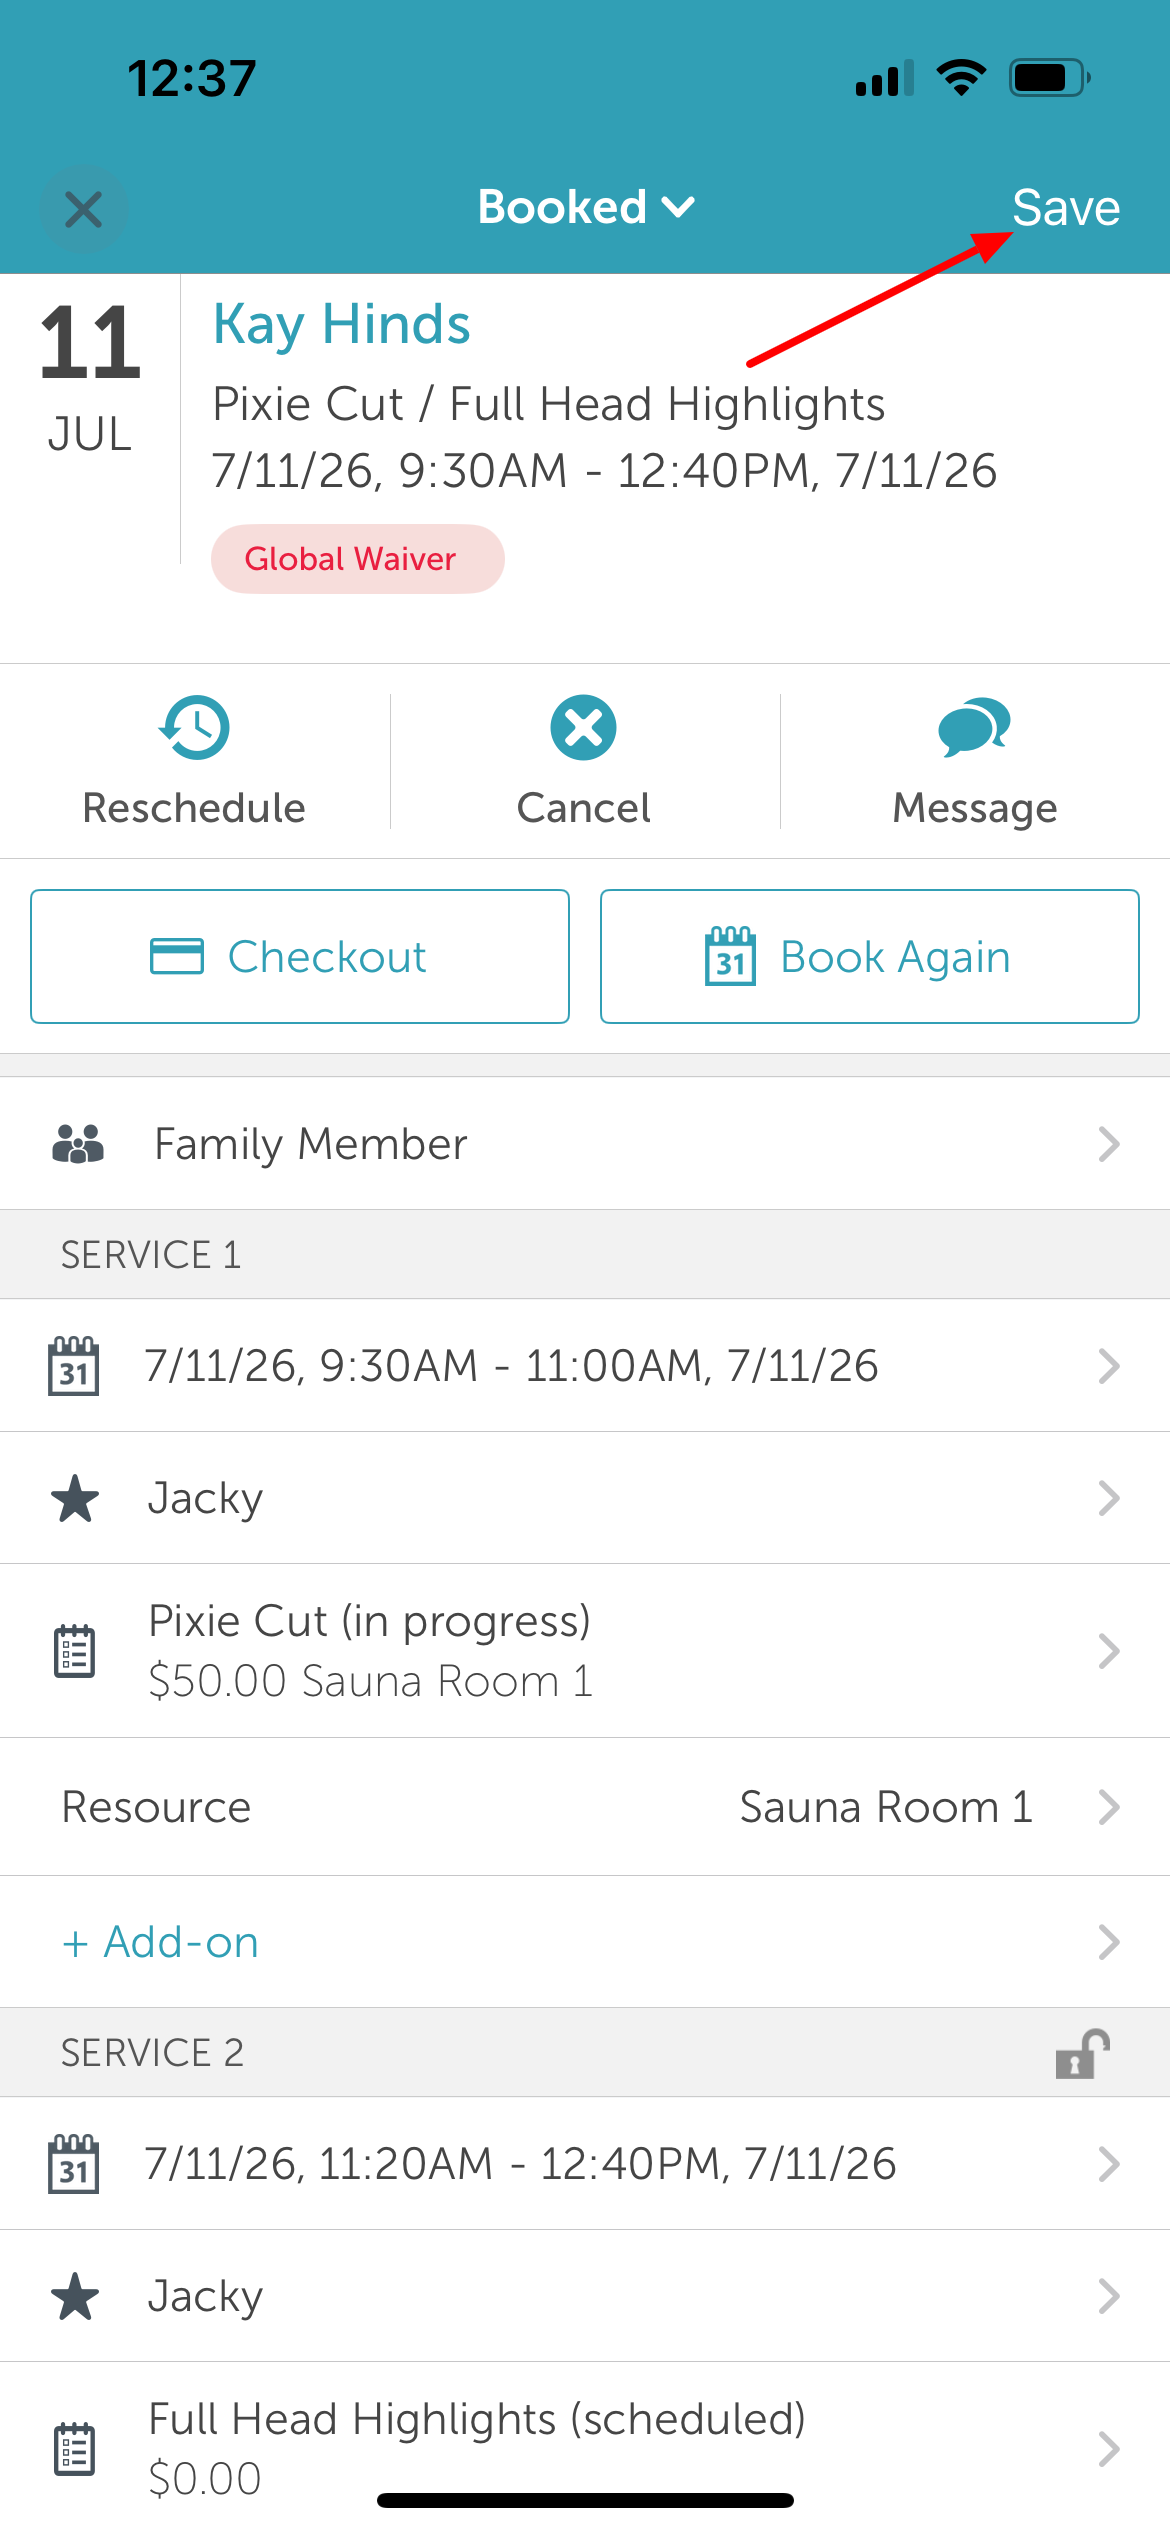
Appointment Service Status Audit Trail
The audit trail records the date and time of the change, the staff member who made the change, the current value, and the previous value. If the service or variation is changed, the audit trail is reset and begins tracking changes for the newly selected service or variation.
For more information, contact us at support@mytime.com.
Related Articles
Scheduling Multi-Staff Appointment on Scheduler App
Scheduling Multi-Staff Service Appointment on Scheduler App
Was this article helpful?
That’s Great!
Thank you for your feedback
Sorry! We couldn't be helpful
Thank you for your feedback
Feedback sent
We appreciate your effort and will try to fix the article