If you have the Walk-in Queue feature enabled, you can use Split View to manage your schedule. The Split View displays the walk-in queue, on the left and a list of employees will appear along with their in-service appointments on the right.
Things to know:
- The ability to filter the schedule in Split View is controlled by the "Accessing Account Settings" access control and the "Enable Split View" setting.
- In split view, you can see the walk-in queue on the left and a list of employees with their in-service appointments on the right.
- To return an appointment to the walk-in queue, open the appointment modal, click the status bar at the top, and select Return to Waiting.
Contents:
- Filtering the Schedule in Split View
- Upcoming Appointments in Split View
- Un-starting an Appointment in Split View
Filtering the Schedule in Split View
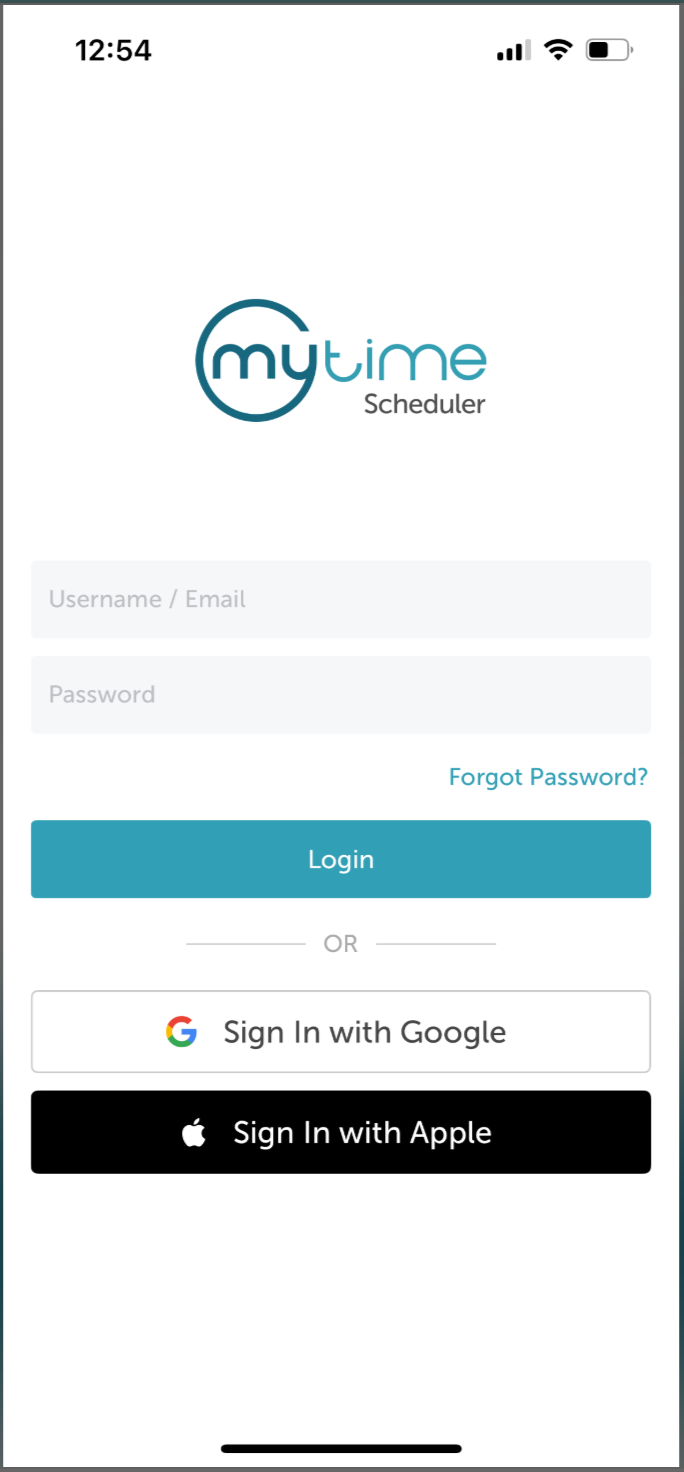
- Launch the MyTime Scheduler app on your device
- Choose your login method:
- Standard: Enter your registered email address and password, then tap 'Sign In'
- Social Login: Select 'Continue with Google' or 'Continue with Apple' to use your existing credentials for a faster login experience. For detailed instructions, learn more here
- Tap the location name at the top of the screen

- Scroll to the Calendar Style section

- Under View By, select Split

- Tap Done

- The schedule will refresh and display in Split View

Upcoming Appointments in Split View
The In-Service tab in split view shows the next upcoming appointment
Appointments that are currently in the walk-in queue can be started automatically by using the Start Service button.
Un-starting an Appointment in Split View
To un-start an appointment in Split View, update its status directly from the appointment modal.
Returning an Appointment to the Walk-in Queue from the Appointment Modal
- Locate and select the appointment

- In the appointment modal, click the status dropdown in the top-left corner

- Select Return to Waitlist

- Click Save to apply the change
Was this article helpful?
That’s Great!
Thank you for your feedback
Sorry! We couldn't be helpful
Thank you for your feedback
Feedback sent
We appreciate your effort and will try to fix the article