After a class is created, you can add clients directly from the roster. This article provides step-by-step guidance on how to add class attendees on the scheduler app.
Things to Know:
- The ability to add attendees to classes/events is controlled by the "Schedule Classes/Events" access control setting.
- The attendee type and the amount charged are determined by the class configuration. Learn more here
- You can add more attendees than the scheduled limit, but the system will notify you when the limit is exceeded
To add clients to a class session:
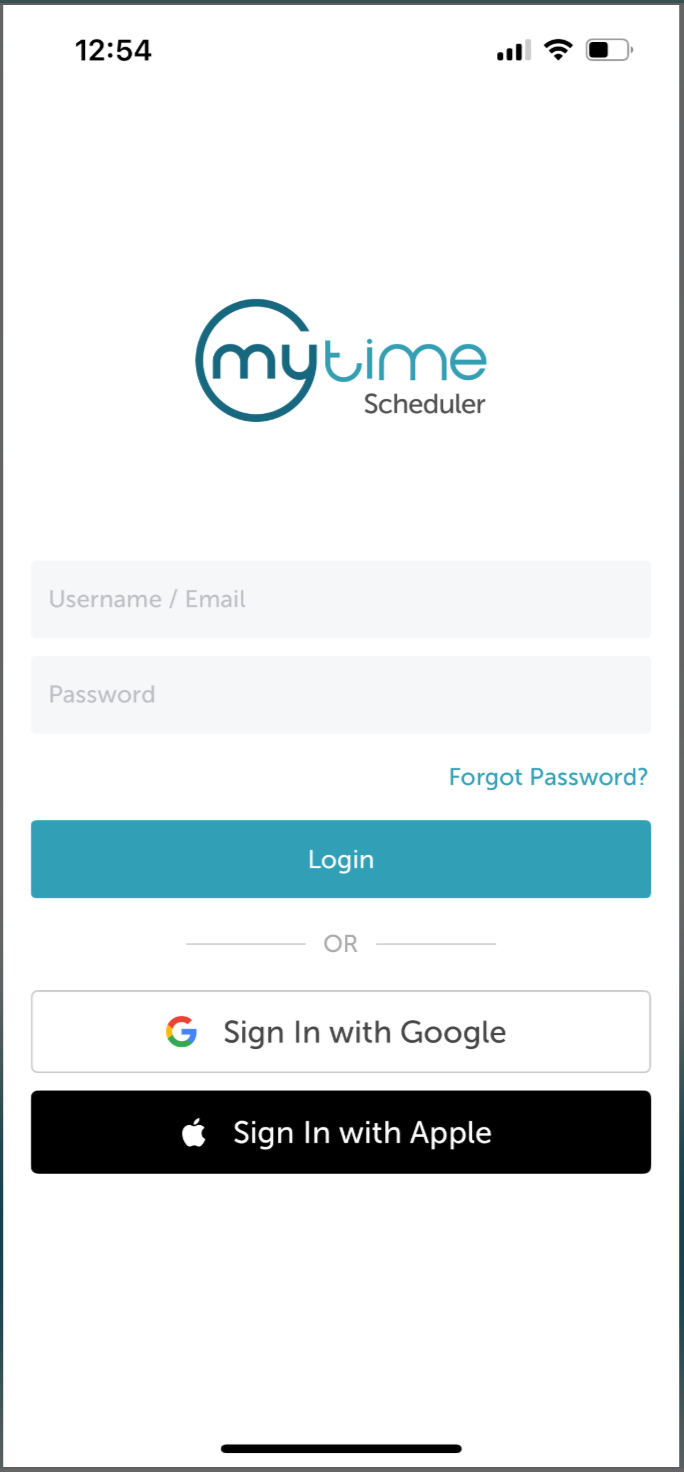
1. Launch the MyTime Scheduler app on your device
2. Choose your login method:
- Standard: Enter your registered email address and password, then tap 'Sign In'
- Social Login: Select 'Continue with Google' or 'Continue with Apple' to use your existing credentials for a faster login experience. For detailed instructions, learn more here
3. Once signed in you will be directed to the schedule by default
4. Locate and select the desired class

5. Select "View Attendees"

6. Tap the '+' button at the top of the screen

7. Type the client's name in the 'Search' field or select the client from the client list

8. From the 'Select Attendee' screen, select the client to add
9. Select the attendee type

10. The client will be added to the roster and appear on the 'Attendees' screen

For more information, contact us at support@mytime.com.
Related Articles:
Installing MyTime on Scheduler App (Android and iOS)
Signing into MyTime on Scheduler App (Android and iOS)
Scheduling Classes/Events on Scheduler App
Checking In Clients to Classes on Scheduler App
Checking Out Appointments and Classes on Scheduler App
Was this article helpful?
That’s Great!
Thank you for your feedback
Sorry! We couldn't be helpful
Thank you for your feedback
Feedback sent
We appreciate your effort and will try to fix the article