Appointment notes are specific notes about each appointment. Clients can enter appointment notes during the checkout process when booking online, and staff members can add them to the appointment modal. In this article, we will walk through how to create/edit appointment notes on the scheduler App.
Things to know:
- The ability to add appointment notes is governed by the "Accessing Appointments" access control setting.
- Future appointments will reflect any notes added to appointments in the past. This means that if an appointment was scheduled for Holly on June 16 and July 10 and the June 16 appointment has notes added then the appointment notes will also show up on the July 10 appointment.
To add appointment notes on the scheduler app, simply:
- Log into the app. For detailed instructions, learn more here
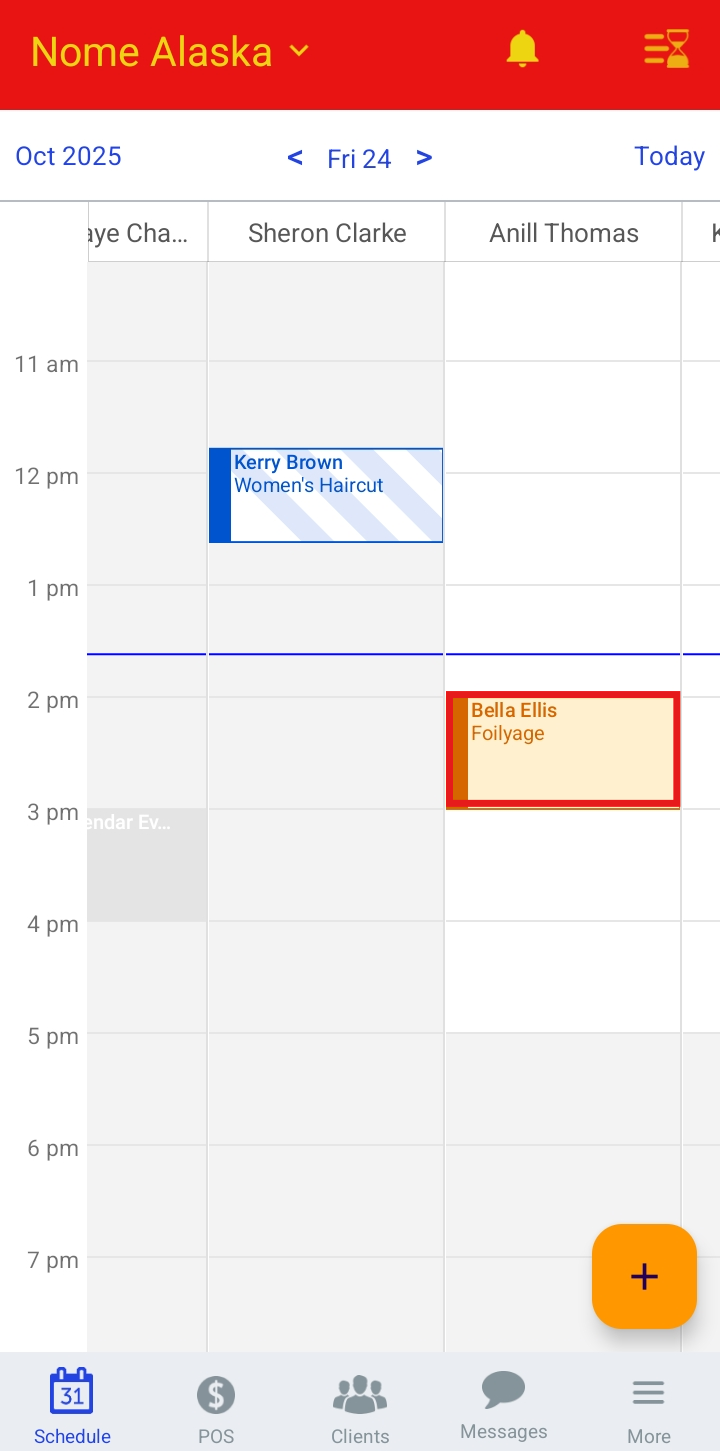
- Once signed in, you will be directed to the schedule by default
- Filter to the appropriate location and staff. Learn more here.
- Locate and select the desired appointment
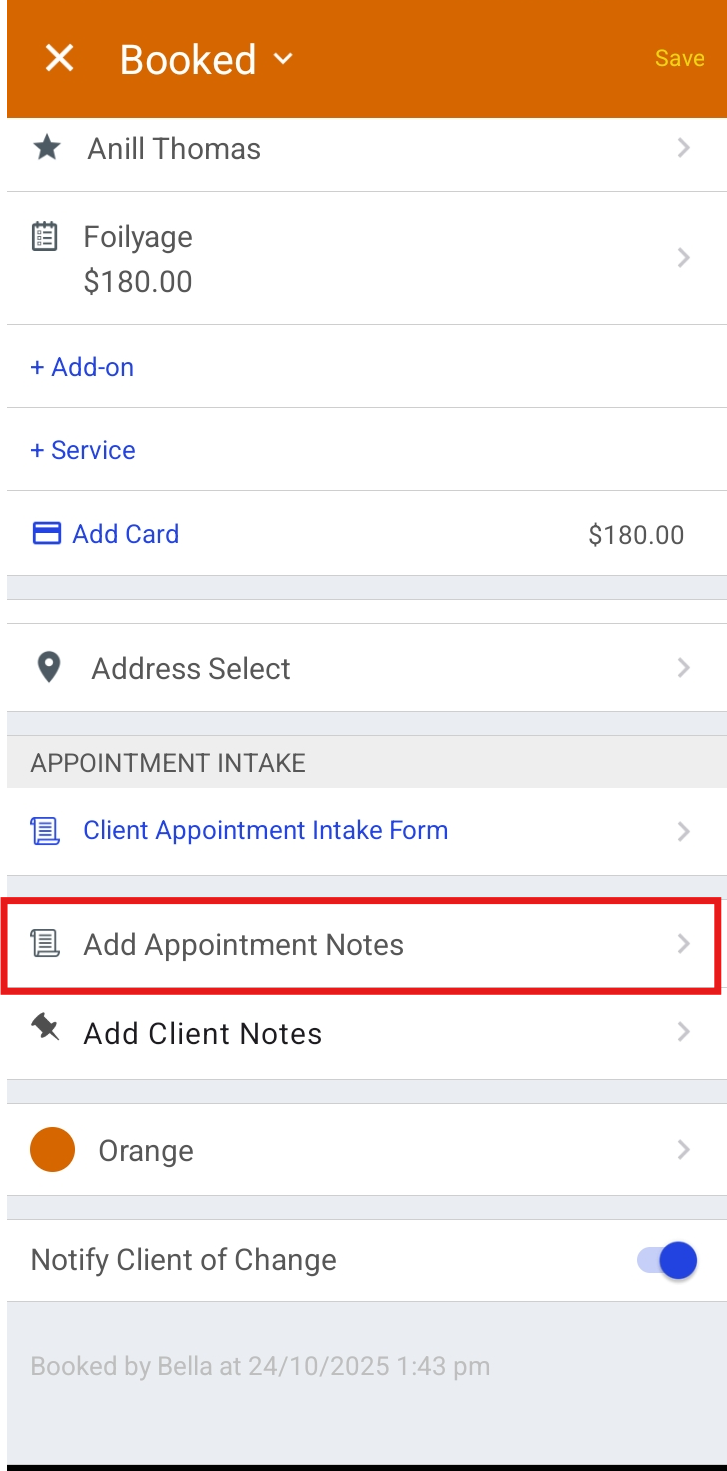
- When the appointment modal opens, scroll to the Add Appointment Notes section and tap on it
- From here, you can:
- Enter appointment notes
- Select + Photo to add a photo
- Select Print Note to print the notes
- Pin the note using the Pin Note option
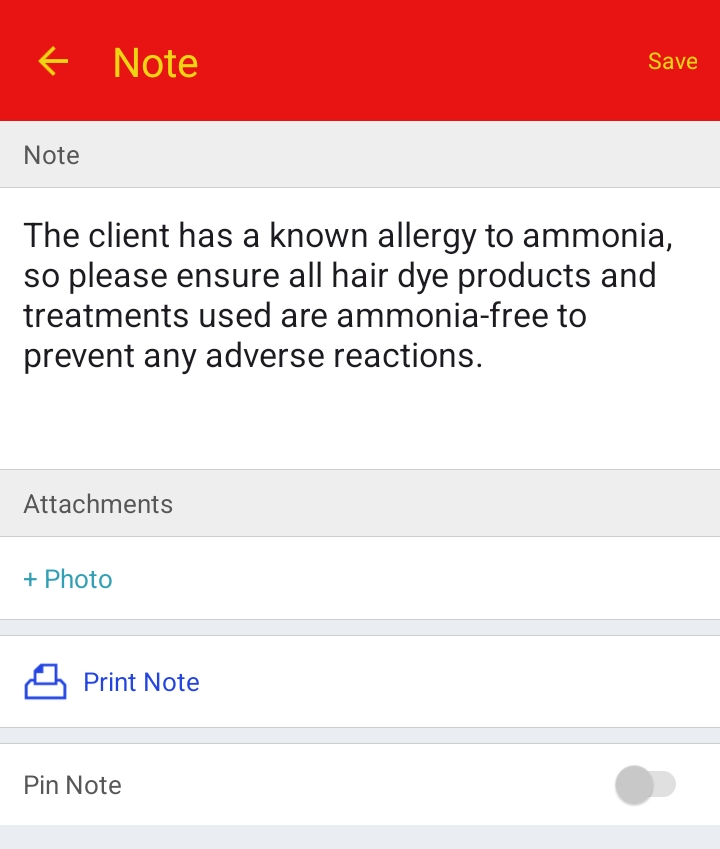
- Save your changes
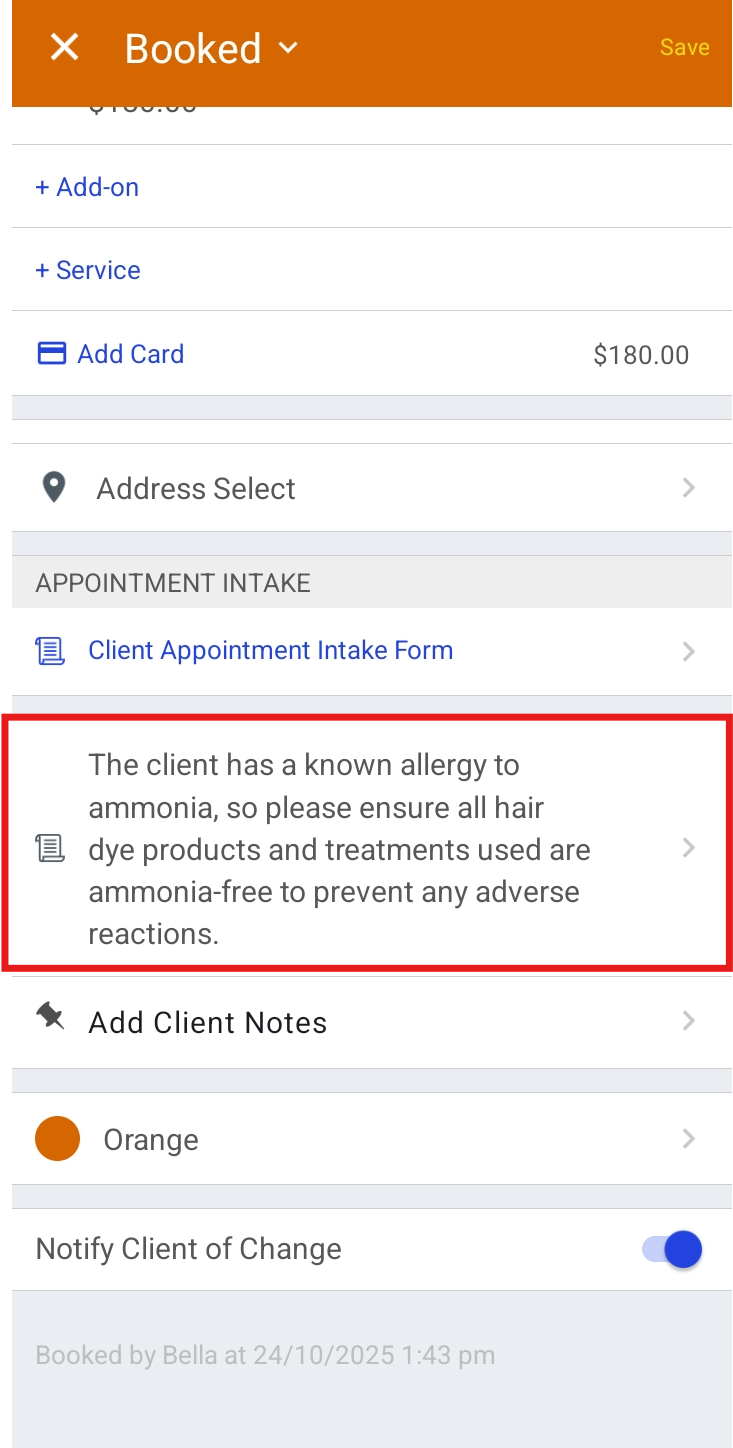
- Once saved, the note will be visible from the appointment
For more information contact us at support@mytime.com.
Related Article:
Was this article helpful?
That’s Great!
Thank you for your feedback
Sorry! We couldn't be helpful
Thank you for your feedback
Feedback sent
We appreciate your effort and will try to fix the article