You can schedule daily, weekly, and monthly recurring appointments for clients who want regularly scheduled appointments at the same time, on the same day, and with the same staff member.
Things to know:
- The ability to schedule a recurring appointment is controlled by the "Accessing Appointments" access control permission.
- When a recurring appointment is scheduled without an end date, the system will automatically schedule the appointments in the series for up to one year by default.
- You can reschedule or cancel each appointment as necessary
- Once you reschedule an appointment from a recurring series, that appointment is removed from that series and becomes a standalone appointment
- When a gender is specified for recurring appointments, each appointment in the series will display the selected gender icon on the schedule.
Only the next upcoming appointment in the series will be displayed in the Upcoming Appointments section of the client's profile until it has been completed or canceled.
When viewing canceled appointments on the client's profile in the Upcoming Appointments section:
If you cancel all appointments in the recurring series, this section will display the canceled series as a single appointment with an indicator that it is a recurring appointment.
If you cancel one appointment in the recurring series, this section will show that canceled appointment along with the next scheduled appointment in the series.
- If you cancel two consecutive or two non-consecutive appointments in the recurring series, this section will display only the next canceled appointment in the series and the next scheduled appointment that is not canceled, with an indicator that it is part of a series.
To schedule a recurring appointment:
- Log into the app. For detailed instructions, learn more here
- Once signed in, you will be directed to the schedule by default
- Filter to the appropriate location and staff. Learn more here.
- Tap the desired time slot under the preferred staff to add the appointment, or tap the '+' icon in the bottom right corner to open the 'New Event' modal and complete the appointment details.

- Add a client
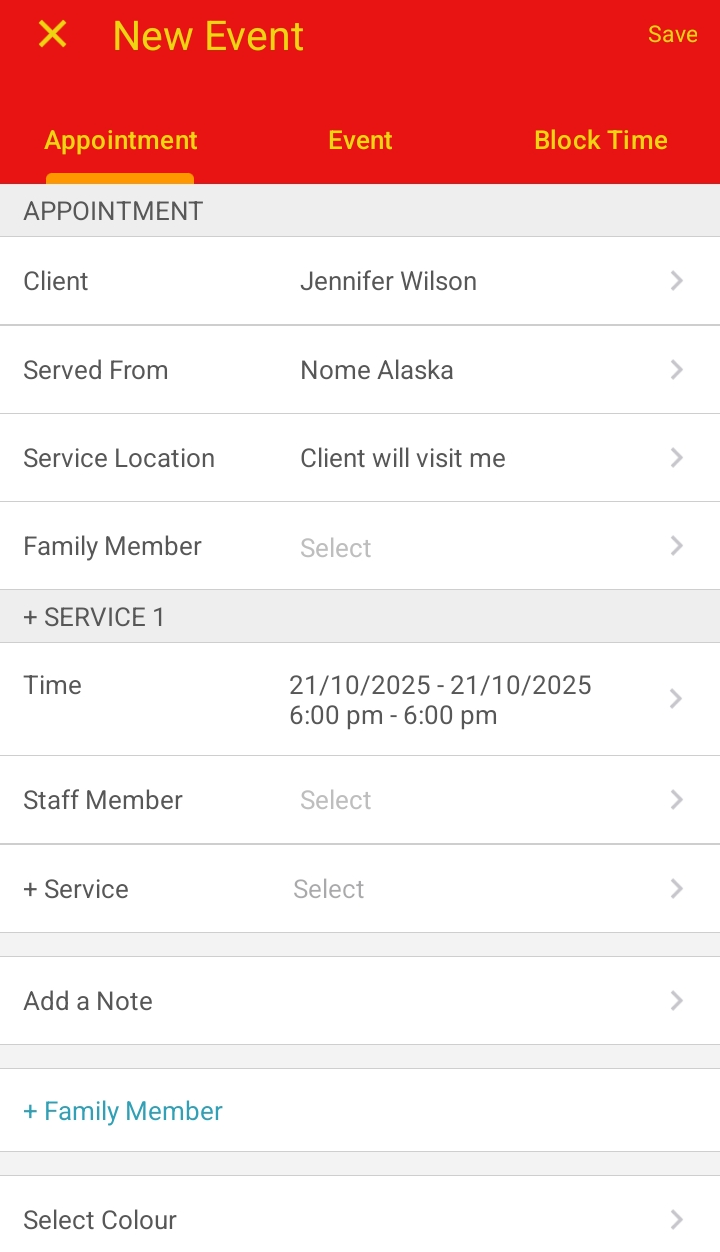
- The date and time will auto-fill based on the selected time slot or the current schedule time once the client is added. You can edit the date and time after selecting a service.
- Select a staff member
- Select a service
- Go back to the Time field to configure the appointment as a recurring one

- From there, you can:
- Tap Repeat. By default, it is set to None
- Select how often you want the appointment to repeat by choosing a number and the interval: days, weeks, or months
- Based on your selection, additional settings will appear, such as choosing the day of the week or the specific date for the appointments
- To select an end date, toggle the Add end date? button
- Then select the desired end date from the calendar and click Save

- You will be redirected to the Time page—select Save there

- Finally, tap "Save" to save the appointment

For more information, contact us at support@mytime,com.
Related Articles:
- Scheduling Recurring Appointments
- Scheduling Appointment for Family Members on the Scheduler App
- Scheduling Appointment for Family Members
- Scheduling Appointment for Pets
- Scheduling Appointment for Pets on the Scheduler App
- Scheduling Appointments for Clients
Was this article helpful?
That’s Great!
Thank you for your feedback
Sorry! We couldn't be helpful
Thank you for your feedback
Feedback sent
We appreciate your effort and will try to fix the article