We offer the ability to create a button or link that enables clients to add a specific class directly to their shopping cart for online purchases on your website. This article will walk you through the setup process.
Things to Know:
- The ability to deep link classes on the booking widget and express checkout page is governed by the "Accessing Website Tools" access control setting.
- To enable online booking for classes, the following steps must be followed:
- A payment account must be set up to process card payments. If you do not have a payment account, please email processing@mytime.com for help.
- Your account must be live.
- Online booking must be enabled. Learn more here
- The "Schedule Classes / Events" company setting must be enabled
- Create your class categories and classes under the Class tab.
- Only scheduled classes will be available in the Auto-Selected Class Session dropdown menu to be added to the widget
- If class sessions are fully booked, they will not appear as options in the Auto-Selected Class Session dropdown menu when configuring class links.
- The Staff Member filter is optional but can be used to filter classes shown in the widget.
Contents:
Deep Linking Classes on the Booking Widget
- Navigate to Business Setup > Website Tools

- Select the Setup button next to "Add Class/Event Booking & Purchases to Your Website"

- You can choose to install a widget or express checkout link
- Express Checkout: Click the Book Now button and be redirected to your MyTime booking page. Available for free to all MyTime accounts.
- Booking Widget: Clients book directly on your website. A pop-up appears, allowing them to complete the booking.
- Free for Premium and Enterprise MyTime subscriptions.
- $0.75 per transaction for businesses without a Premium subscription.
- Customize Your Booking Widget
- Select the Booking Widget option, and then proceed to set up the widget

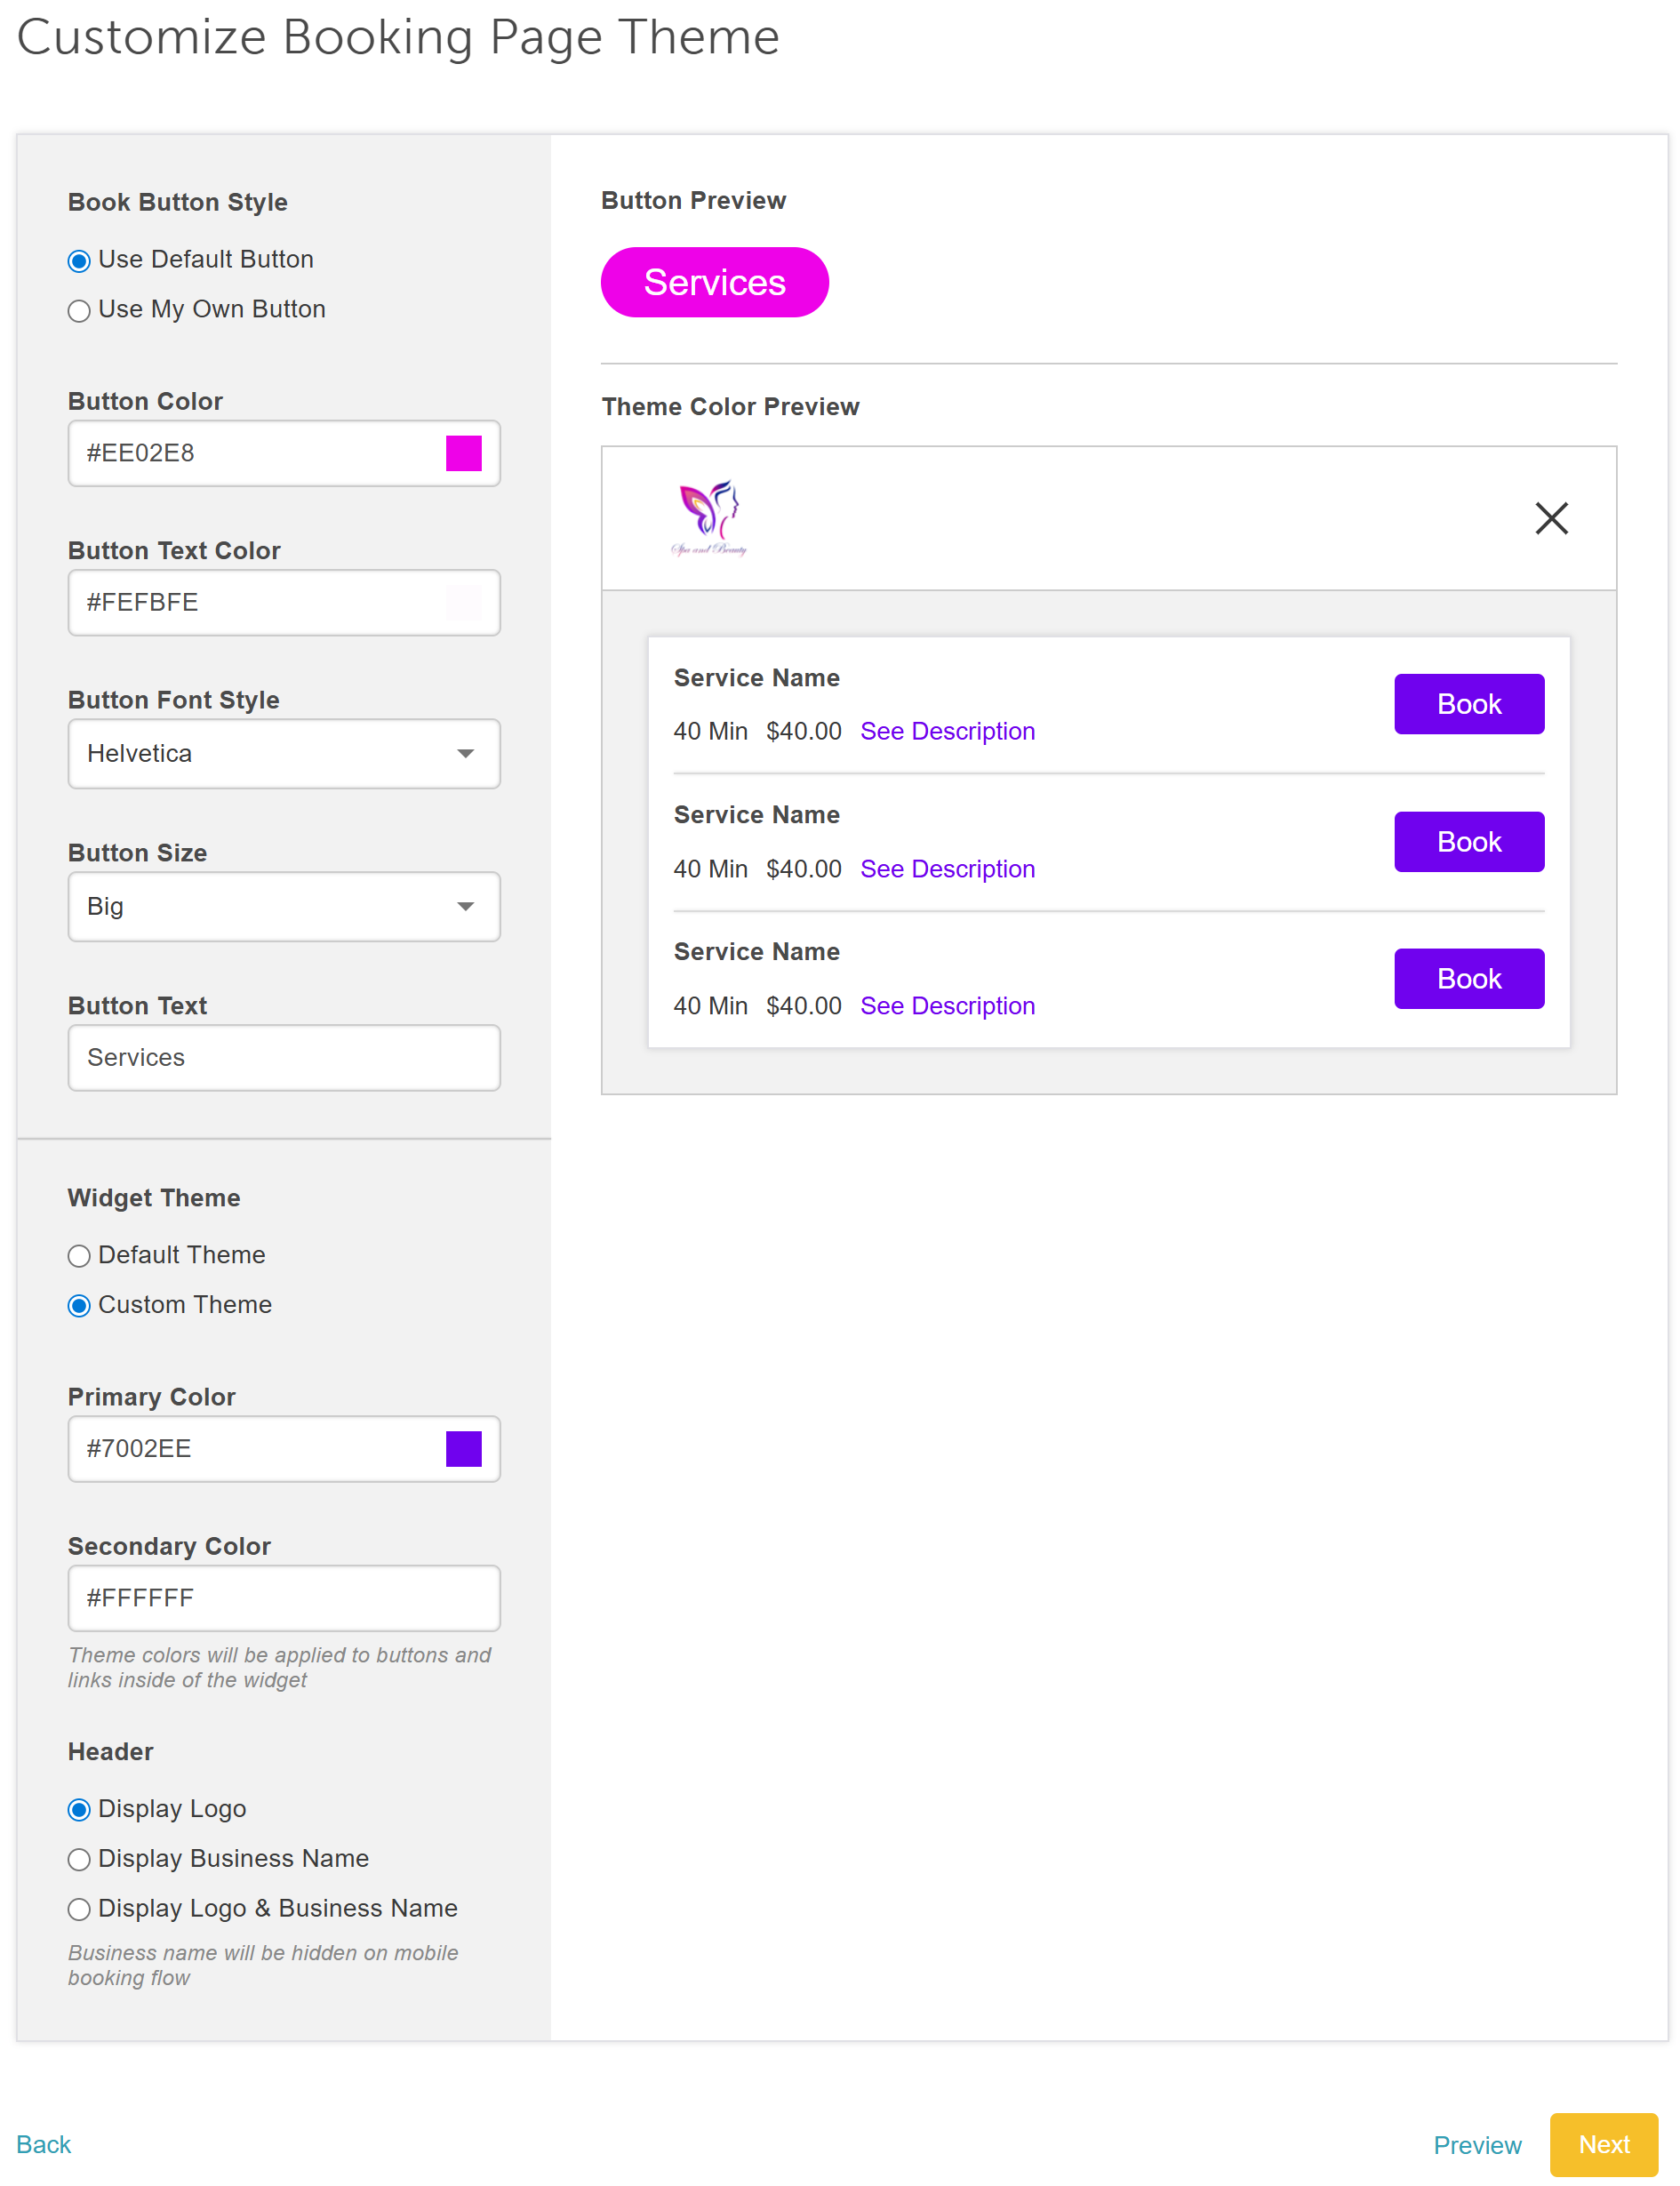
- On the Customize Booking Theme page, set up your button and widget theme, then select next to proceed to the installation page.

- From the Installation page:
- Default Location: Choose a specific location
- Widget Includes: Select an additional option to be added along with your classes
- Default To: Select 'Classes'
- Event Location: You can generate a link filtered to a specific event venue using the "Event Location" dropdown. This option only appears if you have configured event-specific locations under Business Profile > Event Locations. When a location is selected, the link will automatically filter the booking widget to show only the classes scheduled for that specific venue.If no classes are currently scheduled for the selected location, the widget will default to showing all available classes to ensure the client can still complete a booking.
- Default Class Category: Pick a class category that the button defaults to once clicked
- Default Staff Member: Select the staff members eligible to lead the class session
- Class Type: Select the desired class
- Class Session Active Date: Choose the date for the desired class session
- Auto Selected Class Session: Select a specific class from the "Auto-selected class sessions" list to generate a direct booking link. When a client opens this link, the specific class is pre-selected for them. This removes the need for the client to search for the session; they simply choose their attendee type and complete the checkout process.
- Meta CAPI: Learn more
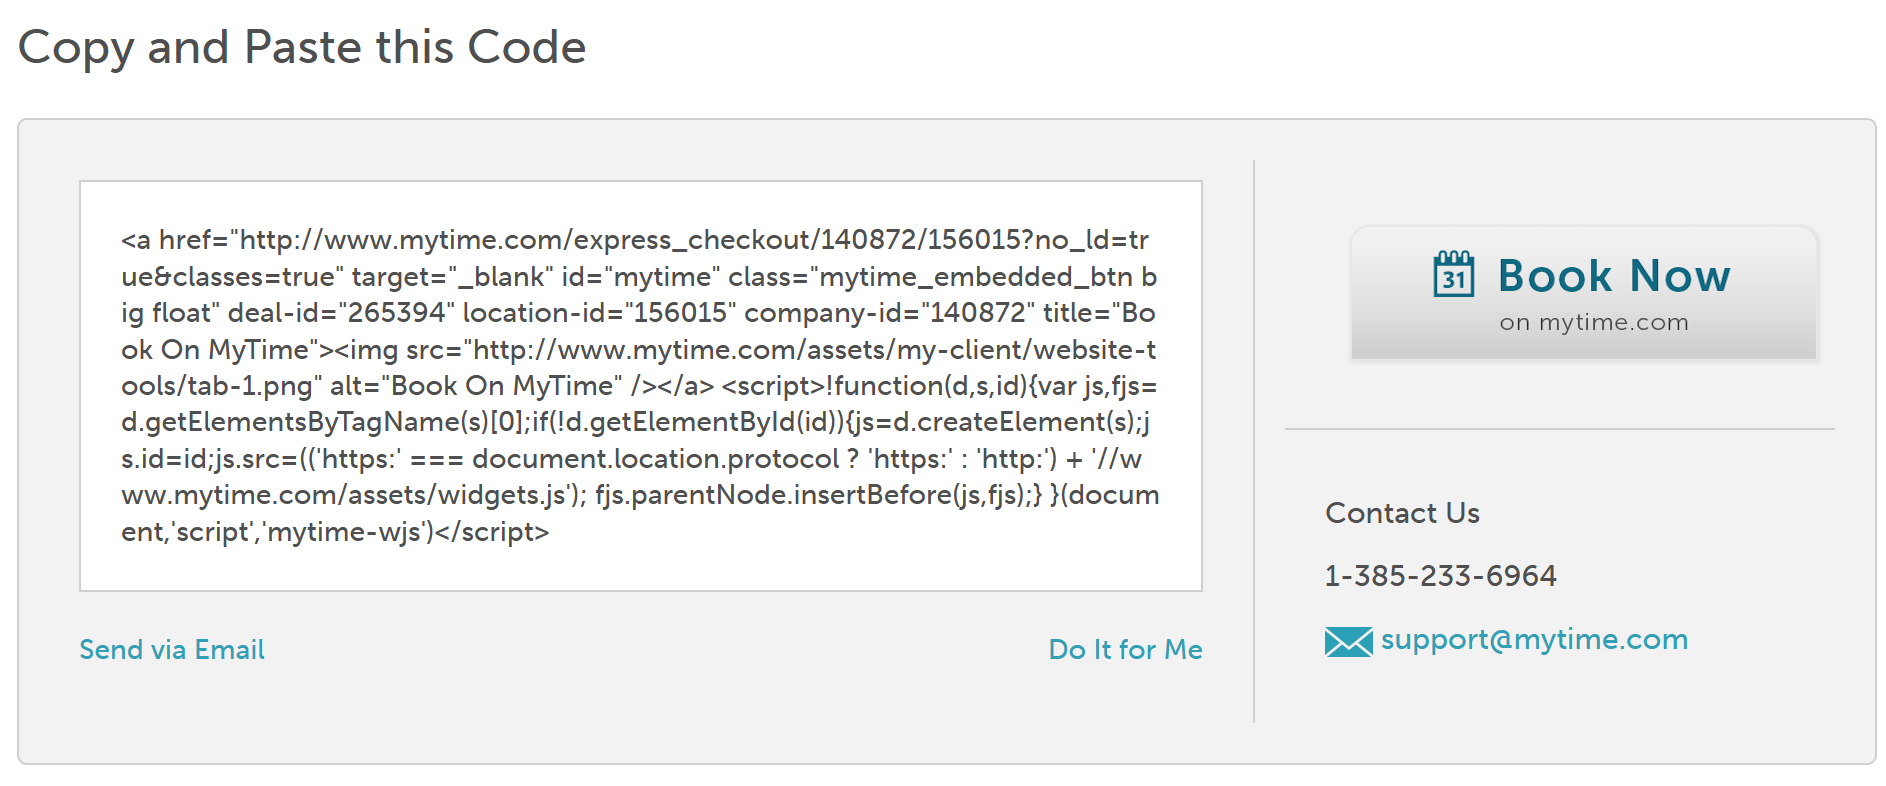
- Once you have made your selection, copy the code and embed it on your website
Deep Linking Classes Using the Express Checkout Link
- Select Express Checkout, then proceed to the Booking Page Settings

- On the Booking Settings page, you can customize the booking page theme page, set up your button and widget themes, and choose what you'd like the layout of your button to look like:
- In the left panel:
- Default Location: Choose a specific location
- Booking Page Includes: Select an additional option to be added along with your classes
- Default To: Select 'Classes'
- Event Location: You can generate a link filtered to a specific event venue using the "Event Location" dropdown. This option only appears if you have configured event-specific locations under Business Profile > Event Locations. When a location is selected, the link will automatically filter the booking widget to show only the classes scheduled for that specific venue.If no classes are currently scheduled for the selected location, the widget will default to showing all available classes to ensure the client can still complete a booking.
- Default Class Category: Pick a class category that the button defaults to once clicked
- Default Staff Member: Select the staff members eligible to lead the class session
- Auto-Selected Class Session: Select a specific class from the "Auto-selected class sessions" list to generate a direct booking link. When a client opens this link, the specific class is pre-selected for them. This removes the need for the client to search for the session; they simply choose their attendee type and complete the checkout process.
- Meta CAPI: Learn more here
- In the left panel:
- Scroll down to the "Customize Booking Page Theme" section to adjust widget themes and specify what should be displayed in the header

- Under the Book Button setting:
- Your button can either hover over your website or have a fixed placement.
- You can also customize its position, choosing to display it horizontally or vertically on your page.
- Additionally, you can set a default location before proceeding to the installation page.
- Once you have made your selection, copy and embed the generated code

When customers click the link or button on your website, the specific class will be pre-selected. They will be prompted to choose the attendee type and then proceed directly to the payment page.
If you have any questions, please contact our Support Team at support@mytime.com.
Related Articles
Deep Linking Packages on the Booking Widget & Express Checkout
Deep Linking Services on the Booking Widget & Express Checkout Page
Deep Linking Memberships on the Booking Widget & Express Checkout Page
Deep Linking Gift Cards on Booking Widget & Express Checkout Page
Was this article helpful?
That’s Great!
Thank you for your feedback
Sorry! We couldn't be helpful
Thank you for your feedback
Feedback sent
We appreciate your effort and will try to fix the article

