This article explains how to mark an appointment as a no-show and how the system handles related tickets and payments.
Things to know:
- The ability to mark an appointment as a no-show is controlled by the “Accessing Appointments” access setting
- The No Show option is only available after the appointment start time has passed
- Appointments that are already checked in must be checked out first before they can be marked as no-show
- If the appointment has already been paid, you will receive an error: “This appointment has been paid for. Please refund or edit the ticket before canceling.”
- If a cancellation policy is configured, you will be prompted to charge a fee when marking a no-show
- The appointment audit trail records the date, time, and staff member who updated the status
- When an appointment is marked as a no-show, the system updates the associated ticket based on how the appointment was paid.
- Deposit Paid (No Additional Payments)
- Service price is set to $0
- Deposit is retained
- Ticket is automatically closed
- Deposit + Additional Payments
- Service price remains unchanged
- Ticket remains open to prevent discrepancies
- To close the ticket:
- Refund the extra payment(s) and set price to $0, or
- Adjust the service price to match total payments
- Prepaid Appointment
- Service price is set to $0
- Service is marked as canceled
- Ticket is automatically voided
- Cancellation Fee Applied
- Original ticket is voided
- Service price is set to $0
- A new ticket is created for the cancellation fee
- No Deposit, Prepayment, or Cancellation Fee
- Service price is set to $0
- Service is marked as canceled
- Ticket is automatically voided
- If a ticket was previously saved or modified, the system will not reset the service price to protect financial records
- For memberships/packages:
- No cancellation fee → credits are not deducted, label remains
- Cancellation fee applied → label is removed
Contents:
- Marking an Appointment as No-Show
- Update Appointment Status from No-Show to Showed Up
- Checking Out After a Cancellation Fee
Marking an Appointment as No-Show
- Navigate to the Scheduler
- Locate and open the appointment

- Click the drop-down next to the Booked status

- Select No Show

- If prompted, choose whether to apply a cancellation fee

- If a fee is applied, you will be redirected to POS > New Ticket
- Click Take Payment to complete the charge

The scheduler will display a red dot icon on the appointment tile to indicate the no-show
Update Appointment Status from No-Show to Showed Up
To check out the appointment:
- Click Create Ticket
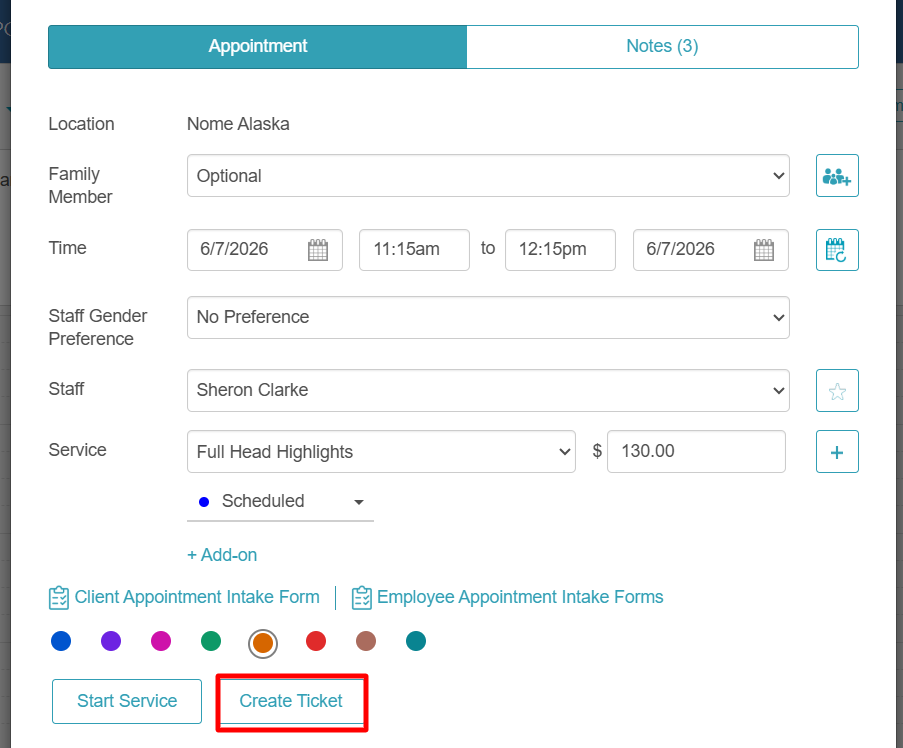
- You will be redirected to the POS
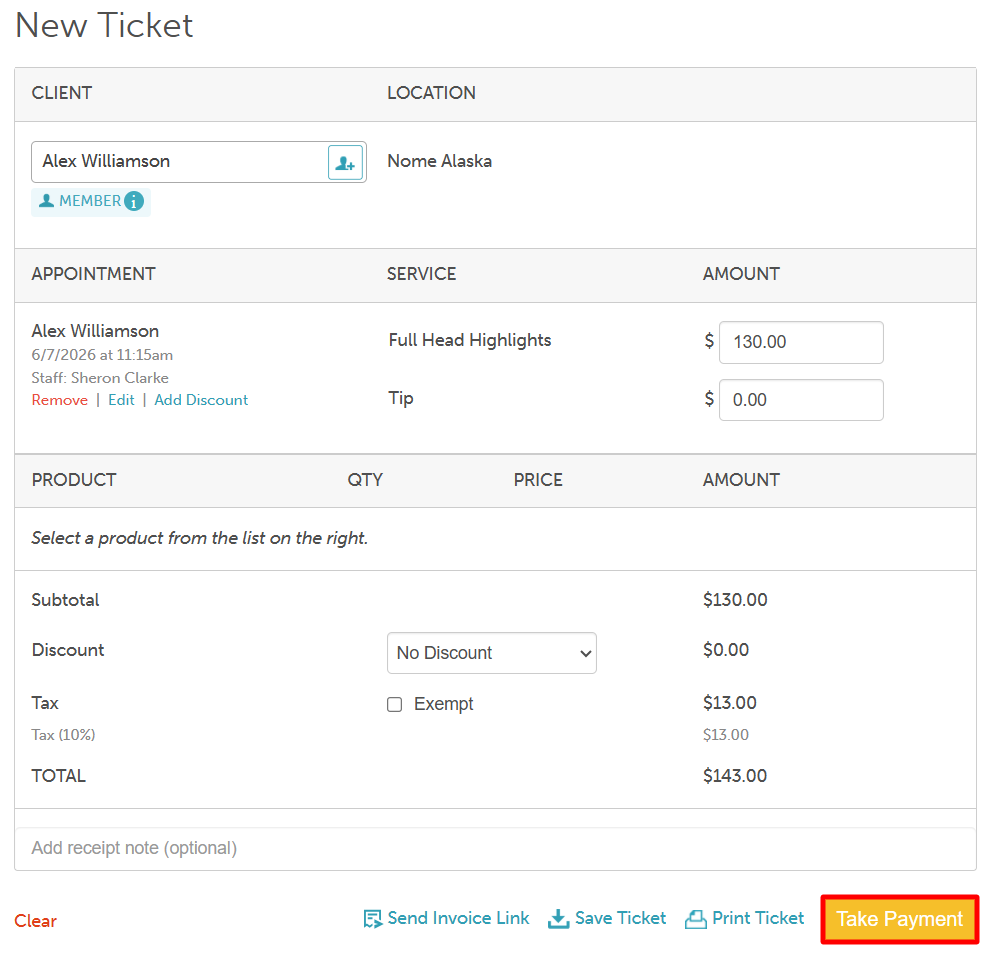
- Click Take Payment
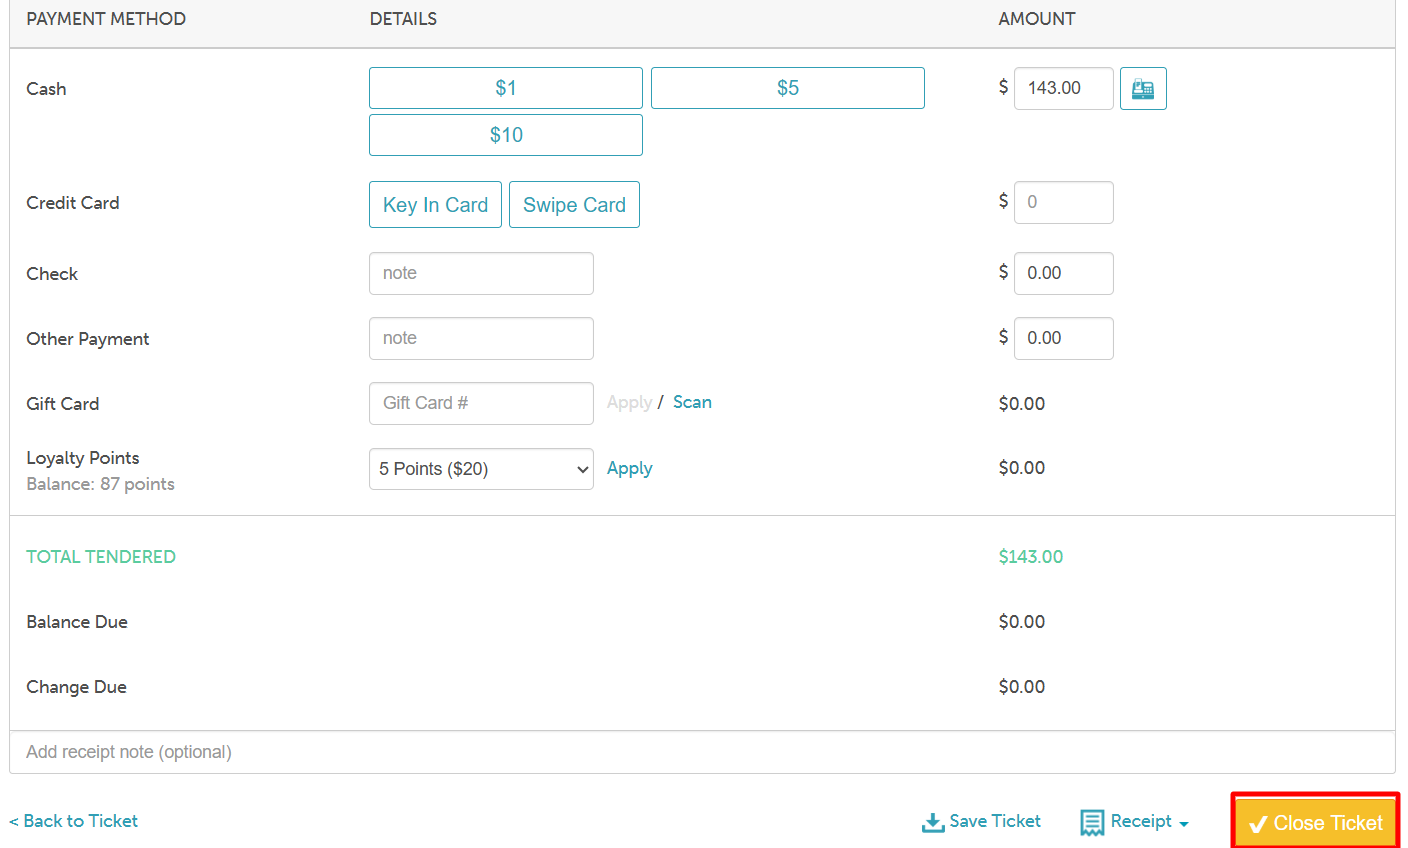
- Enter the desired payment method
- Close the ticket
Checking Out After a Cancellation Fee
If a cancellation fee was charged but the client later arrives:
- Navigate to POS > New Ticket
- Select the correct location
- Go to the Services tab
- Add the appointment to the ticket

- The full service price will appear
- Optionally apply a discount to account for the fee already paid

- Click Take Payment
- Complete checkout

For more information, contact us at support@mytime.com or (385) 233-6964.
Related Articles:
Was this article helpful?
That’s Great!
Thank you for your feedback
Sorry! We couldn't be helpful
Thank you for your feedback
Feedback sent
We appreciate your effort and will try to fix the article