Packages can be added directly from a client’s profile. This article provides a step-by-step guide for adding packages from client profiles on the scheduler app.
Things to Know:
- The ability to add packages to the client profile is controlled by the "Accessing Client Records" and the "Accessing Packages" access control setting.
- The option to prevent adding packages to client profiles without taking payment is controlled by a hidden setting that can only be enabled by the MyTime team. To enable this setting, please contact our Support Team at support@mytime.com.
- Once the 'Package Purchased' transactional automated message template is activated, the client will receive a notification whenever a payment is processed for their package.
- Packages cannot be limited to a specific location and can be used across all locations.
- The package’s validity is based on the local time zone of the location. It remains active from the time of purchase until 11:59 PM local time on the expiration date.
- Package credits are deducted using a First-In, First-Out (FIFO) method. This means the oldest active package is always used first when applying credits to a service. For example, if a client with an existing package purchases a new one while booking a service:
- The credit for the service will be deducted from the original (older) package, not the newly purchased one.
- A package will be labeled “Fully Used” once all item credits have been redeemed on the client’s profile—regardless of whether the package is still active or expired.
- If a package still has remaining item credits but has passed its expiration date, it will be labeled as “Expired.”
- Once a package item credit has been used or manually removed, the option to delete the package will no longer be available on the client's profile.
To add a package for clients on their profile:
- Launch the MyTime Scheduler app on your device
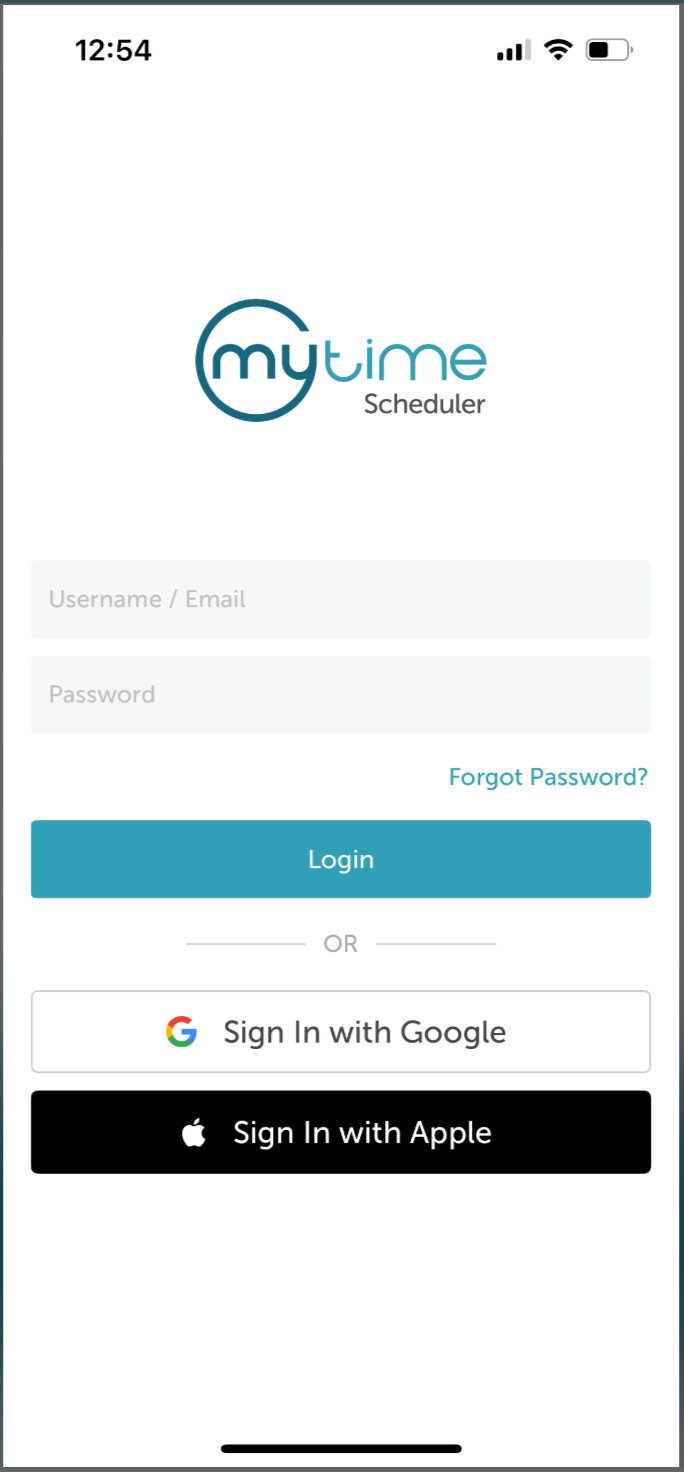
- Choose your login method:
- Standard: Enter your registered email address and password, then tap 'Sign In'
- Social Login: Select 'Continue with Google' or 'Continue with Apple' to use your existing credentials for a faster login experience. For detailed instructions, learn here
- After signing in, you will be directed to the Schedule by default
- Tap the Clients icon located at the bottom of the screen

- Type the name of the client in the 'Search' field or select the client from the client list

- Navigate to the 'Packages Purchased' section
- Tap '+ Package'

- On the 'Add Package' screen, select the purchase location from the list of locations
- Select the desired package from the list
- If the package is configured for individual family members, the 'Package Owner' option will appear. Use the dropdown menu to select or add the owner, which can be either the client or a family member

- Tap 'Add' in the top right corner

- The package will now appear in the 'Packages Purchased' section on the client’s profile

For more information, contact us at support@mytime.com.
Related Articles:
Installing MyTime on Scheduler App (Android and iOS)
Signing into MyTime on Scheduler App (Android and iOS)
Was this article helpful?
That’s Great!
Thank you for your feedback
Sorry! We couldn't be helpful
Thank you for your feedback
Feedback sent
We appreciate your effort and will try to fix the article