The Multi-Staff Appointments feature allows multiple staff members to work on different services within the same appointment. From the appointment modal, you can assign a specific staff member to each service or add-on. Clients booking online will also have the option to choose different staff members for each service. In this article, we will guide you through the steps to schedule multi-staff appointments on the scheduler app.
Things to know:
- The ability to schedule multi-staff appointments is controlled by the "Accessing Appointments" access control permission and the "Multi-Staff Appointments" company setting.
- Once the company setting is enabled, it cannot be disabled.
- Canceling a multi-staff appointment will cancel all services associated with it.
- For accounts with the "Multi-Staff Appointments" setting enabled, the ability to configure custom prices and durations is unavailable on the appointment modal.
- All staff members assigned to a multi-staff appointment will receive a notification when an appointment is scheduled in-store, as long as their profiles are set up to send appointment booking notifications via email, text, or both
- Multi-Staff Appointments differ from Multi-Staff Services:
- Multi-Staff Appointments coordinate different services within one appointment, each handled by a different staff member.
- Multi-Staff Services involve multiple staff members working together on a single service (e.g., a couples massage).
- Canceling a Multi-Staff Appointment will cancel all associated services.
- Clients who book multi-staff appointments—whether for themselves, family members, or pets—will receive a notification listing all services booked:
- Booked in-store: The Booked by Business notification is sent.
- Booked online: The Booked by Client notification is sent.
To schedule multi-staff appointments on the scheduler app, simply:
- Log into the app. For detailed instructions, learn more here
- Filter to the appropriate location and staff
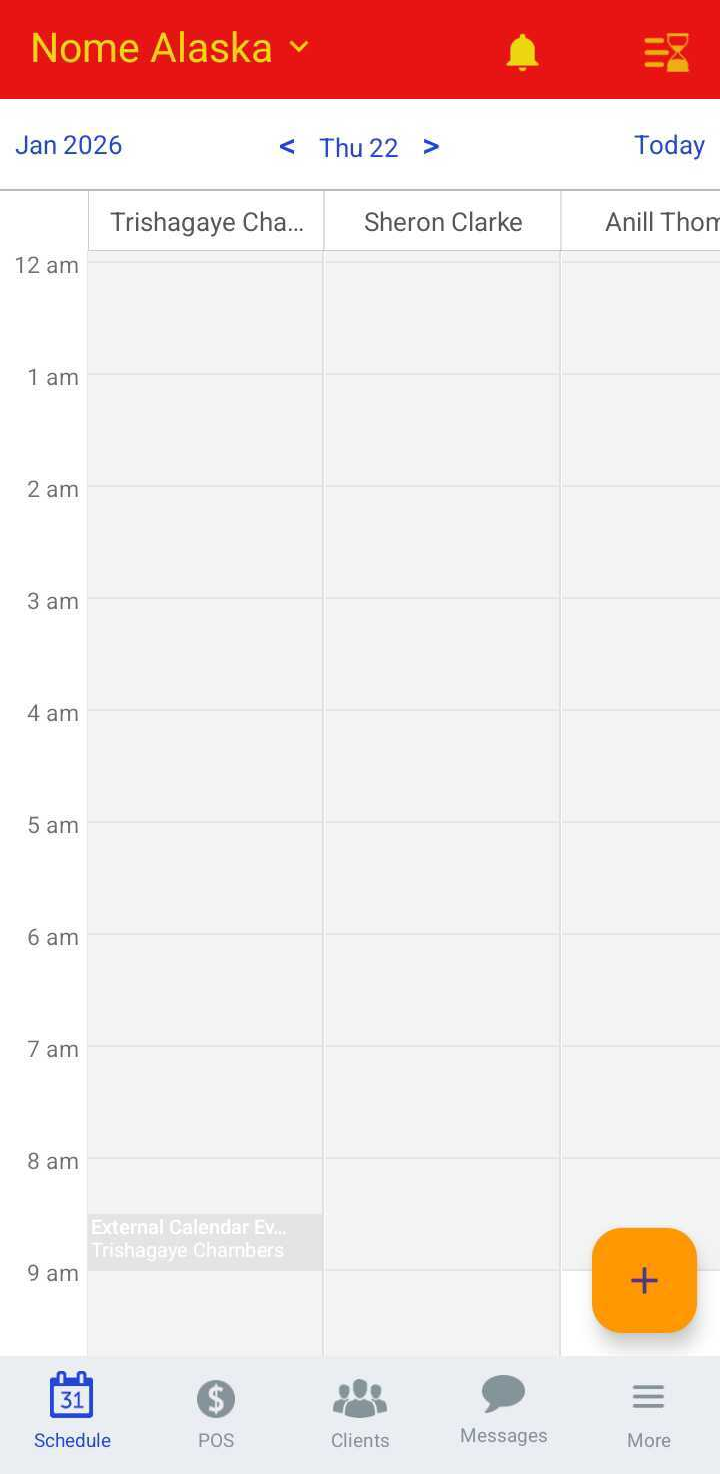
- Tap the desired time slot under the preferred staff member or tap the + icon in the bottom right corner
- Add a client to the appointment
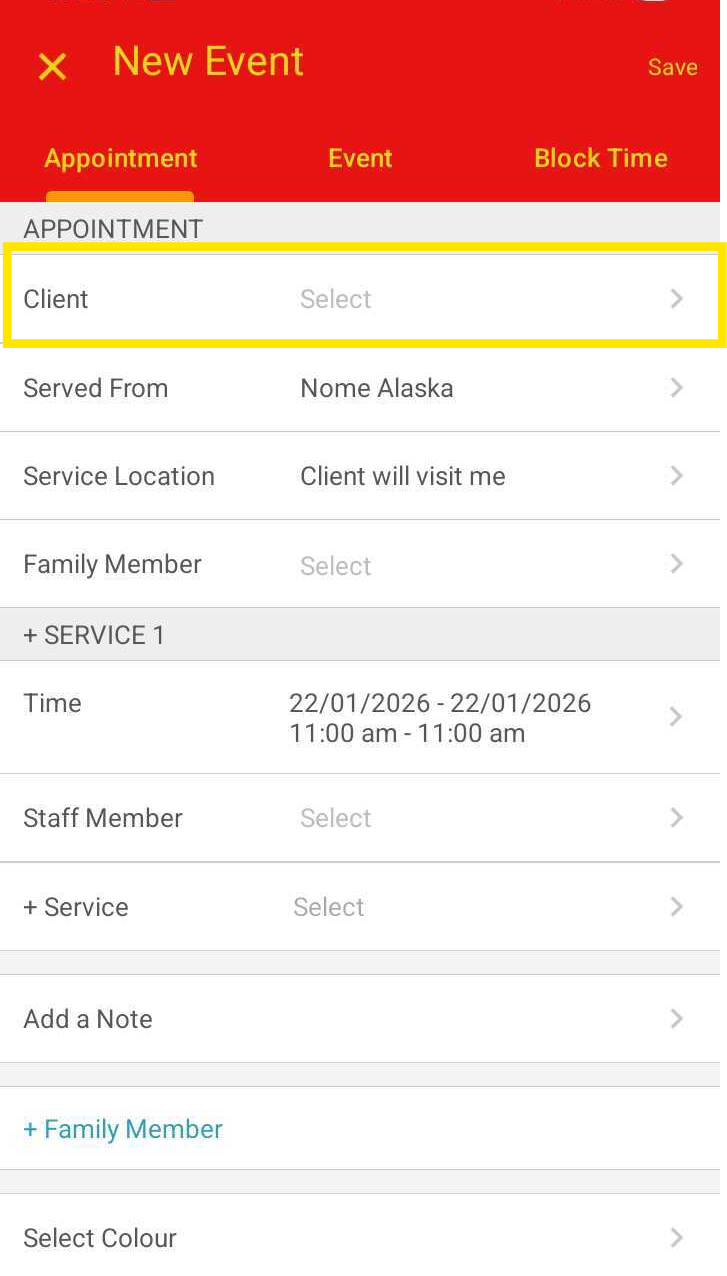
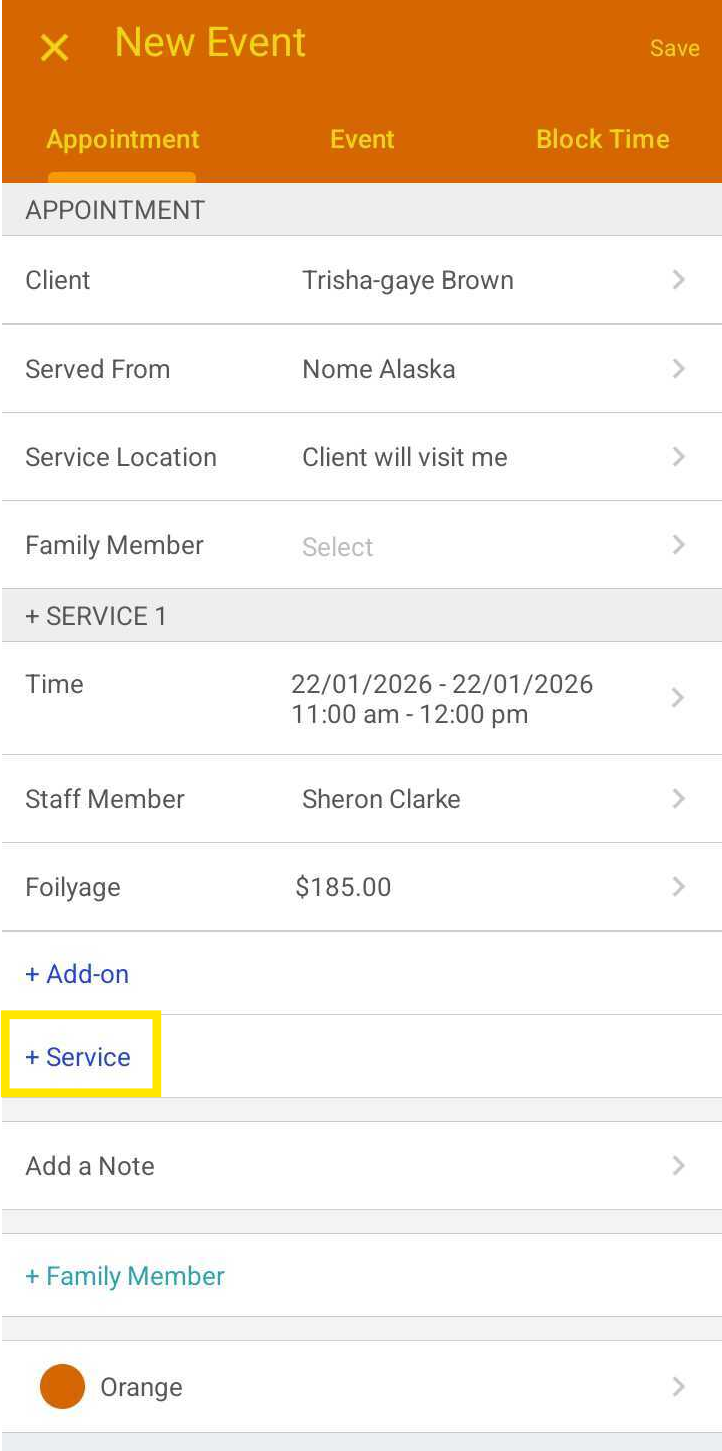
- Select the first staff member and their corresponding service
- Tap the +Service hyperlink to add an additional service
- Select the next staff member and service
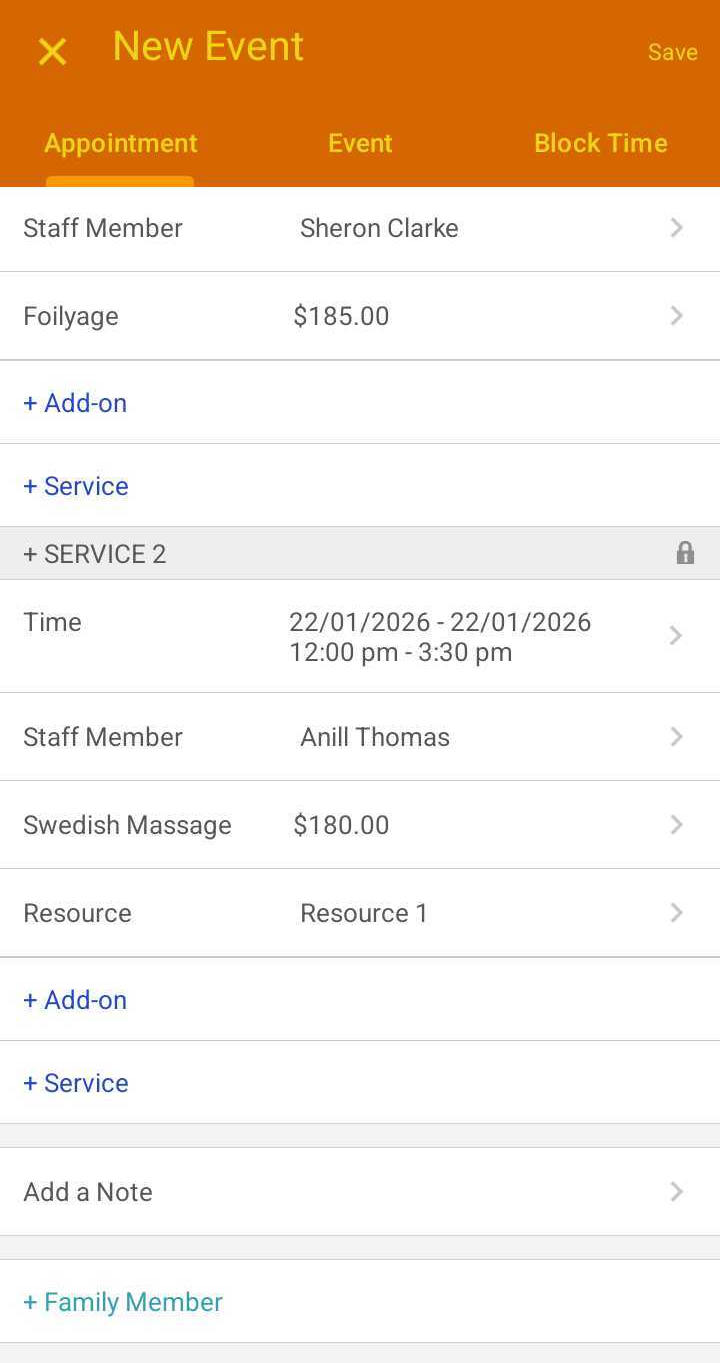
- To adjust the start time of the second service, tap the time column and toggle off "Connect to Previous Services"
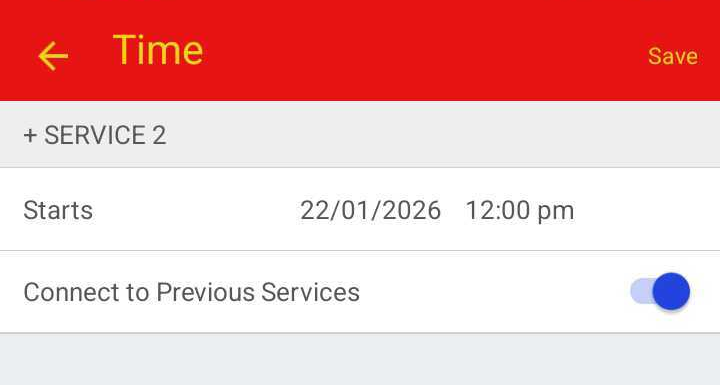
- Tap Save to finalize the appointment
What Happens After Scheduling
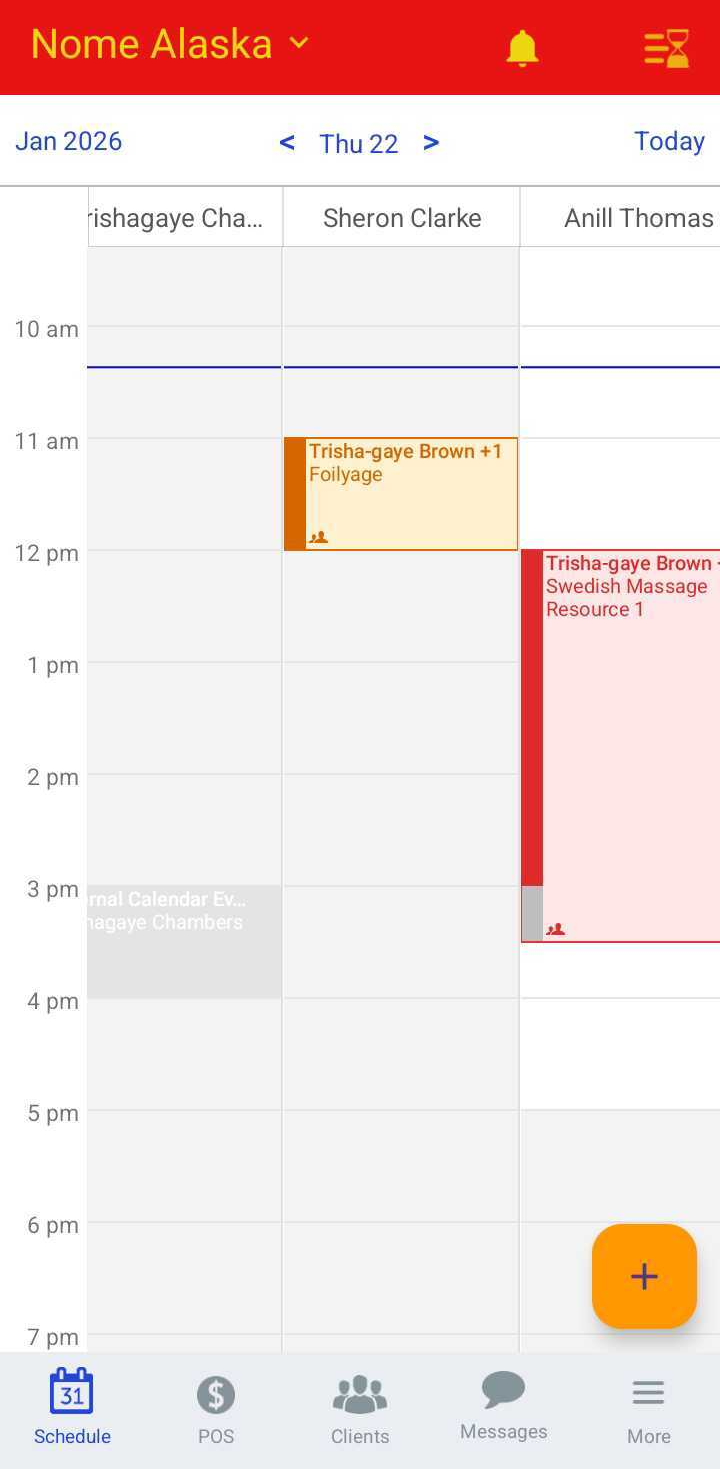
- Individual Tracking: Each service will appear on the calendar under the specific staff member assigned to it.
- Easy Identification: A multi-staff icon will appear on the appointment tiles, making it easy to see at a glance that the booking involves multiple team members
Related Articles:
Was this article helpful?
That’s Great!
Thank you for your feedback
Sorry! We couldn't be helpful
Thank you for your feedback
Feedback sent
We appreciate your effort and will try to fix the article