In this article, we will walk through the steps on how to edit or delete blockages using the scheduler app.
Things to know:
- The ability to edit or delete a blockage is governed by the "Accessing Appointments" access control setting.
- Once a blockage is edited or deleted, both the in-store schedule and online slot availability are updated immediately.
- Blockages cannot be edited or deleted from the custom hour interface
- When you edit a blockage, the audit section at the bottom of the blockage modal will display both the original creation date and the date of the latest update
- Individual blockages from a recurring series can be deleted independently
- If you make an edit to a recurring blockage, all occurrences in the series will be updated to reflect the changes
Contents:
Editing Blockages on Scheduler App
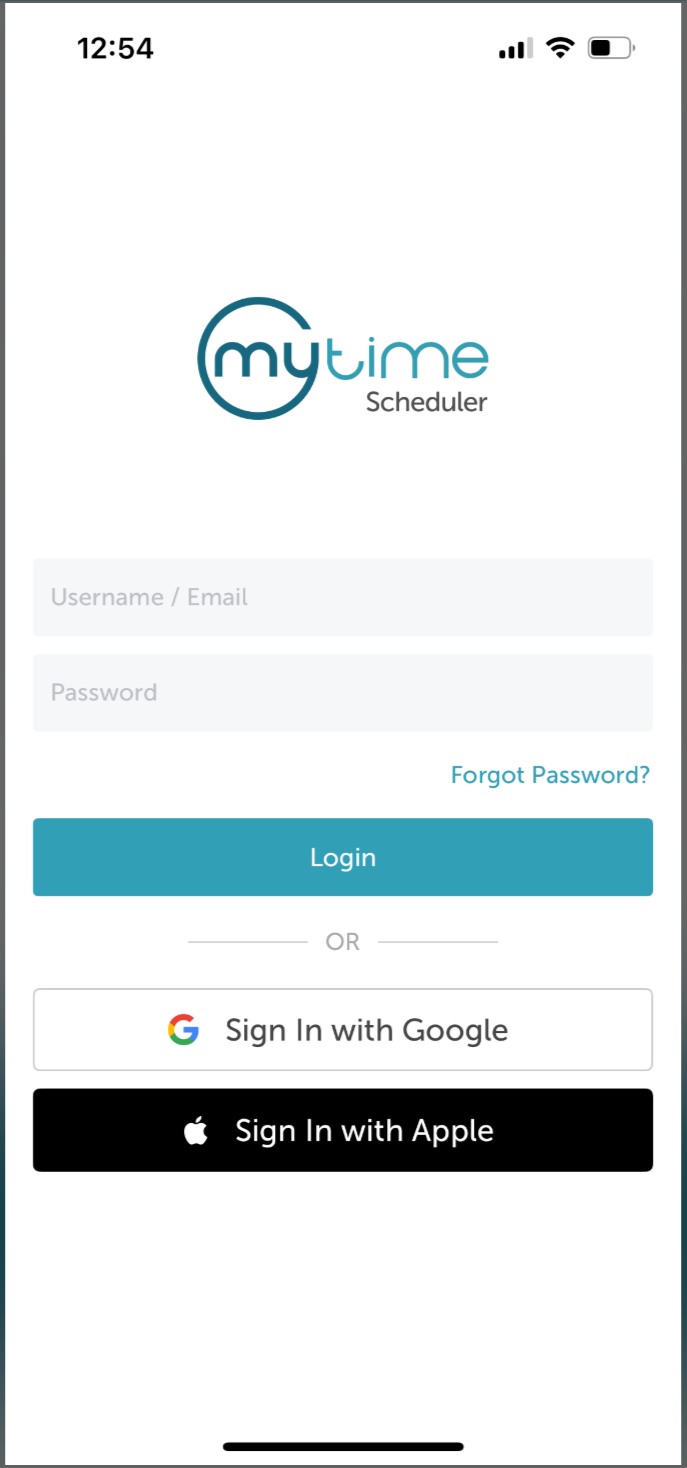
- Launch the MyTime Scheduler app on your device
- Choose your login method:
- Standard: Enter your registered email address and password, then tap 'Sign In'
- Social Login: Select 'Continue with Google' or 'Continue with Apple' to use your existing credentials for a faster login experience. For detailed instructions, learn more here

- Once signed in, you will be taken to the schedule by default

- Locate the blockage on the schedule and tap to open
- From the blockage screen, you can edit:

- Time and Date: To change the time or date of the blockage, tap 'Reschedule' to open the Reschedule page:
- Date: Tap the date in the Starts or Ends field to open the calendar and select a new date.
- Time: Tap the time in the Starts or Ends field to open the time selector. You can also tap Select Time Visually to view the schedule for the selected date and choose a new time directly.
- Repeat: Choose whether the blockage should repeat and, if applicable, select an end date. Tap Save to return to the Reschedule page.

- Tap Done to return to the main blockage page.

- Staff: To change the staff member assigned to the blockage, tap the arrow to the right of the staff member’s name
- Resource: To change the assigned resource, tap the arrow next to the current resource (or No Resource).
- Color: To change the color of the blockage, tap the arrow next to the color option.
- Time and Date: To change the time or date of the blockage, tap 'Reschedule' to open the Reschedule page:
- Once saved, the schedule will update to reflect your changes.
Deleting Blockages on Scheduler App
- Launch the MyTime Scheduler app on your device
- Choose your login method:
- Standard: Enter your registered email address and password, then tap 'Sign In'
- Social Login: Select 'Continue with Google' or 'Continue with Apple' to use your existing credentials for a faster login experience. For detailed instructions, learn more here
- After signing in, you will be directed to the schedule by default

- Locate the blockage on the schedule and tap to open
- Tap the 'Delete' button

- In the "Delete Blocked Time" modal that appears, tap 'I’m sure' to confirm

- The schedule will update, and the blockage will be removed.
For more information, contact us at support@mytime.com.
Related Article:
Installing MyTime on Scheduler App (Android and iOS)
Signing into MyTime on Scheduler App (Android and iOS)
Was this article helpful?
That’s Great!
Thank you for your feedback
Sorry! We couldn't be helpful
Thank you for your feedback
Feedback sent
We appreciate your effort and will try to fix the article