Client labels in MyTime allow you to classify, organize, and filter your clients for easier management and targeted marketing. A label is a custom tag you can assign to client profiles—such as “VIP,” “Top Client,” or “Follow-up”—to group clients based on shared characteristics or behaviors. This article will walk through the process of applying labels to client profiles on the scheduler app.
Things to Know:
- The ability to create and apply labels is controlled by the "Accessing Client Records" access control setting.
- You can assign multiple labels to a client
- When a label is applied to a client’s profile, it will appear below the client’s name on both the appointment modal and in POS.
To apply client labels:
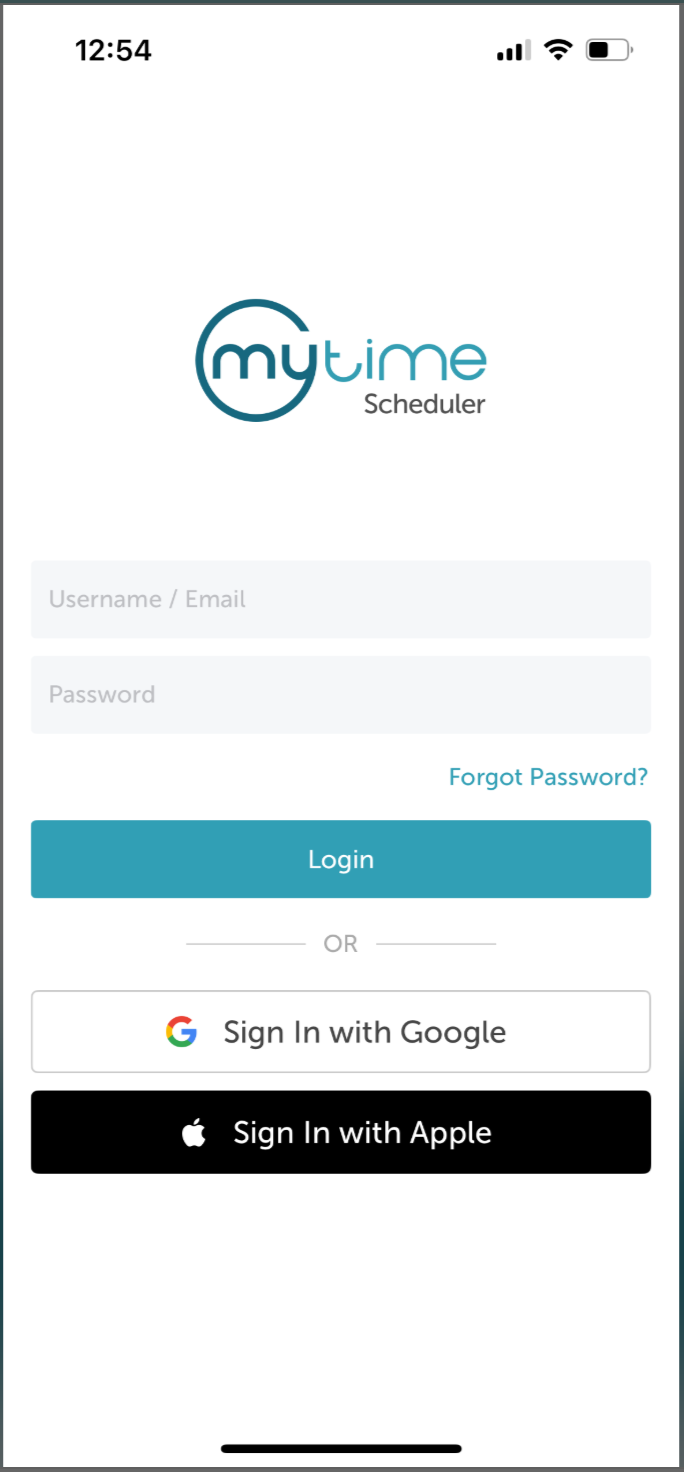
- Launch the MyTime Scheduler app on your device
- Choose your login method:
- Standard: Enter your registered email address and password, then tap 'Sign In'
- Social Login: Select 'Continue with Google' or 'Continue with Apple' to use your existing credentials for a faster login experience. For detailed instructions, learn more here
- You will be taken to the Schedule screen by default
- Tap 'Clients' at the bottom of the screen
- Search for the client by name, or select them from the client list

- Open the client’s profile and navigate to the Labels section
- Tap '+ Label'

- In the 'Add label to this client' search field, view the list of predefined labels

- Select the label you want to apply

- The selected label will appear below the search field
- To add more labels, tap the search field again and select additional labels
- Tap 'Save' at the top of the screen

- The saved labels will now appear in the 'Labels' section on the client’s profile

For more information, contact us at support@mytime.com.
Related Articles:
Installing MyTime on Scheduler App (Android and iOS)
Signing into MyTime on Scheduler App (Android and iOS)
Sign in as Staff Member on Web
Adding Clients on Scheduler App
Was this article helpful?
That’s Great!
Thank you for your feedback
Sorry! We couldn't be helpful
Thank you for your feedback
Feedback sent
We appreciate your effort and will try to fix the article