Giving clients more ways to sign up means fewer obstacles between them and completing a booking. Clients can use their existing Google, Apple, or Facebook account to sign in across the booking widget, express checkout, and the Branded Guest App — a convenient alternative to the standard email and password login that works across every client-facing touchpoint your business uses. This article provides a step-by-step guide to help your clients set up their accounts and begin booking services directly through your branded guest app.
Things to know:
- By default, we match clients and users based on their first name and email address. To have clients and users be matched based solely on their email is managed by a hidden setting and is disabled by default. To enable the hidden setting, please contact our support team at support@mytime.com. Learn more here
- If the email matches but the name differs or the social platform credentials do not match the account credentials, a new profile is created.
- If an email address is not found in the system, a new MyTime user account will be generated.
- A phone number is only required during sign-up if the "Client Records must have a phone number" hidden setting is enabled on your account.
- When signing in with Google, Facebook or Apple, the login credentials must match an existing MyTime account for syncing. If no match is found, a new MyTime account will be created.
- Apple allows login with an encrypted email address, which may not match an existing MyTime account. However, Apple automatically forwards MyTime emails to the client’s real inbox.
CONTENTS:
- Creating an Account Using Email & Password
- Creating an Account Using Google
- Creating an Account Using Facebook
- Creating an Account Using Apple
Creating an Account Using Email & Password
To create a new account using a standard email and password, your clients can follow these simple steps within your custom guest app:
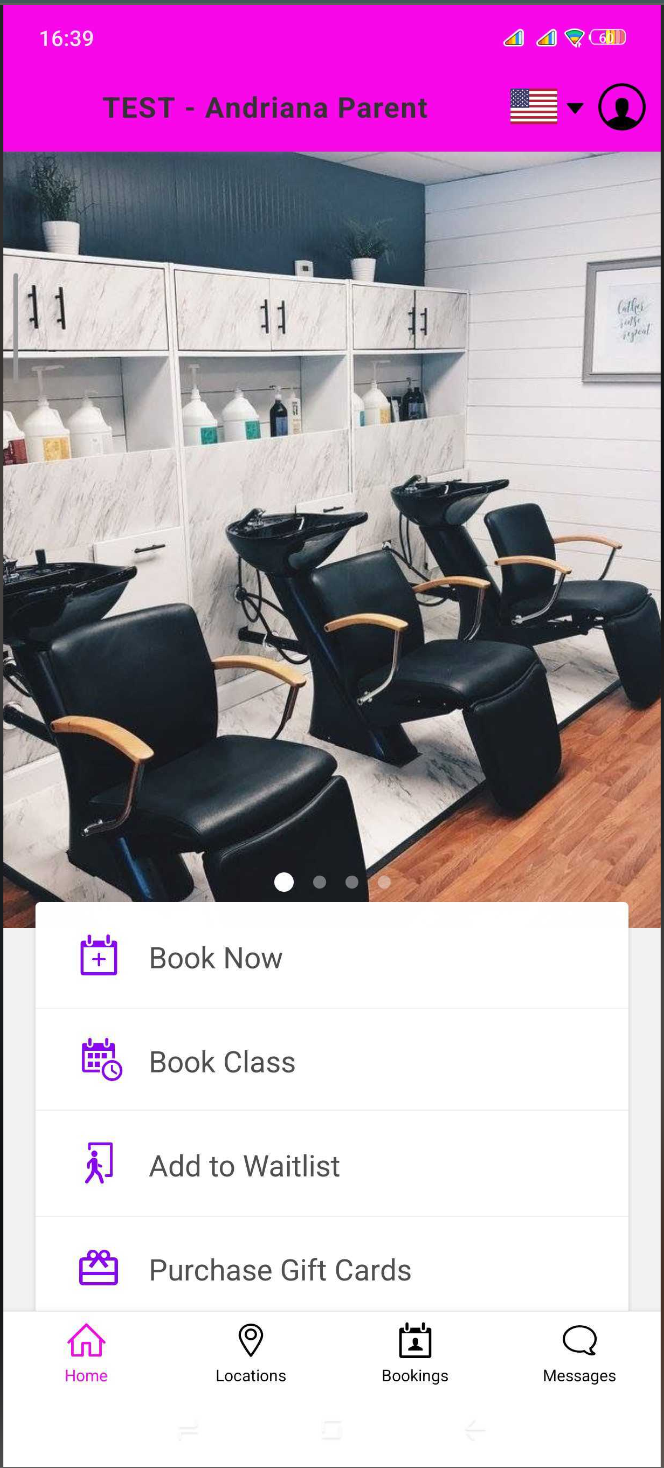
- Clients must download the guest app from either the Google Play Store (for Android users) or the Apple Store (for iOS users)
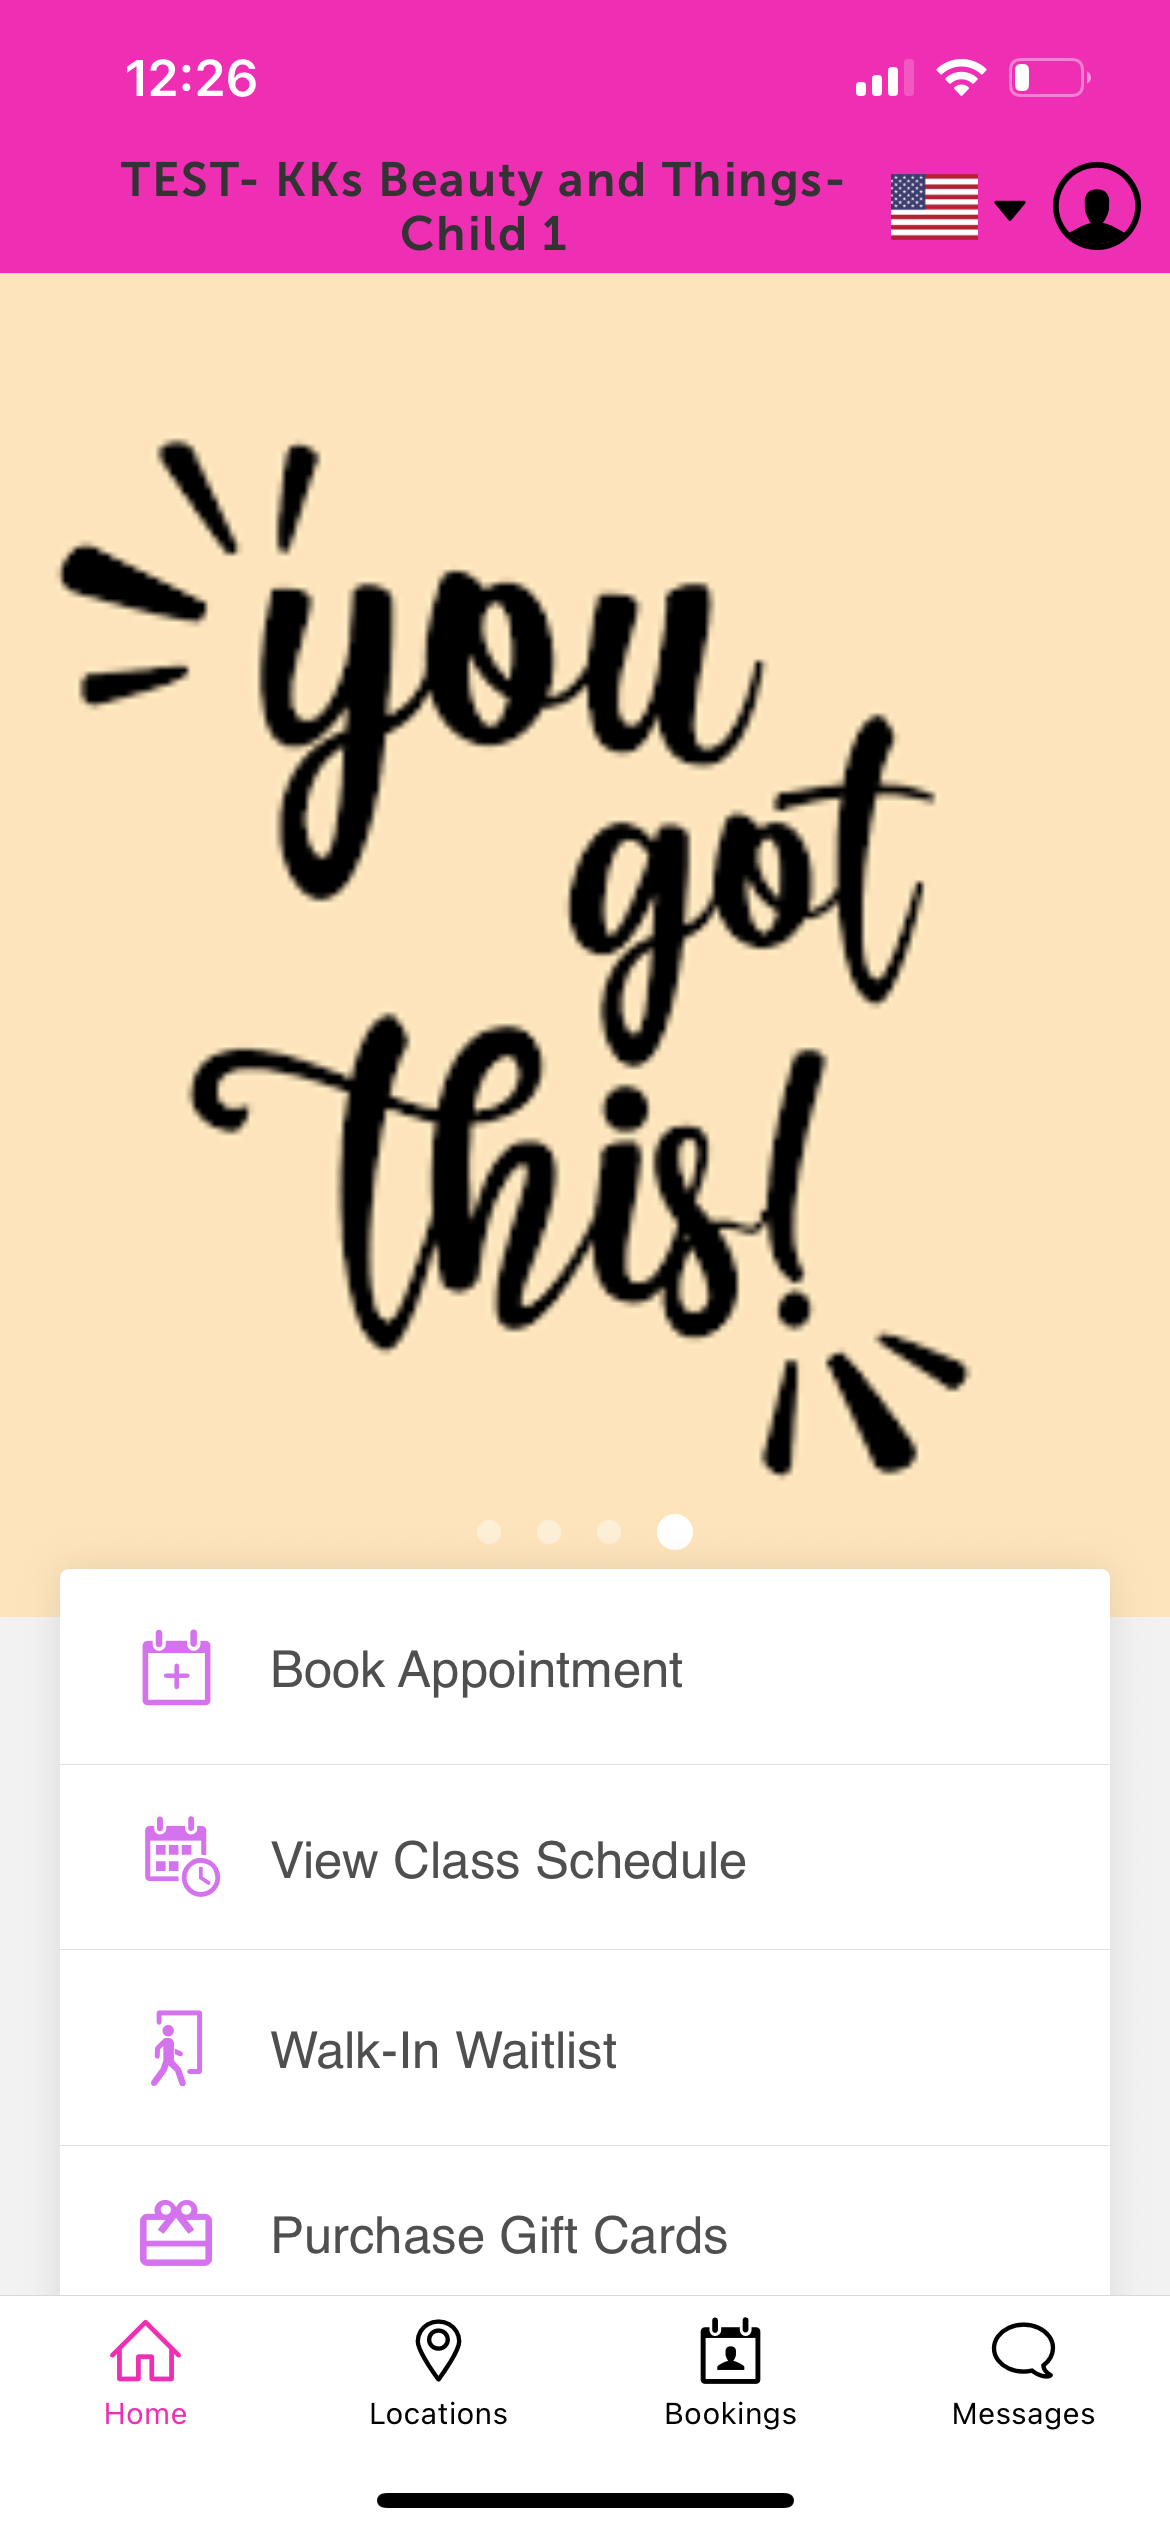
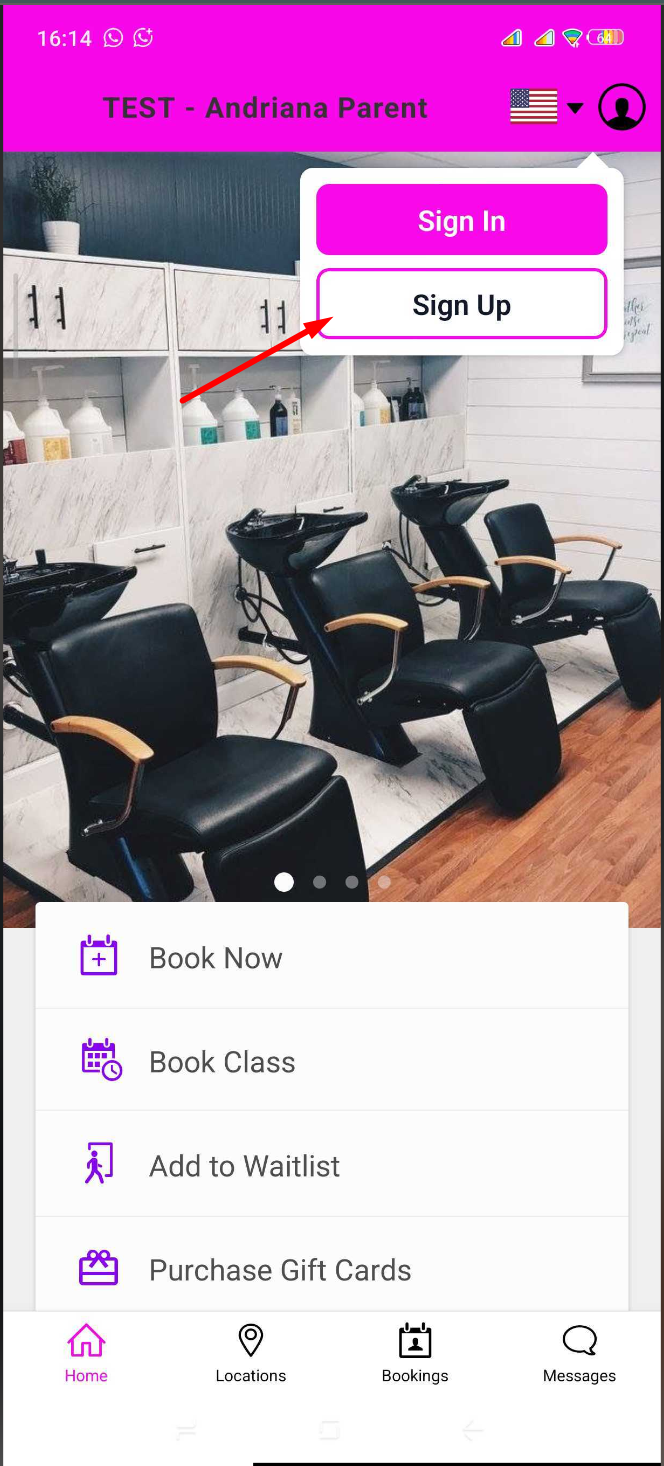
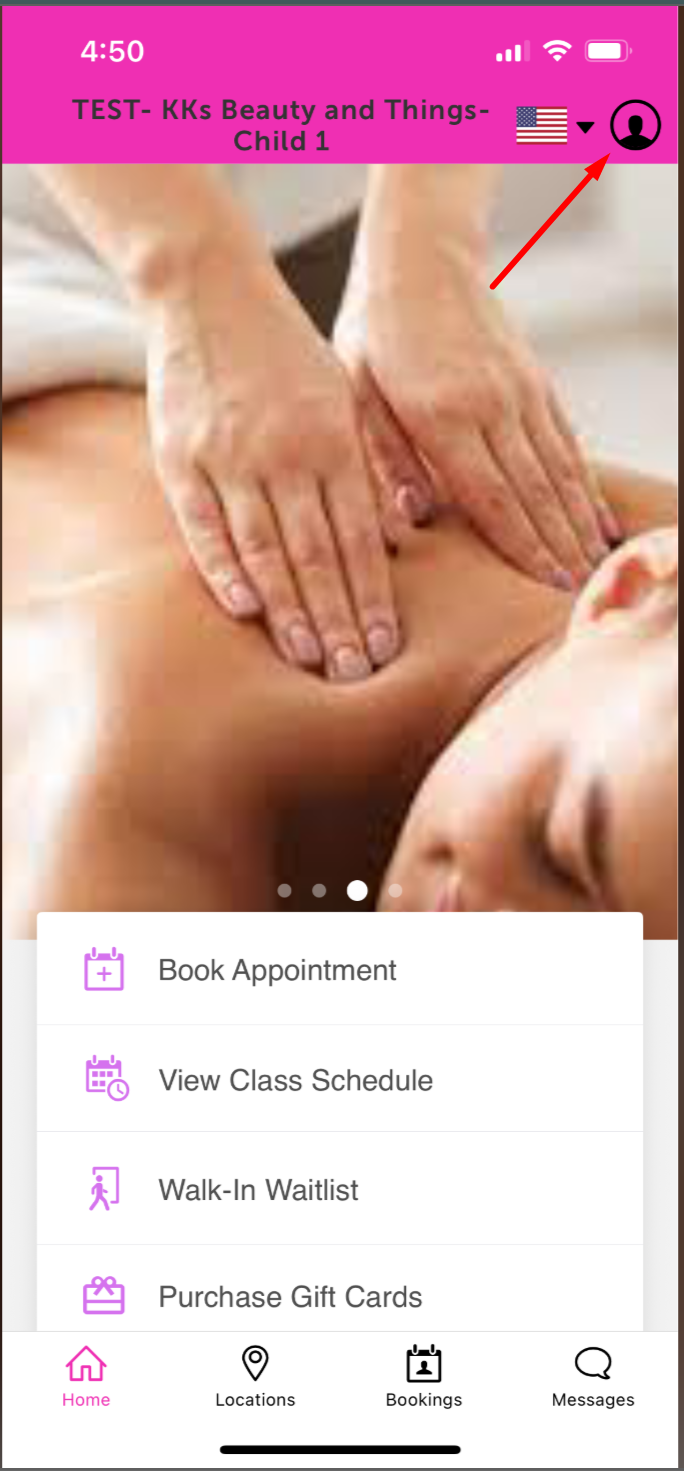
- Upon downloading, navigate to the home screen and tap on the account icon located in the top right corner

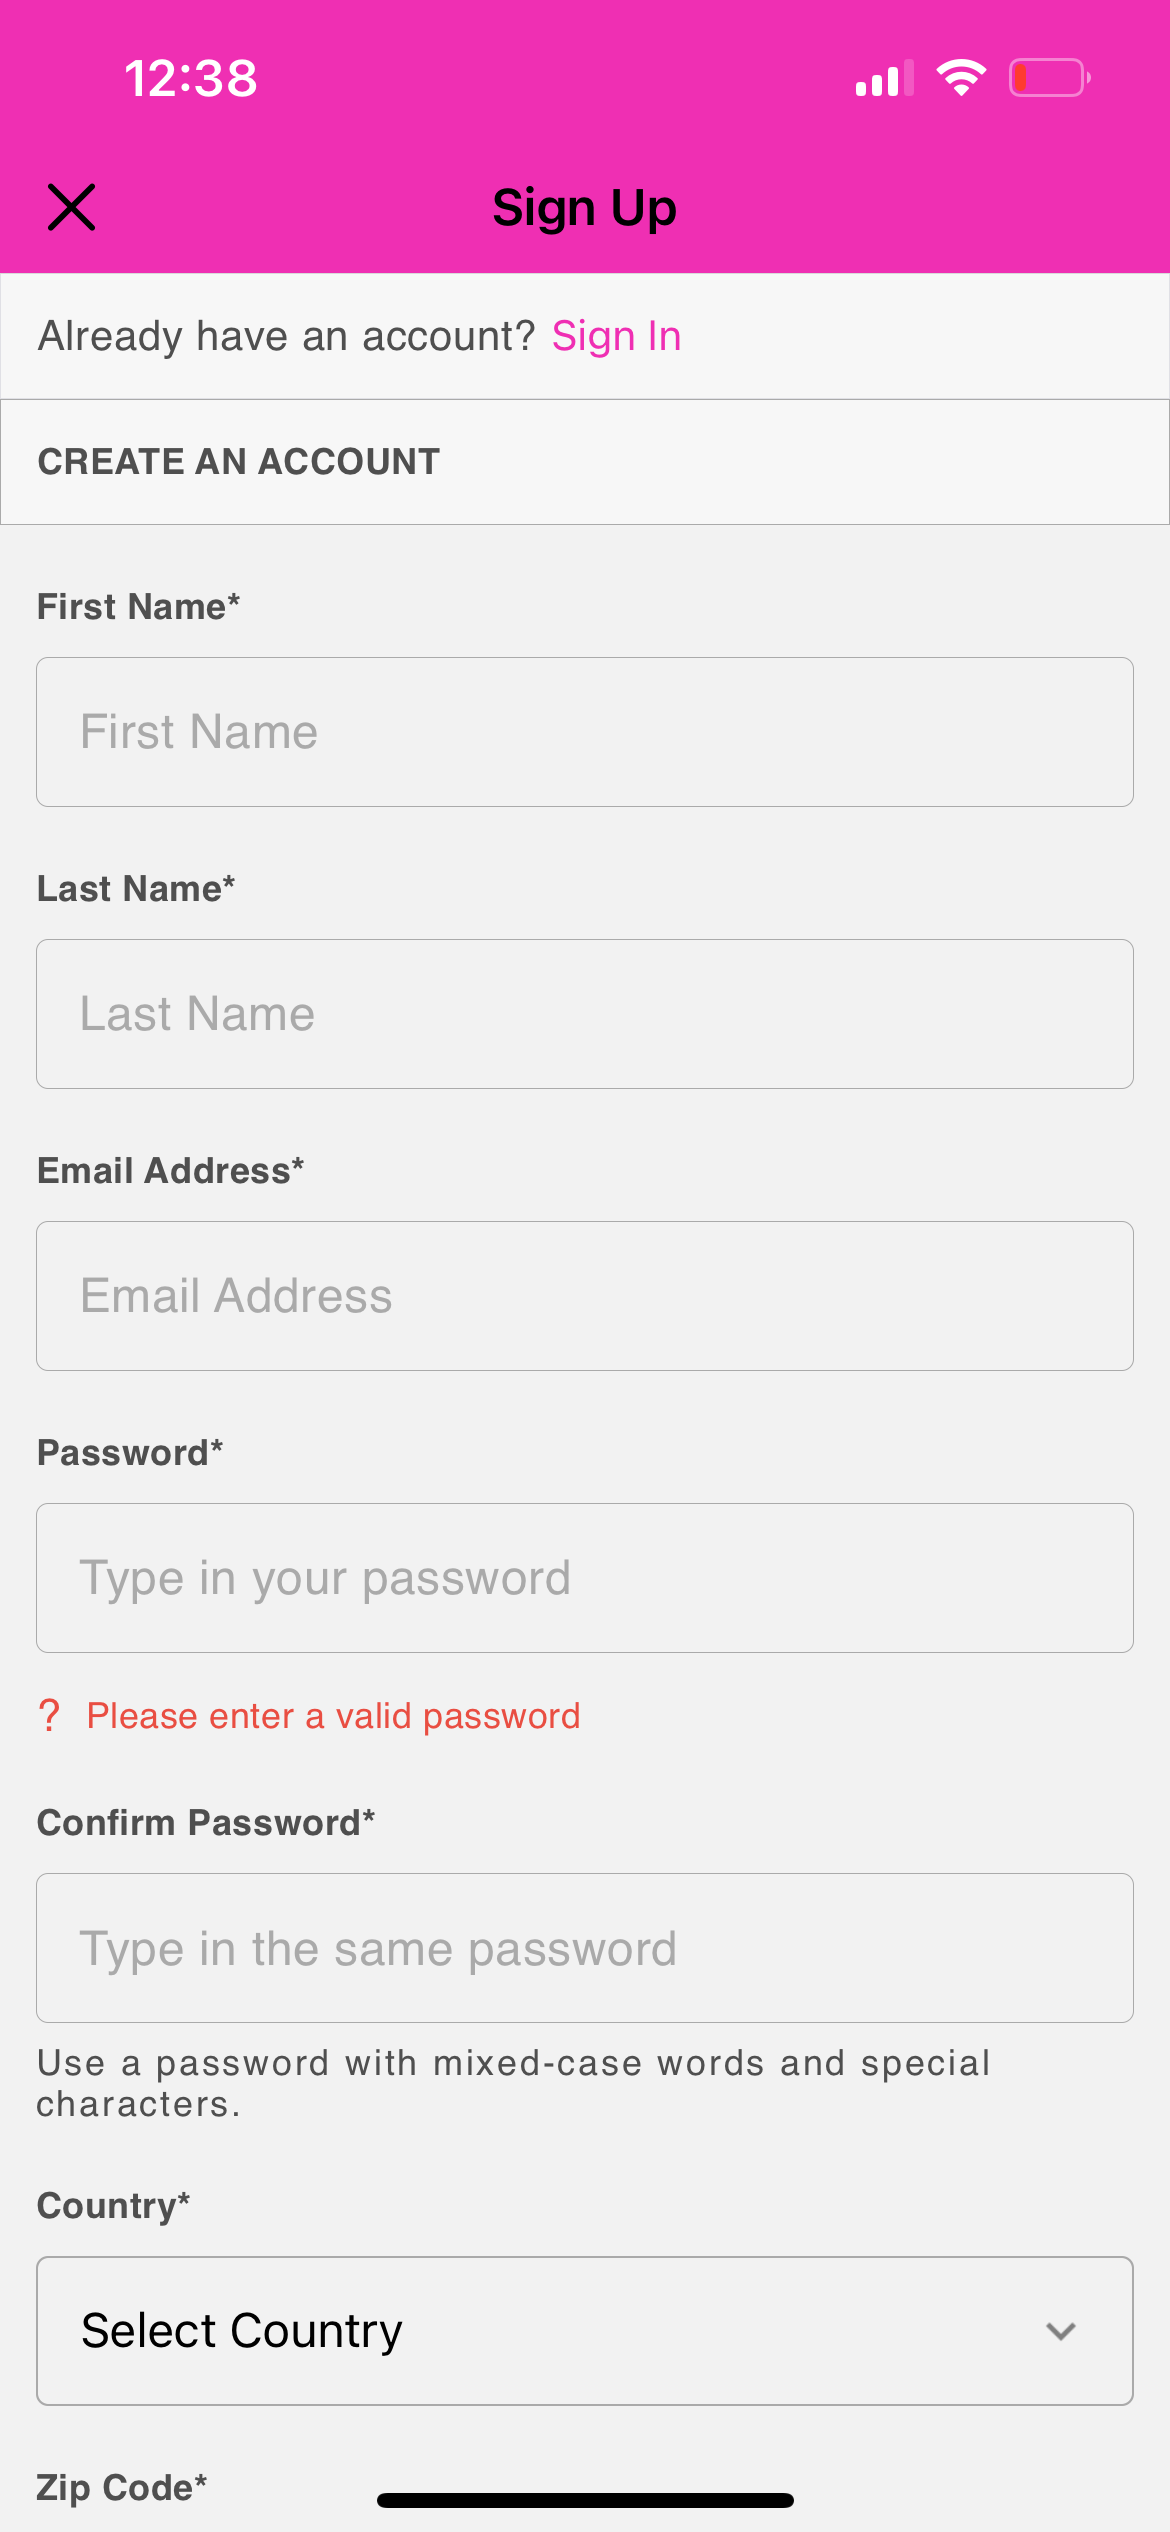
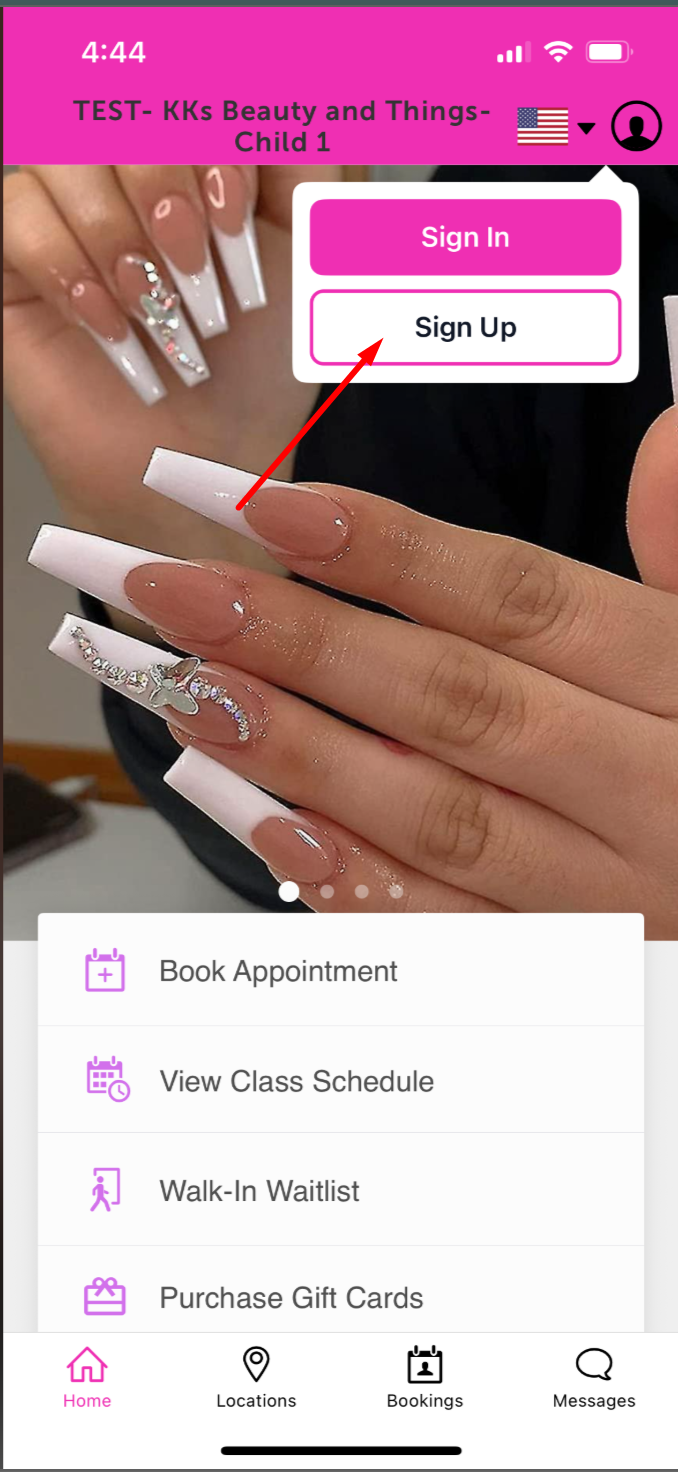
- Tap 'Sign Up'

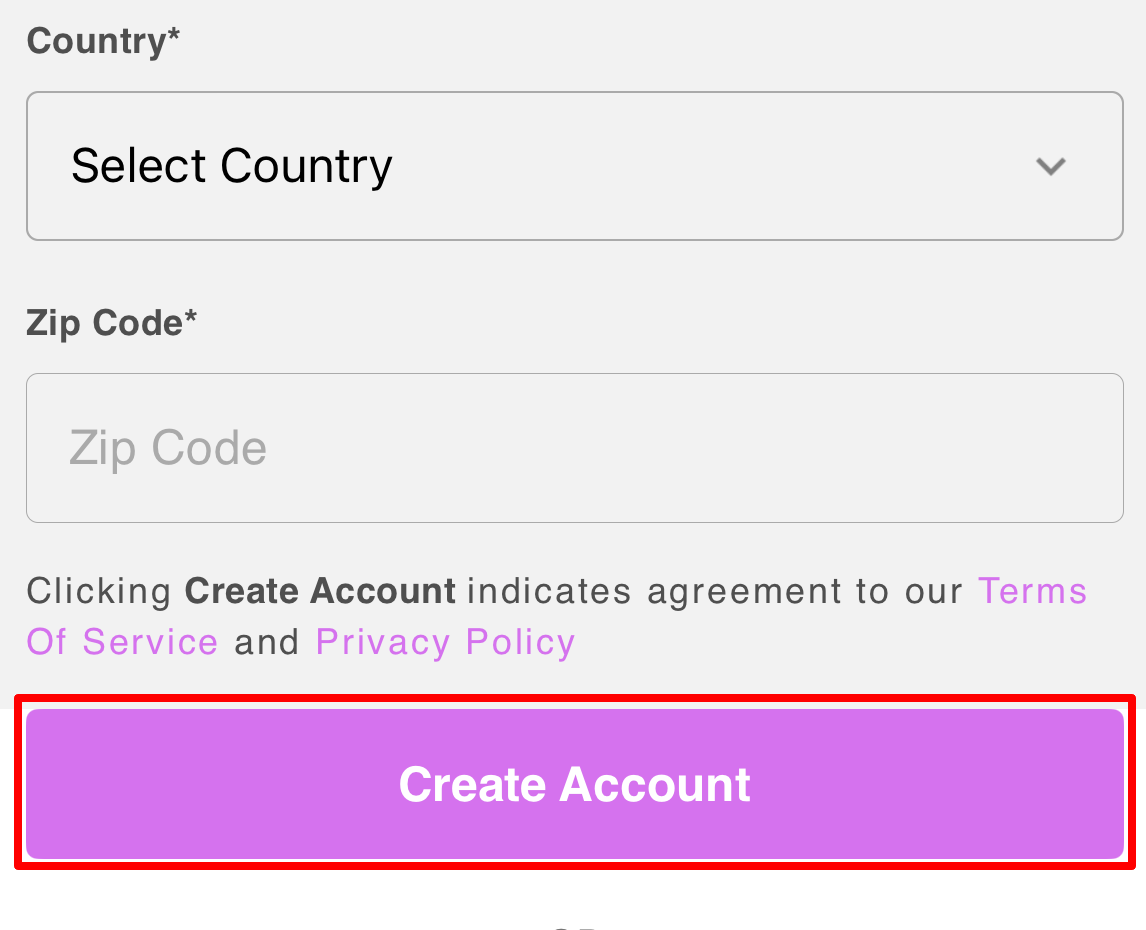
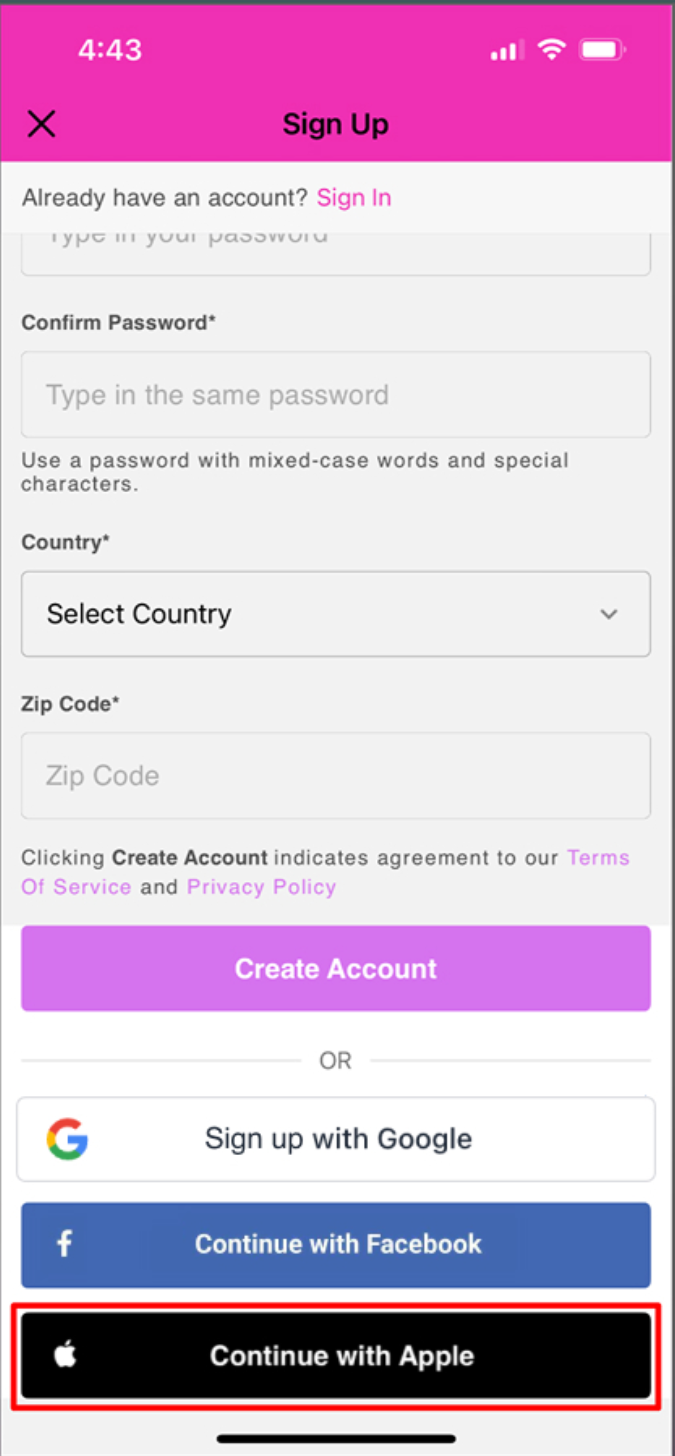
- On the Sign Up page, enter the required information, including name, email, password, country, and a valid zip code
- Click on the "Create Account" button
- Once the account is successfully created, the client will be automatically directed back to the Home screen to begin booking.
Creating an Account Using Google
For a faster registration experience, your clients can link their existing Google account to your custom guest app by following these steps:
- Download the guest app from either the Google Play Store (for Android users) or the Apple Store (for iOS users)
- Upon downloading, navigate to the home screen and tap on the account icon located in the top right corner

- Tap 'Sign Up'

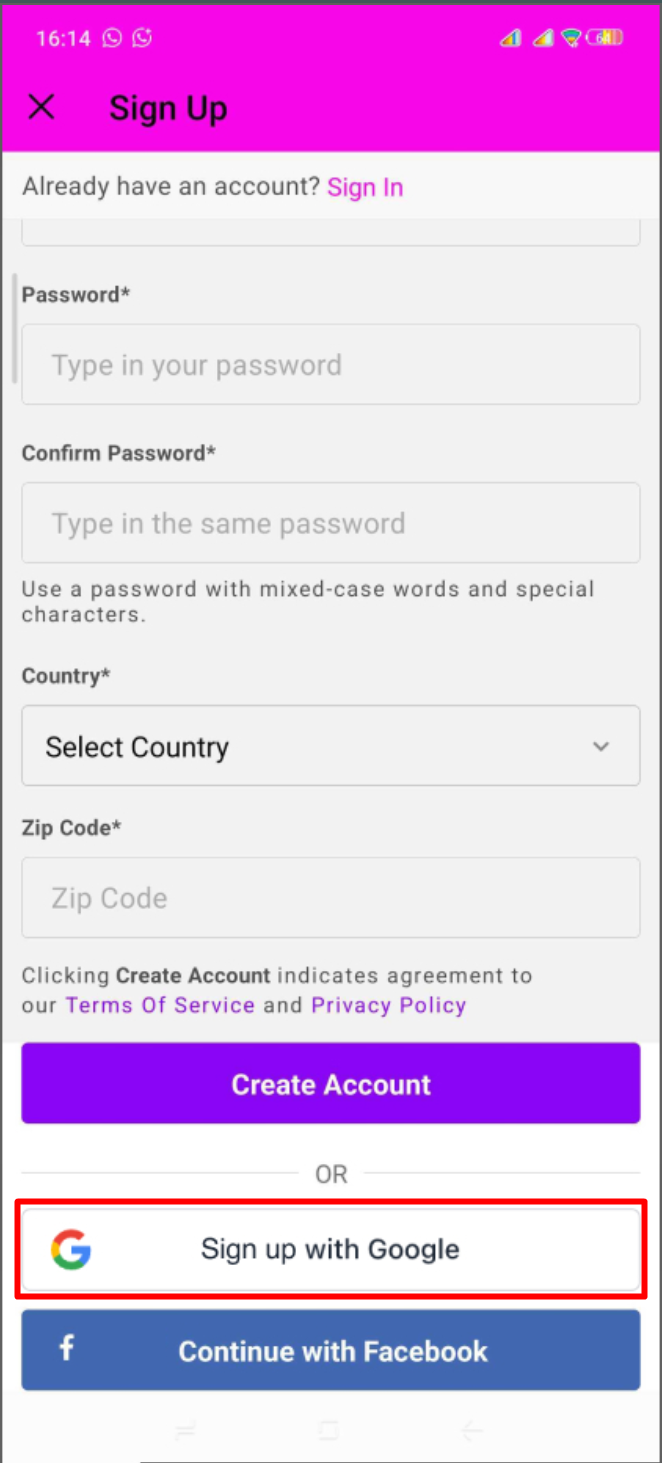
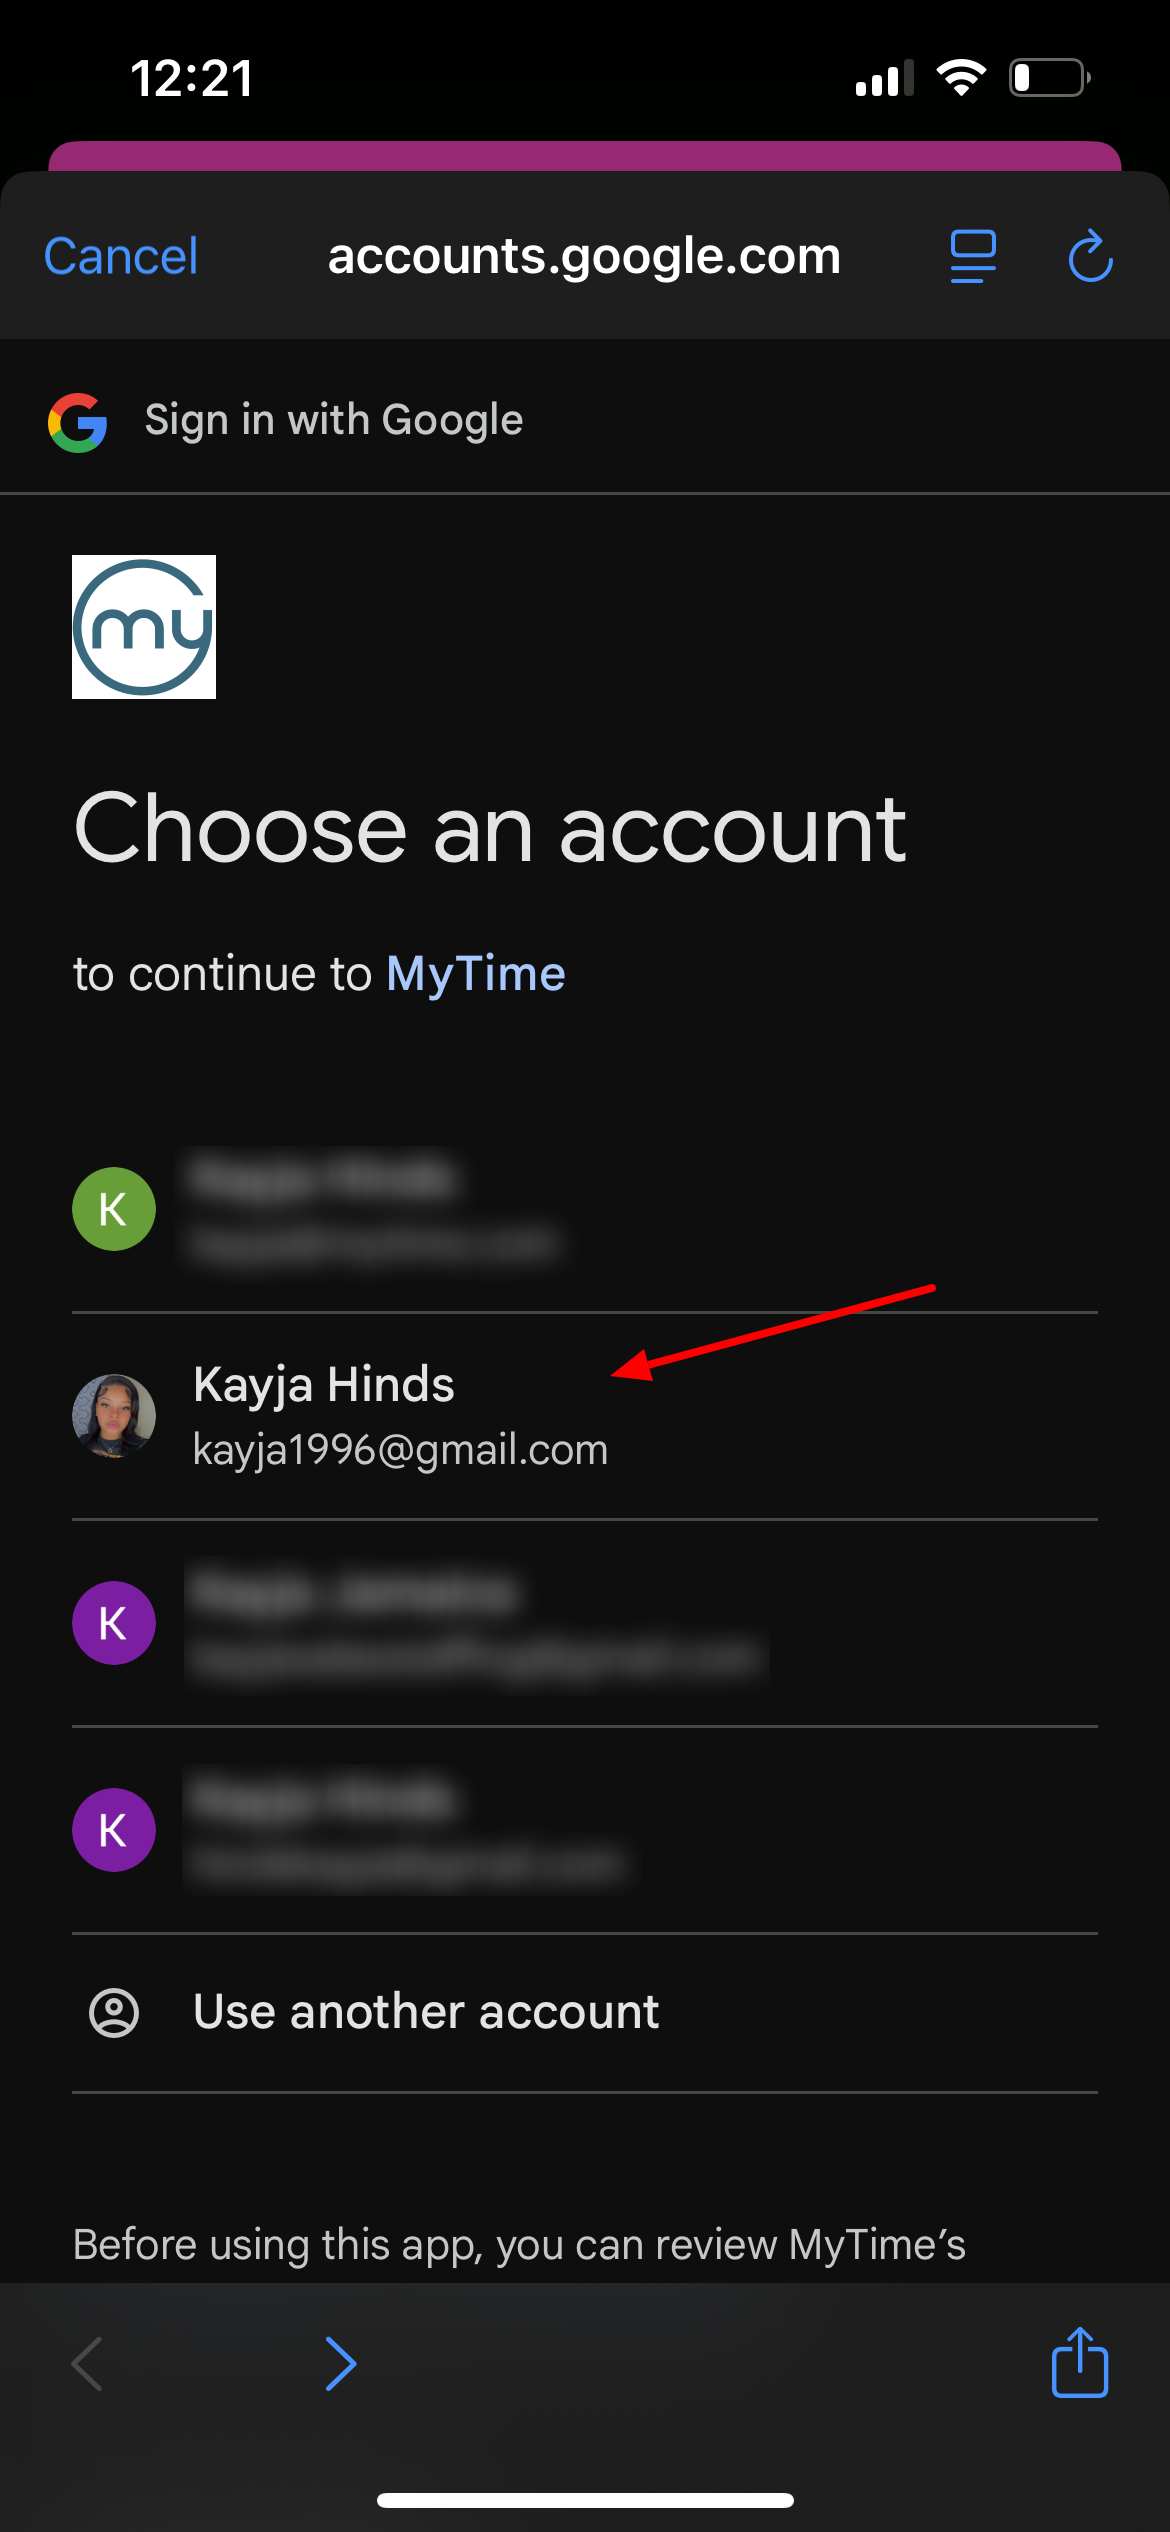
- Scroll down to the bottom of the screen and tap "Sign up with Google"
- Select the desired Google account they wish to sign up with
- Finalize the sign-up process by tapping 'Continue' on the authentication prompt
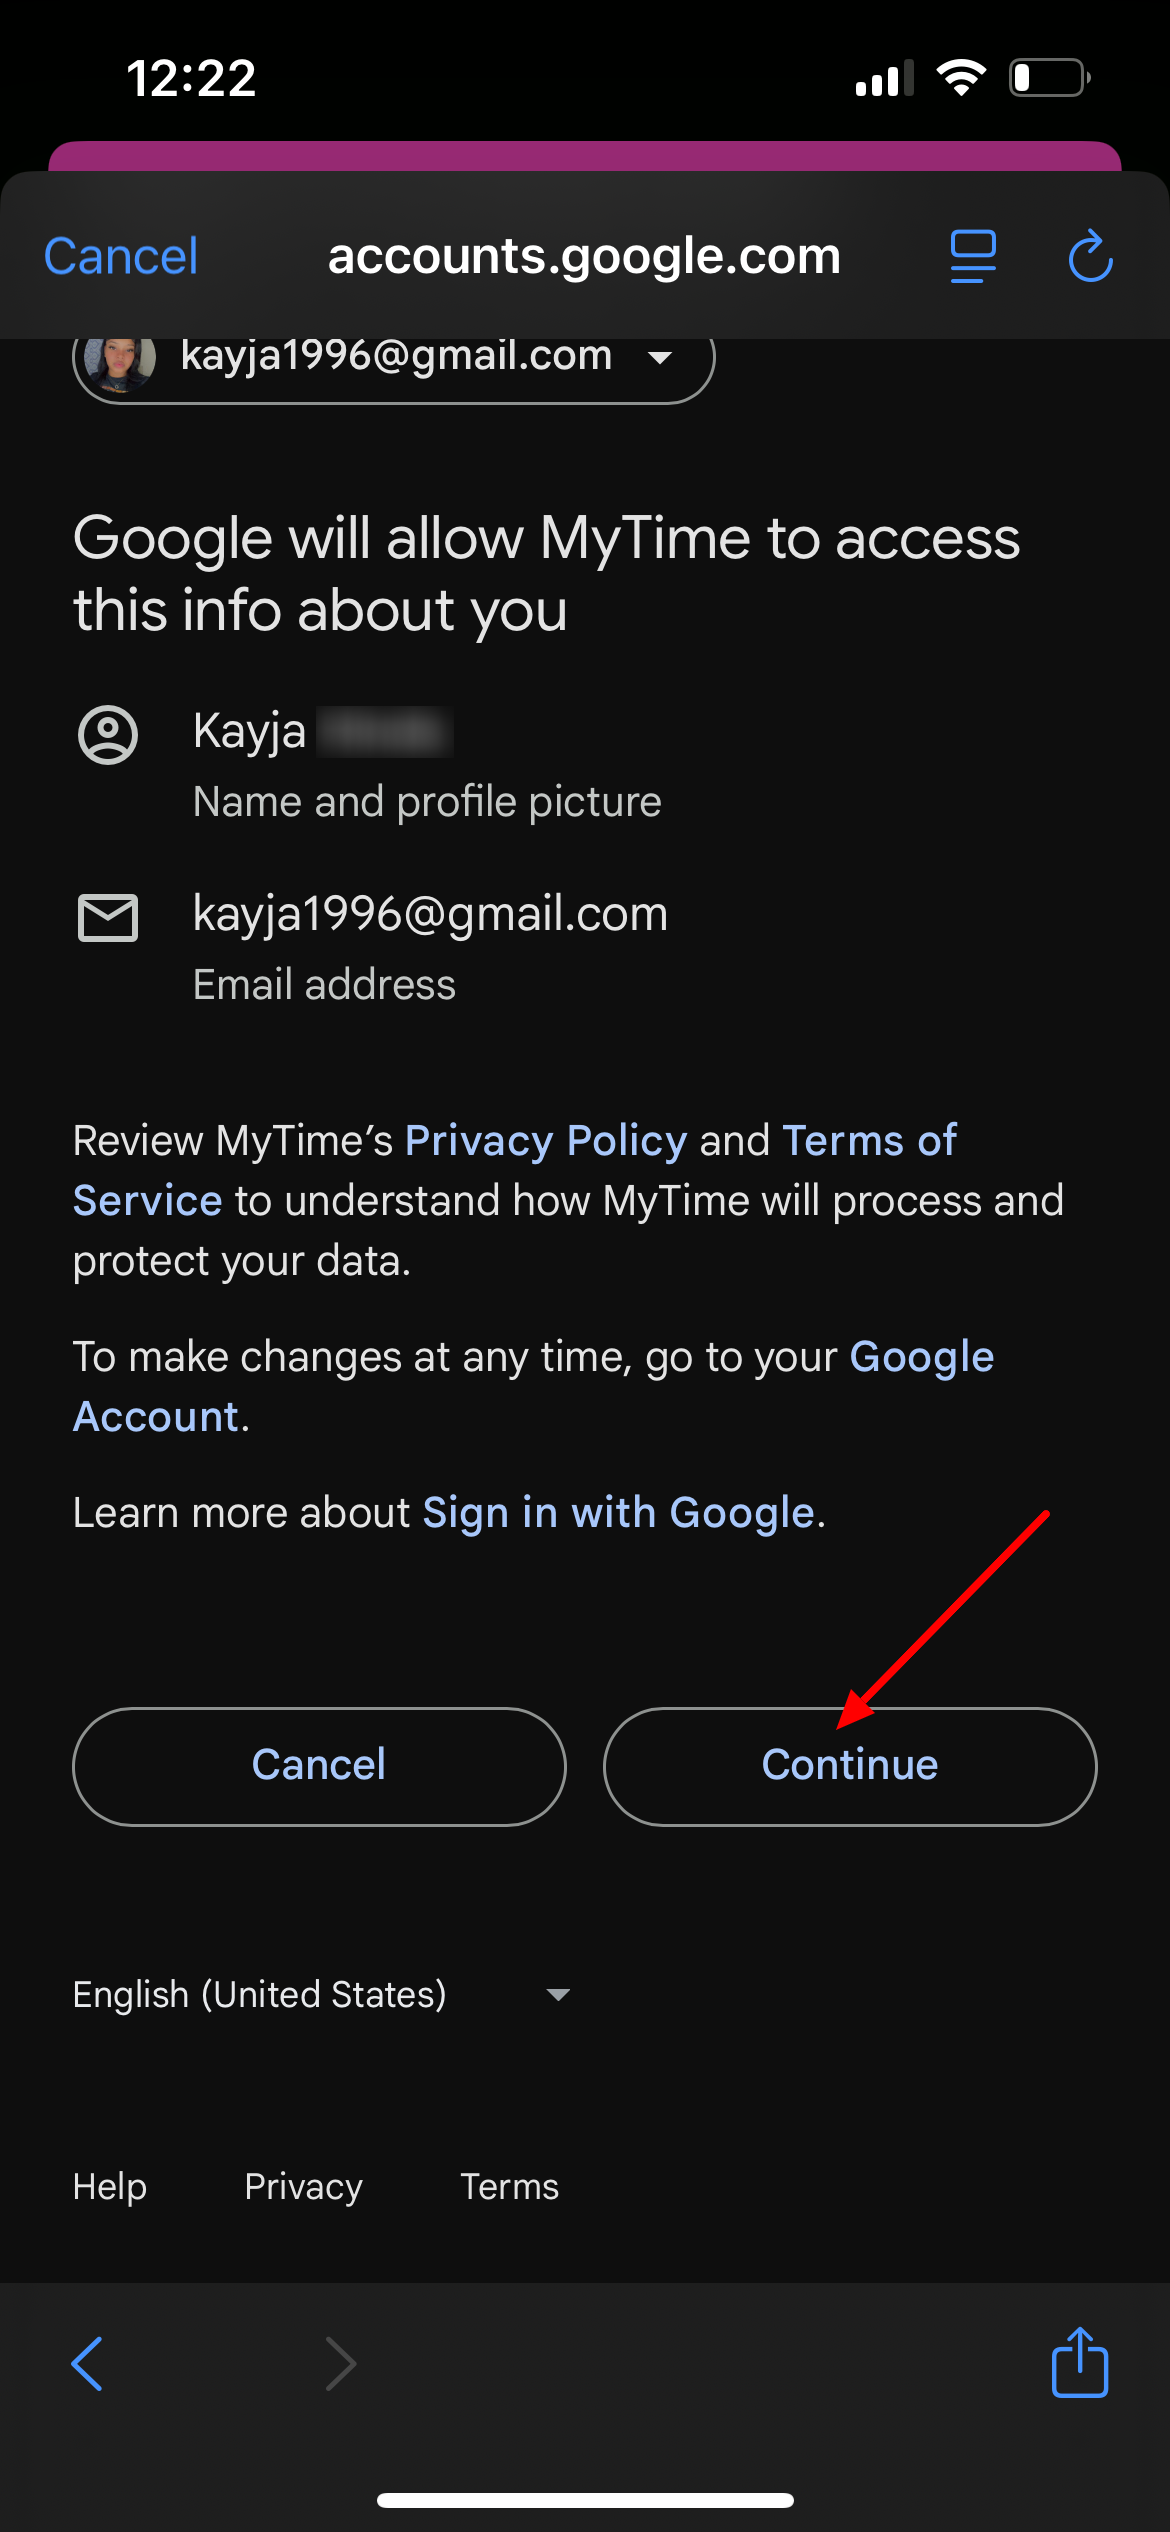
- Once the account is linked and created, the client will be directed back to the Home screen automatically
Creating an Account Using Facebook
Clients can quickly link their Facebook profile to your guest app for a streamlined registration process by following these steps:
- Clients must download the guest app from either the Google Play Store (for Android users) or the Apple Store (for iOS users)
- Upon downloading, navigate to the home screen and tap on the account icon located in the top right corner

- Tap 'Sign Up'
- Scroll down to the bottom of the screen and tap "Continue with Facebook"

- Choose the existing Facebook account on the device or manually enter the associated email and password
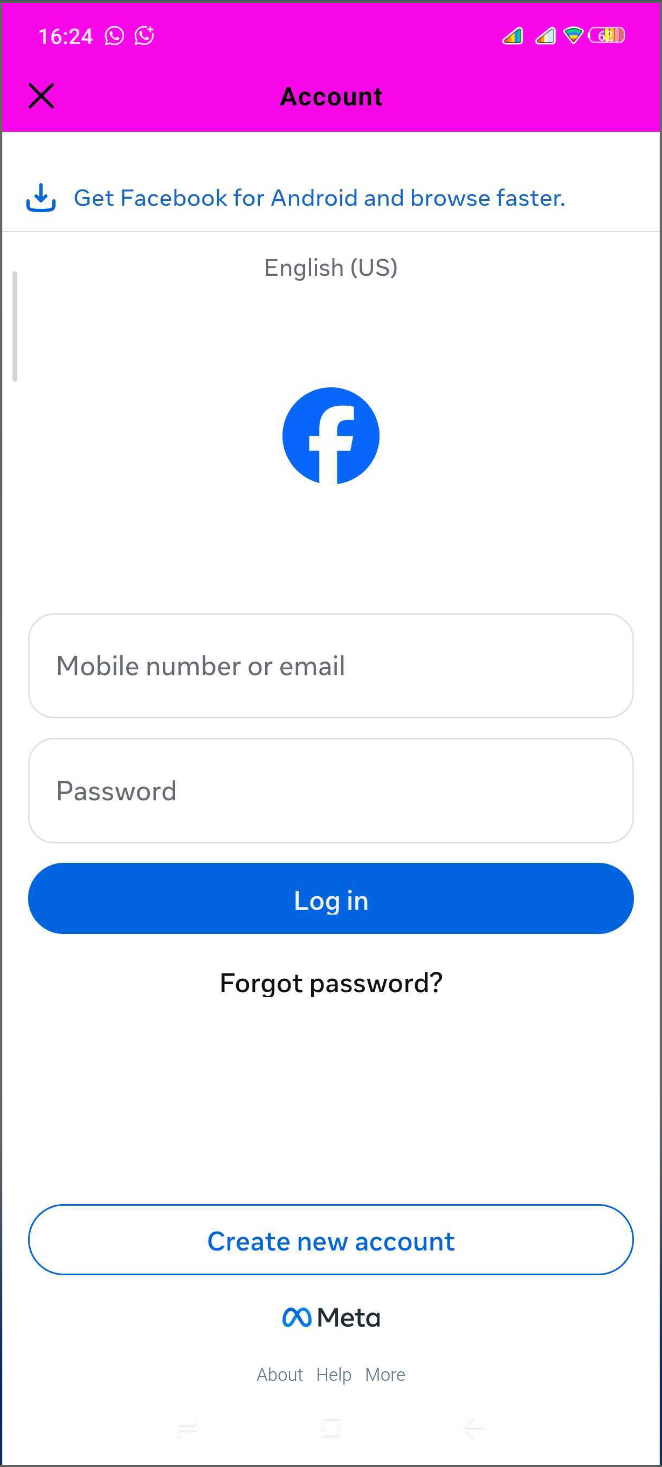
- Tap the 'Log In' button to authorize the connection
- Once the account is created, the client is automatically logged in and ready to begin their booking experience
Creating an Account Using Apple
iOS users can take advantage of Sign in with Apple for a fast and secure registration experience by following these steps:
- Clients must download the guest app from either the Google Play Store (for Android users) or the Apple Store (for iOS users)
- Upon downloading, navigate to the home screen and tap on the account icon located in the top right corner
- Tap 'Sign Up'
- Scroll down to the bottom of the screen and tap "Continue with Apple"
- Choose the specific Apple ID they wish to use and authenticate via FaceID, TouchID, or passcode

- Once the account is linked and created, the client will be directed back to the Home screen automatically
For more information, please contact our Support Team at support@mytime.com.
Related Articles:
Was this article helpful?
That’s Great!
Thank you for your feedback
Sorry! We couldn't be helpful
Thank you for your feedback
Feedback sent
We appreciate your effort and will try to fix the article