MyTime allows pet merchants to add pets to client accounts, and you will also have the option to schedule appointments for pets. In this article, we will provide step-by-step instructions on how to book appointments for pets on the scheduler app.
Things to know:
- The ability to schedule appointments for pets is controlled by the "Accessing Appointments" access control permission.
- If a client doesn't have a pet on their profile, you can add pet(s) directly from the appointment modal
- For clients with only one pet, the pet is automatically added to the appointment when scheduling it
- When clients are merged and only one pet remains on the profile, booking an appointment will automatically add that pet in the appointment modal. Additionally, when pets are merged, leaving only one pet profile, that pet is added by default when making an appointment.
- For clients with two pets, after one pet is deleted, booking an appointment will default to the remaining pet
- The "Must Select A Pet For Appointment" setting controls whether selecting a pet is mandatory when booking an appointment in-store. Once this setting is enabled, the following will occur:
- Staff members will not be able to schedule an appointment without selecting a pet.
- If a staff member attempts to schedule an appointment without selecting a pet, an error message will appear: "Please select a Pet for this appointment."
- Appointments will be grouped once they are scheduled using the "+ Pet" option on the appointment modal in-store, or when an appointment is booked for multiple pets online.
- When scheduling multiple appointments for different pets, you can easily switch between them after opening one of the appointments. There will be tabs at the top of the appointment modal labeled with the names of the pets, allowing for quick navigation.
- When updating the status of an appointment, you will be prompted to choose whether to update just the current appointment or all related appointments at once.
- You cannot cancel all appointments at once; you can only cancel the current appointment you are viewing. To cancel other appointments, you will need to click on the tab for the specific pet. This will allow you to view and cancel their respective appointments individually.
- Changes made to an appointment under one pet’s tab are saved automatically when you switch to another tab.
- Save: All changes made across every tab (for each pet) are saved.
- Discard Changes: All changes made across every tab are discarded.
- Resource selection for multi-pet appointments follows specific rules to ensure accuracy and a smooth booking experience:
- By default, when selecting a service for the first pet, the system automatically assigns the same resource for that service to the next pet, as long as the resource remains available and eligible.
- If a staff member manually changes the resource or service for the second pet—making the previously selected resource ineligible—the system updates the Resource field to display an appropriate alternative.
- When resources are limited to one booking per time slot, the resource assigned to the first pet will not appear as an option for the second pet. In this case, the system automatically assigns another available resource.
- You can add appointment notes. These notes can include observations about the pet's behavior, preferences, health concerns, or any special needs they may have so that the staff member can provide the best care. This is optional.
Clients who book appointments for their pets—whether in-store or online—will receive a notification listing all services booked:
Booked in-store: The Booked by Business notification is sent.
Booked online: The Booked by Client notification is sent.
- If the "Enable Invoicing Clients" setting is enabled and the "Change Status to Completed" option is set to either "Automatically Based on Service Duration" or "Manually by Updating Status", the system will automatically mark the appointment as completed and generate a ticket once the service time has ended or when the appointment is manually marked as completed.
Contents:
Scheduling an Appointment for a Single Pet
- Launch the MyTime Scheduler app on your device
- Choose your login method:
- Standard: Enter your registered email address and password, then tap 'Sign In'
- Social Login: Select 'Continue with Google' or 'Continue with Apple' to use your existing credentials for a faster login experience. For detailed instructions, learn more here

- Once signed in, you will be directed to the schedule by default
- Filter to the appropriate location and staff. Learn more here.
- Tap the desired time slot under the preferred staff to add the appointment, or tap the '+' icon in the bottom right corner to open the 'New Event' modal and complete the appointment details.

- Add a client.
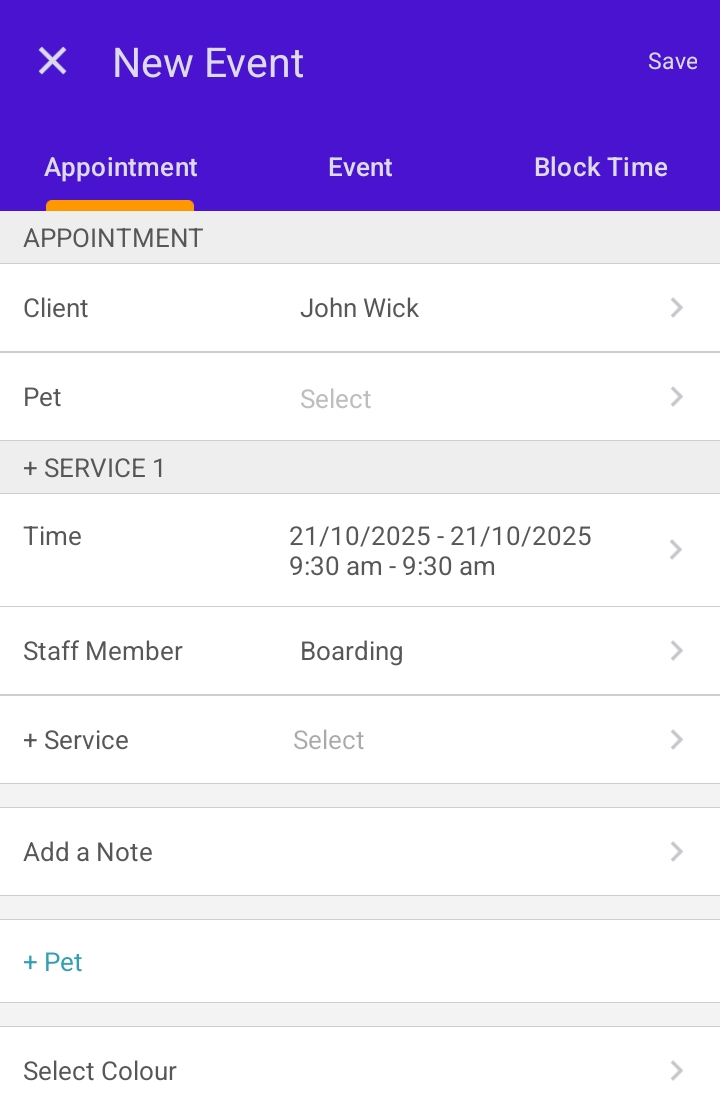
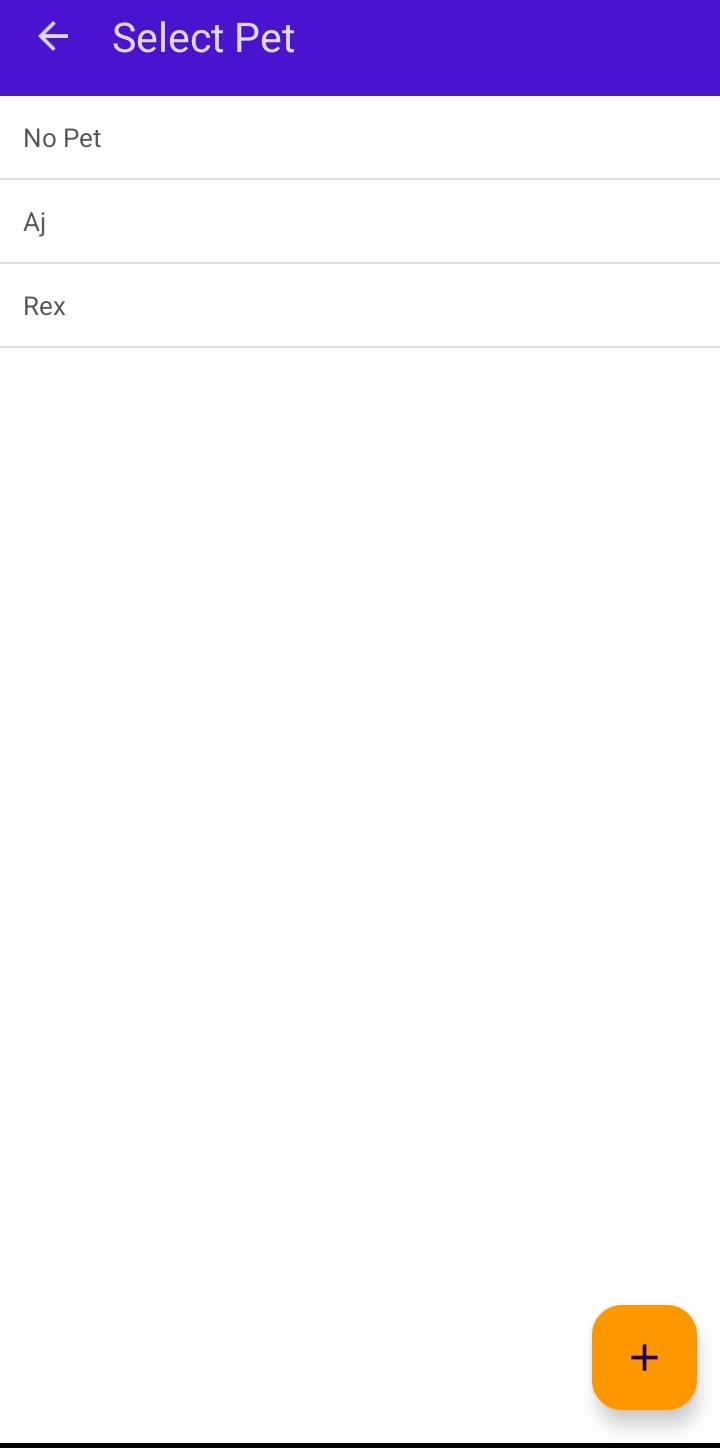
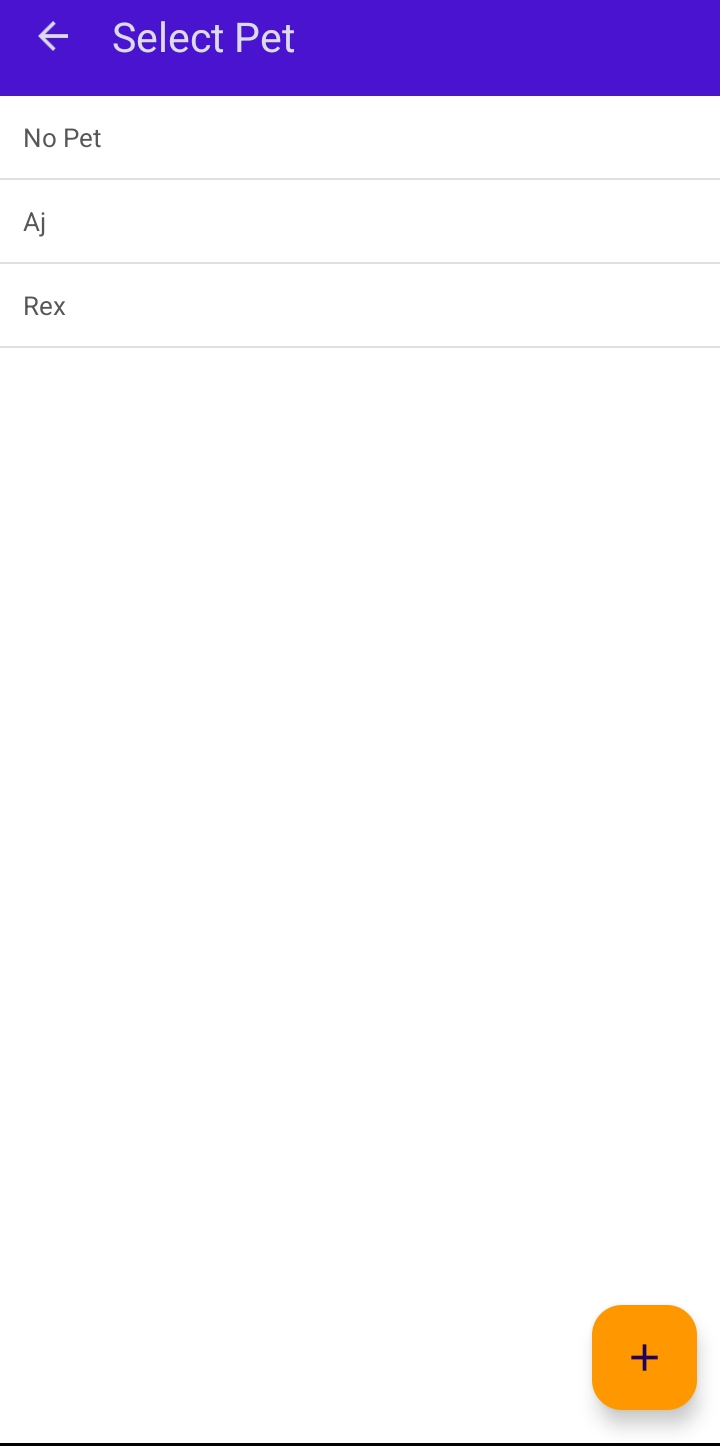
- Tap the pet field to select the desired pet for the appointment, or use the "+" icon to add a new pet. If there is only one pet on the account, this field will auto-populate.
- The date and time will auto-fill based on the selected time slot or the current schedule time once the client is added. You can edit the date and time after selecting a service.
- Select a staff member.
- Select a service.
- Tap "Save"
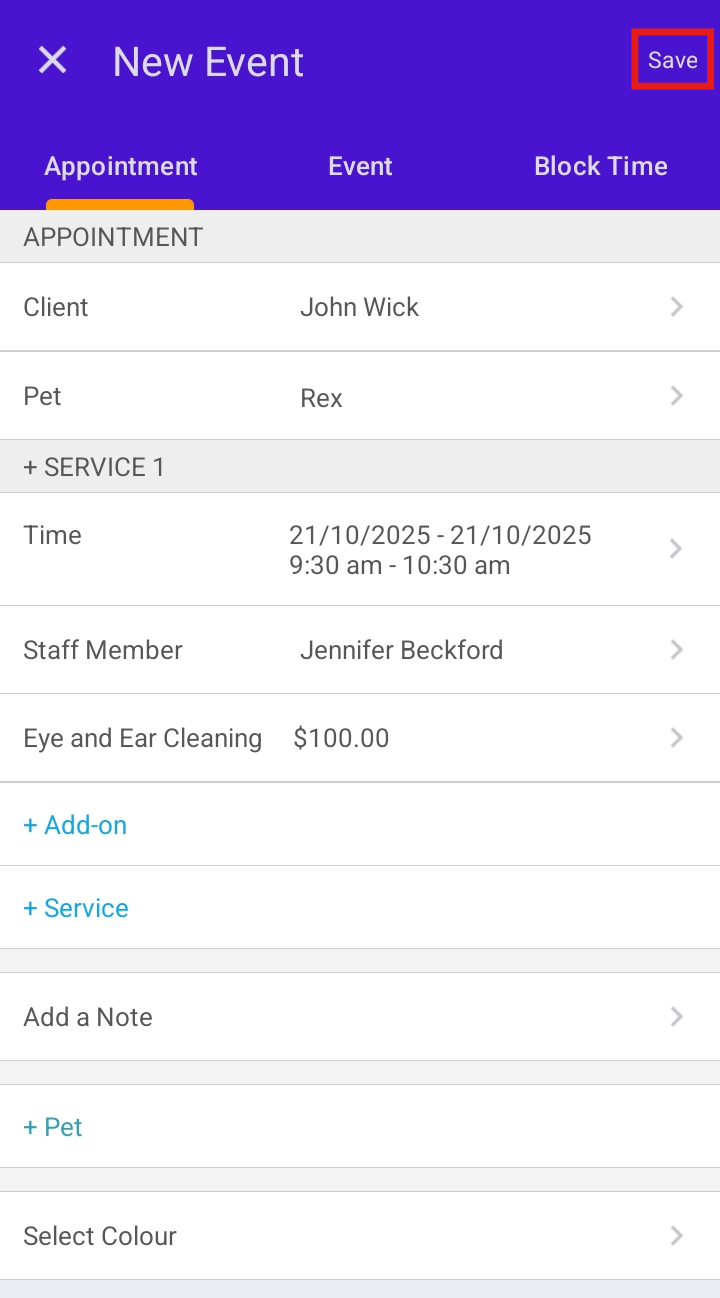
Once saved, the appointment will appear on the schedule
Scheduling an Appointment for Multiple Pets
- Follow the instructions provided in steps 1-9 above
- Select the +Pet hyperlink
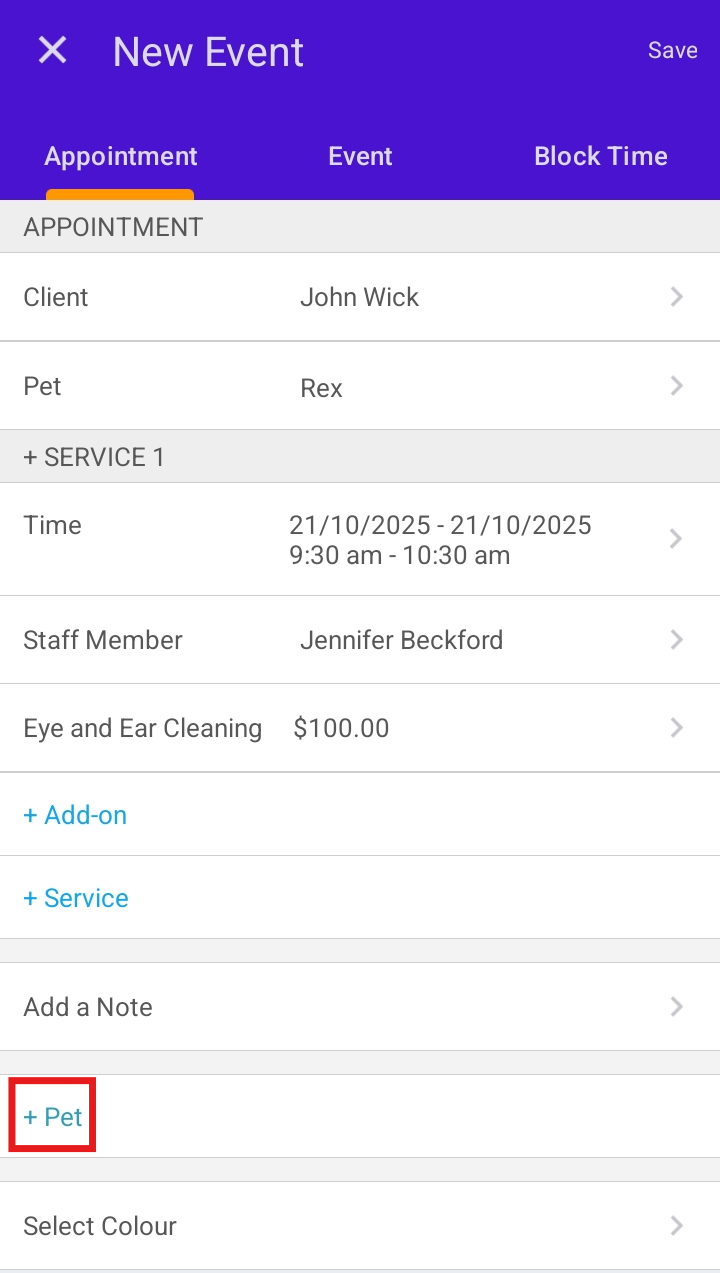
- The appointment details for the additional pet(s) will appear below. You can choose to schedule these appointments concurrently (at the same time) or sequentially (after the first pet’s appointment).
- The pet field will auto-fill, but you can tap it to select a different pet or use the "+" icon to add a new pet
- Once all required fields are completed, select "Save"

For more information, contact us at support@mytime,com.
Related Articles:
Was this article helpful?
That’s Great!
Thank you for your feedback
Sorry! We couldn't be helpful
Thank you for your feedback
Feedback sent
We appreciate your effort and will try to fix the article